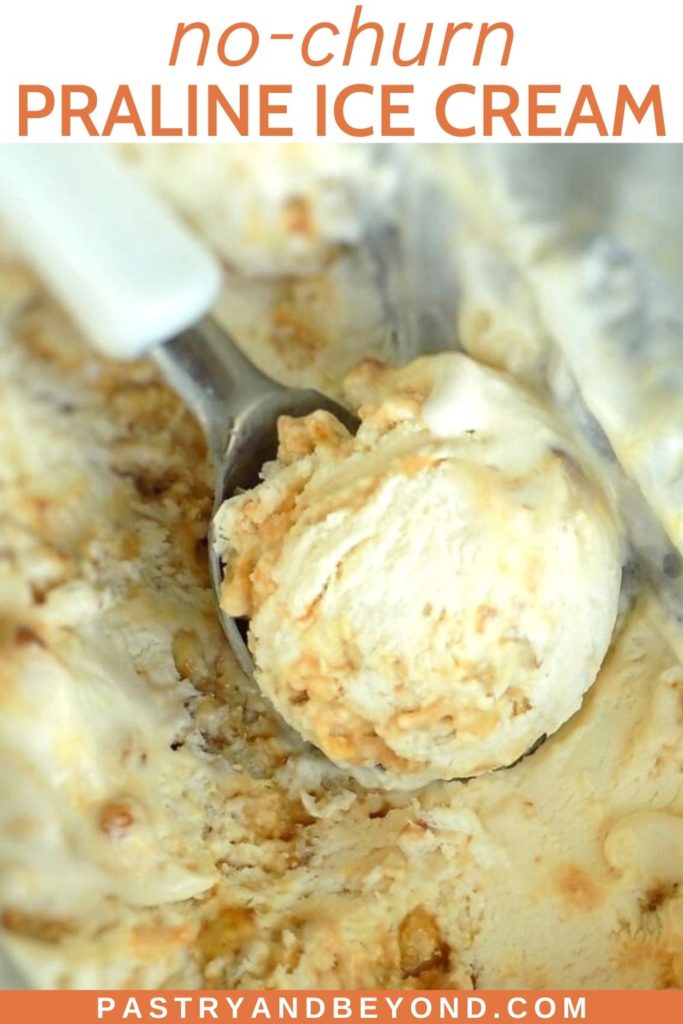
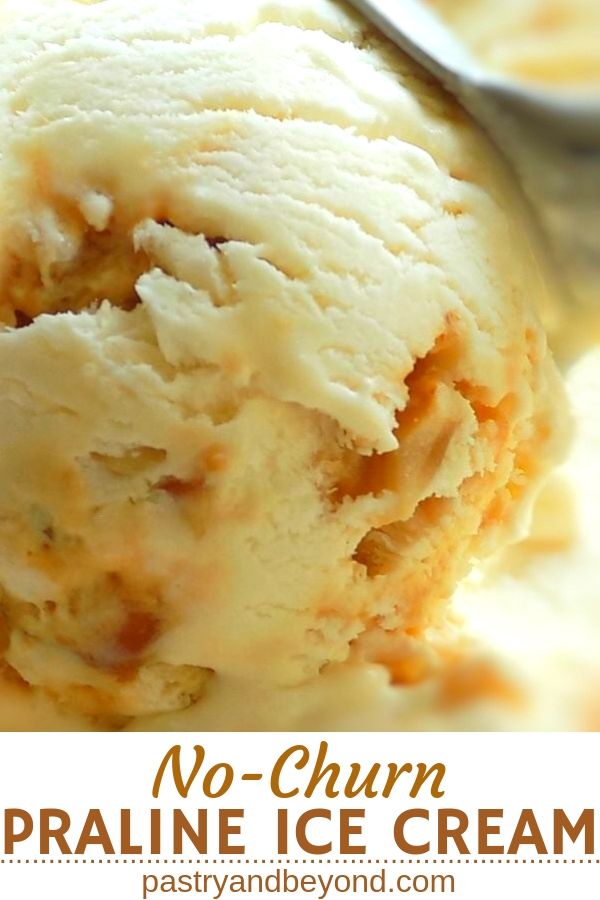
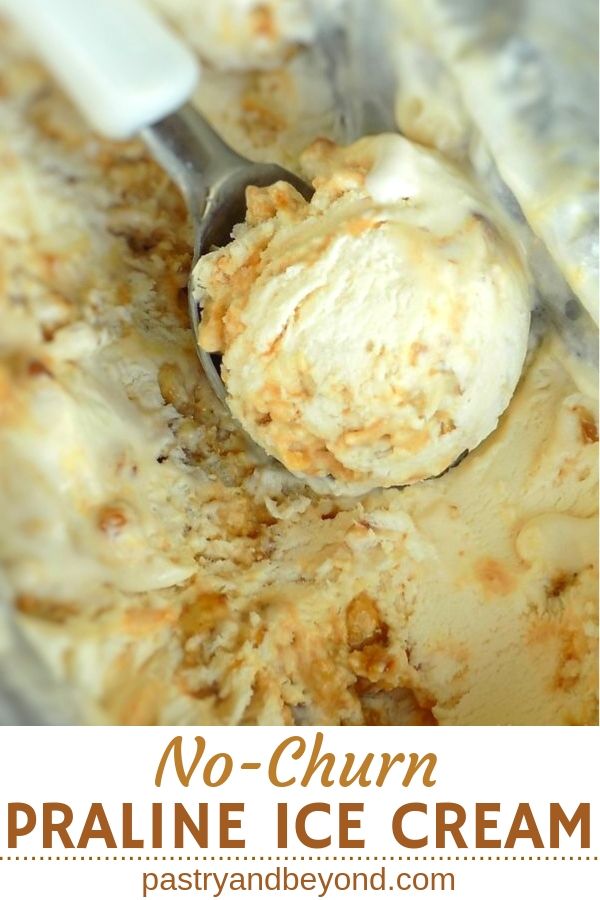
You’ll love this praline ice cream that is so easy to make with a well known two-ingredient base. Creamy ice cream with crunchy caramelized hazelnuts is delicious. Let’s find out the secret behind this base.
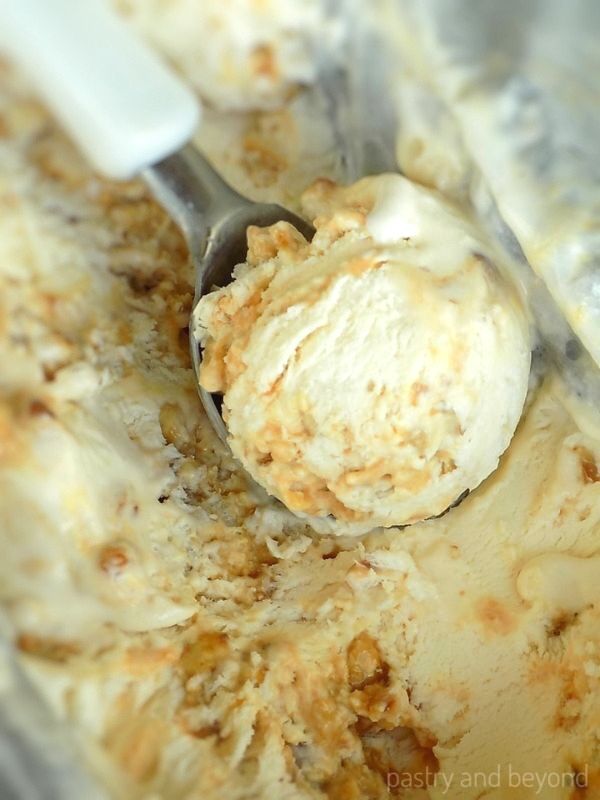
When you want to make yummy ice cream without a machine, you should try this no-churn homemade ice cream with condensed milk.
What Does No-Churn Ice Cream Mean?
No-churn ice cream means that you don’t need a machine to churn your ice cream.
The reason why we churn the ice cream mixture is to have tinier ice crystals. When the ice crystals are tinier, this will make our ice cream creamy as we remove it from the freezer. But we don’t need it to churn our ice cream for this recipe. Let’s see why.
Why Doesn’t This Ice Cream Need Churning?
If you’ve made my homemade condensed milk or read that post, you already know that some water is removed from the milk by evaporation. As a result of this, the milk thickens and it becomes condensed milk.
Since the water is removed, it prevents ice crystals from forming while freezing. So when you make ice cream with condensed milk, you don’t need to churn it to prevent ice crystals. Sugar in condensed milk lowers the freezing point and this results in soft ice cream.
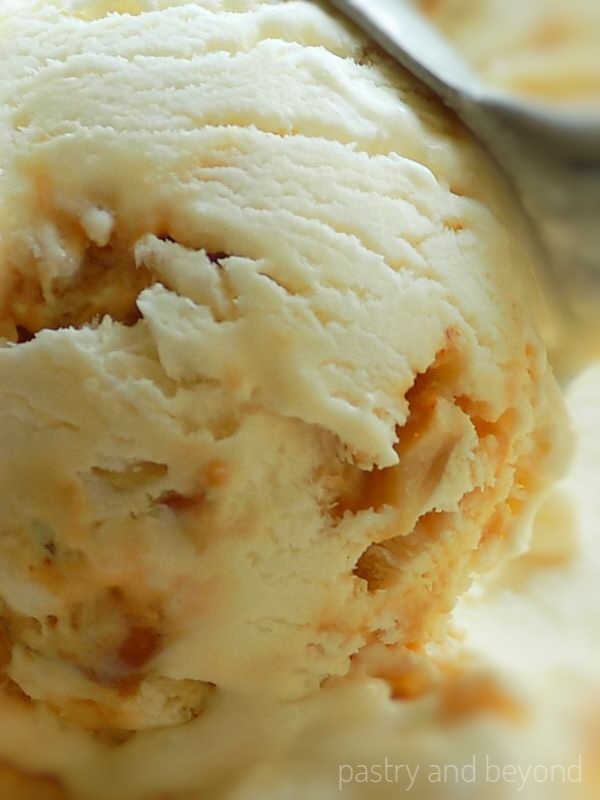
Ingredients for No-Churn Ice Cream
- Condensed Milk-If you don’t have condensed milk, you can use my homemade condensed milk. It works very well in this recipe. You need only milk and sugar to make condensed milk.
- Heavy Cream-This is the base of this ice cream along with condensed milk.
- Praline-I use hazelnut praline as an add-in but you can definitely use pistachio, almond, walnut praline or your preference.
If you want to make your homemade praline, you can make it with nuts and sugar. I show how to make it with step by step pictures in my candied hazelnuts post.
I love these pralines not only in this ice cream but also enjoy eating as they are. I’ve mentioned before in my how to make chocolate ganache post but it is worth repeating; these candied hazelnuts are a great filling with ganache in cakes.
How to Make No-Churn Praline Ice Cream
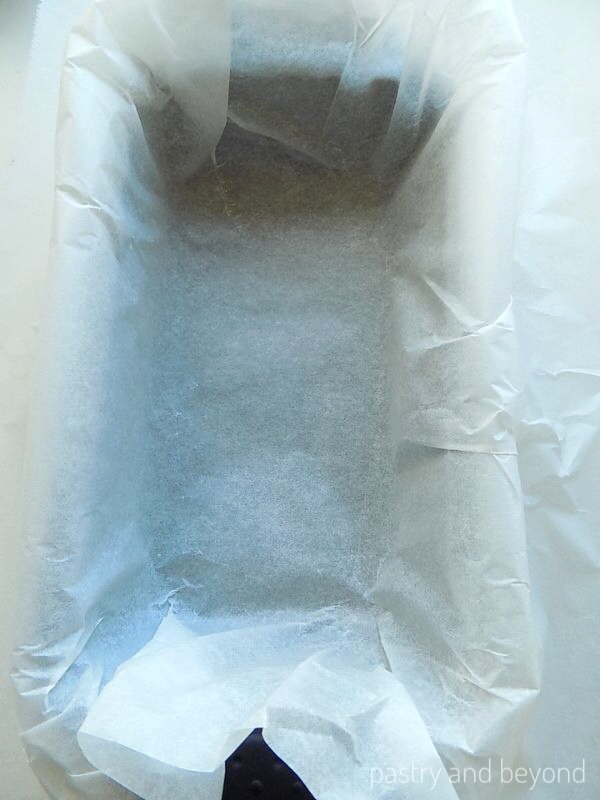
If you are using a non-glass loaf pan, I suggest you line it with parchment paper. That’s what I do as I don’t want the ice cream scoop to damage my pan.
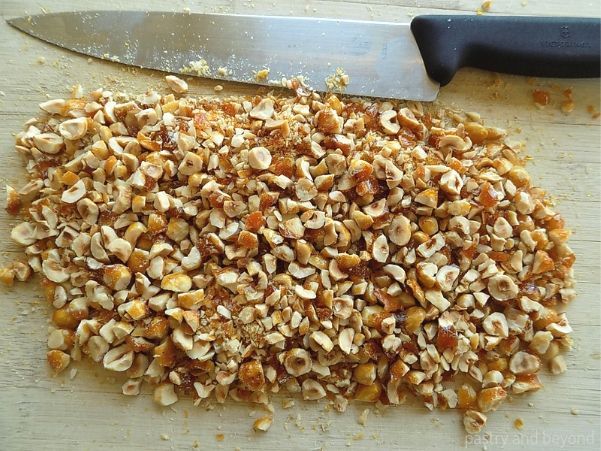
First, prepare the caramelized hazelnuts. It takes only 10 minutes. When they are cool, cut them into small pieces. Set aside.
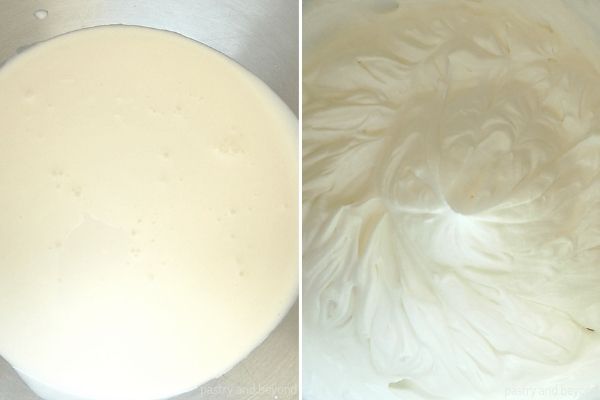
Then put the heavy cream into your stand mixer/hand mixer and whip at med-high speed for almost 2 minutes until stiff peaks form just like the picture below. (Don’t over whip. If you over whip heavy cream, it turns into butter.)
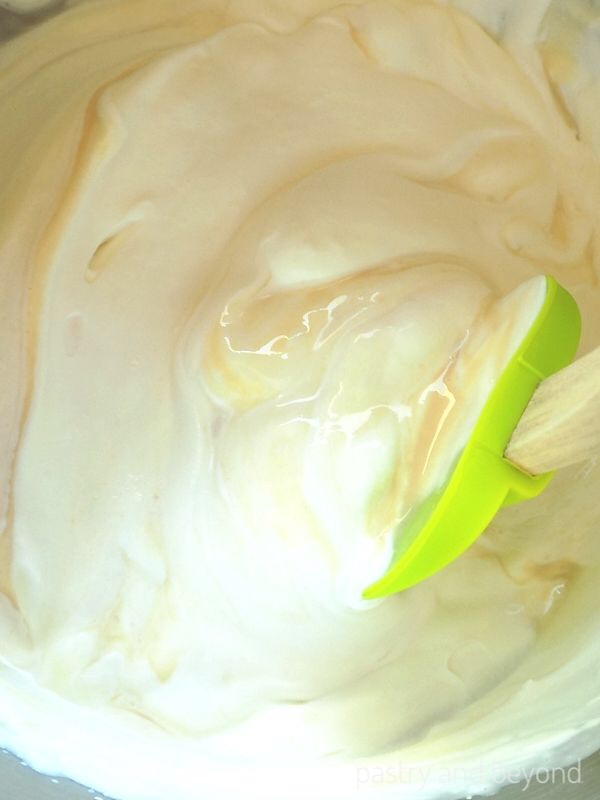
After the heavy cream is whipped, fold the condensed milk with a spatula into heavy cream in 3-4 batches. Alternatively, instead of folding, after the heavy cream is whipped, you can add the condensed milk while the machine is working at low speed.
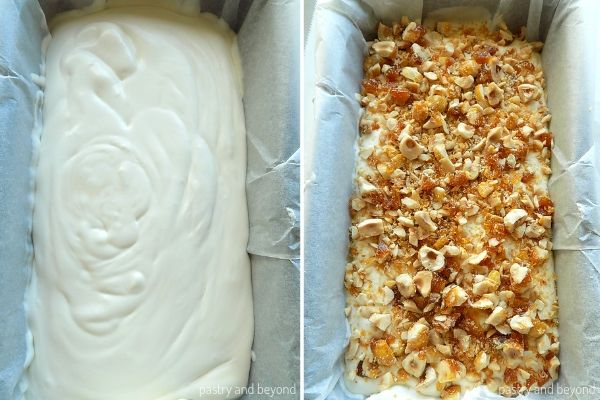
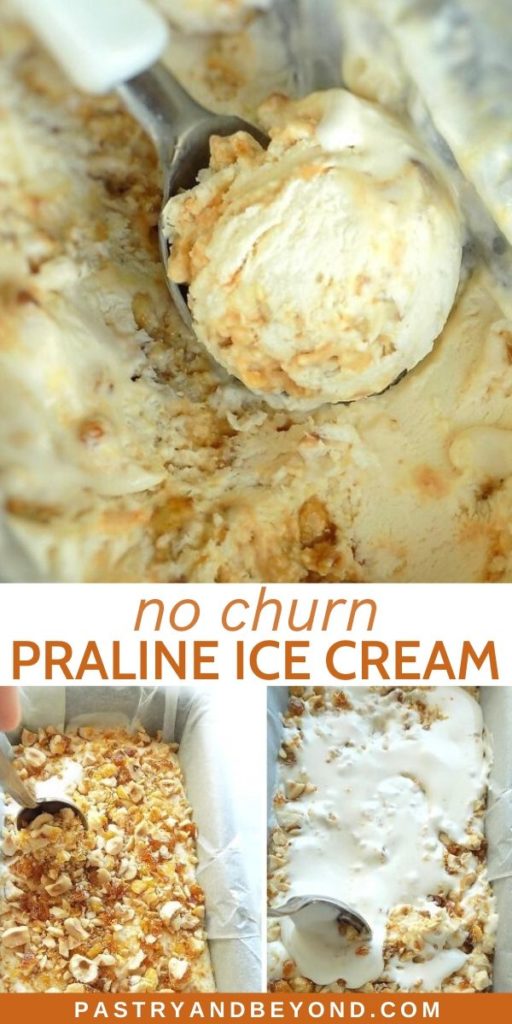
Then, pour half of the mixture into a loaf pan and sprinkle one-third of the caramelized nuts on top.
Next mix them gently with a spoon. I find sprinkling the pralines and mixing process works better than folding the pralines into the base mixture. With this method, the pralines spread evenly.
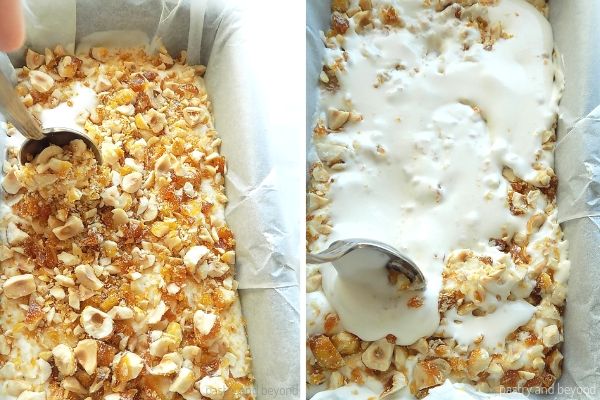
After you mix them, pour the other half ice cream base on top and then sprinkle ⅓ of the caramelized hazelnuts. Mix them with a spoon again. Shortly, repeat the same step.
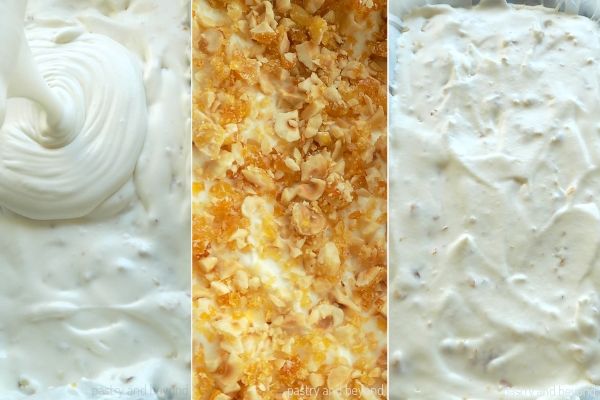
Cover the pan with a plastic film and freeze at least 6-8 hours. It is even better if you keep it in the freezer overnight. Remove the ice cream from the freezer when ready to eat as it can melt easily.
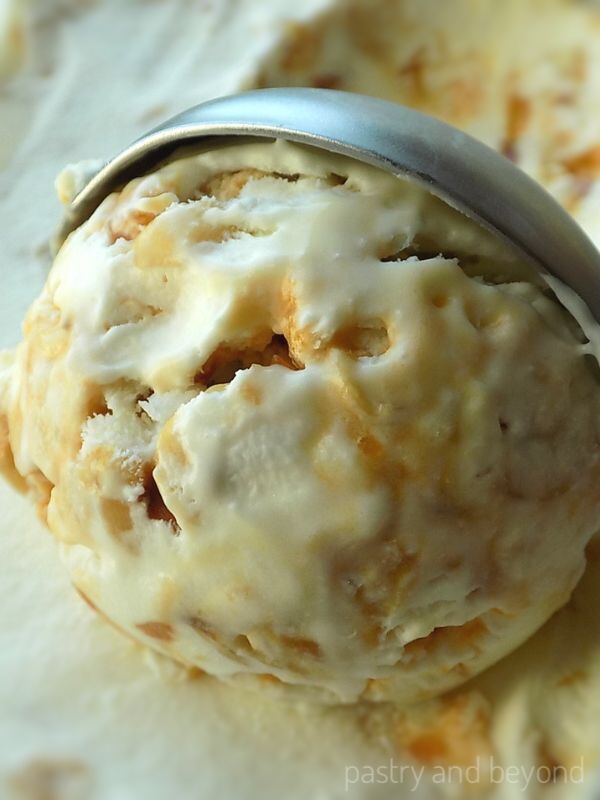
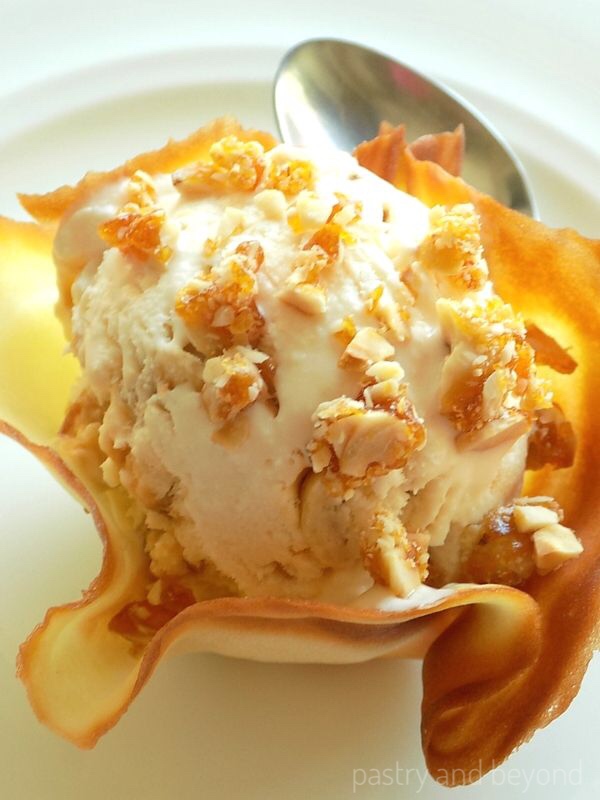
You can serve this homemade ice cream in tuile baskets-cups and sprinkle the candied hazelnuts on top that you set aside. You should check my tuile recipe to make these baskets.
I hope you enjoy this delicious no-churn hazelnut praline ice cream recipe!
Other Frozen Treats You May Enjoy!
- Vanilla Bean Ice Cream
- Frozen Banana Bites
- Frozen Strawberry White Chocolate Cups
- Frozen Chocolate Banana Bites
- Kiwi Orange Popsicles
I love hearing from you! If you try my Praline Ice Cream or other recipes please leave a comment and give a star rating!

No-Churn Praline Ice Cream
Ingredients
- 396 g (14 oz) condensed milk*
- 470 g (2 cups) heavy cream, cold
- ½ recipe caramelized hazelnuts**, chopped into small pieces
Instructions
- Line a 9*5 inch (23*13cm)pan with parchment paper if you are not using a non-glass one so your pan won't be damaged while scooping the ice cream. Set aside the pan.
- First make the candied hazelnuts and chop into small pieces. Set aside.
- Place the heavy cream into a mixing bowl and beat with whisk attachment at medium-high speed until stiff peaks form for almost 2 minutes. Don’t over whip. If you over whip heavy cream, it turns into butter.
- Fold the condensed milk into heavy cream in 3-4 batches. Alternatively, you can slowly pour the condensed milk into heavy cream while the machine is working on low speed.
- Pour half of the mixture into the loaf pan. Reserve ⅓ of chopped caramelized hazelnuts (70grams) and set aside. Sprinkle half of the remaining caramelized nuts on top(70grams). Mix the mixture with a spoon. Then pour other half mixture on top and sprinkle other half caramelized hazelnuts on top(70grams). Mix the mixture with a spoon again.
- Keep in the freezer at least for 6-8 hours or until it firms up. It is even better if you can freeze overnight. Remove the ice cream from the freezer when ready to eat, as it melts easily. When serving, sprinkle the caramelized hazelnuts on top that you reserved before. You can keep the ice cream in the freezer up to 2 weeks.
Notes
Nutrition
Update Notes: I originally shared this post on July 10, 2019. I republish with extra information. I keep the recipe same.



Leave a Reply