• Skip to main content
  • Skip to primary sidebar
Pastry & Beyond
menu icon
go to homepage
  • Home
  • Recipes
  • How Tos
  • About
  • SUBSCRIBE
  • Privacy Policy
search icon
Homepage link
  • Home
  • Recipes
  • How Tos
  • About
  • SUBSCRIBE
  • Privacy Policy
×

Home » HOW TO'S

Homemade Condensed Milk

Published: Jul 13, 2020 by Meymi. This post may contain affiliate links.

Jump to Recipe - Print Recipe
Homemade Condensed Milk dropping from a spoon
Pin of condensed milk dropping from a spoon
Pin for homemade condensed milk
Condensed milk on a spoon.

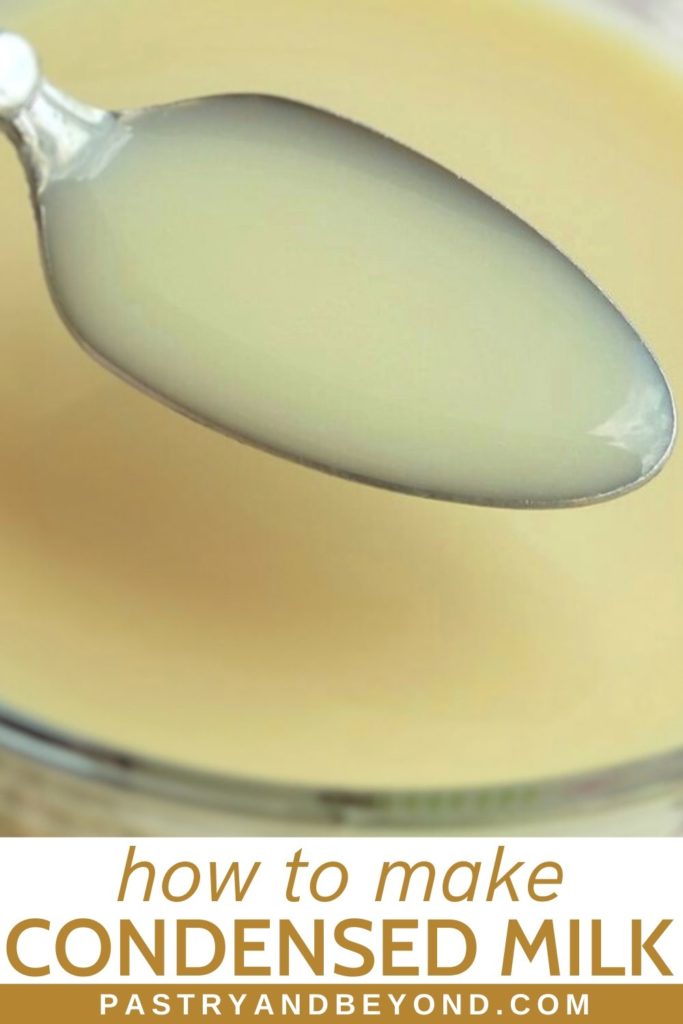
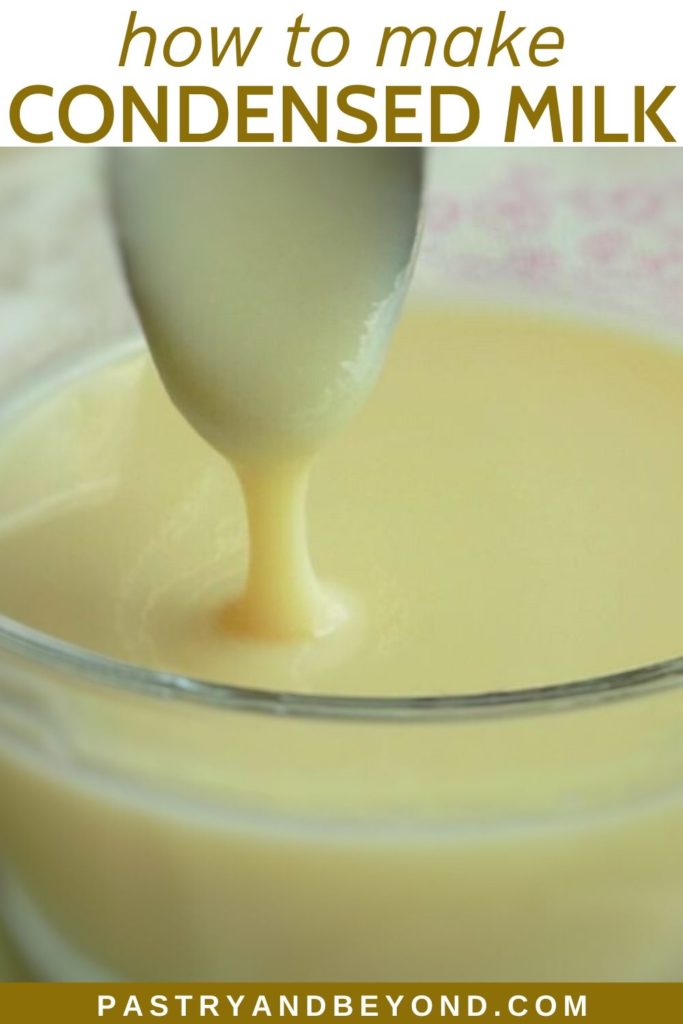
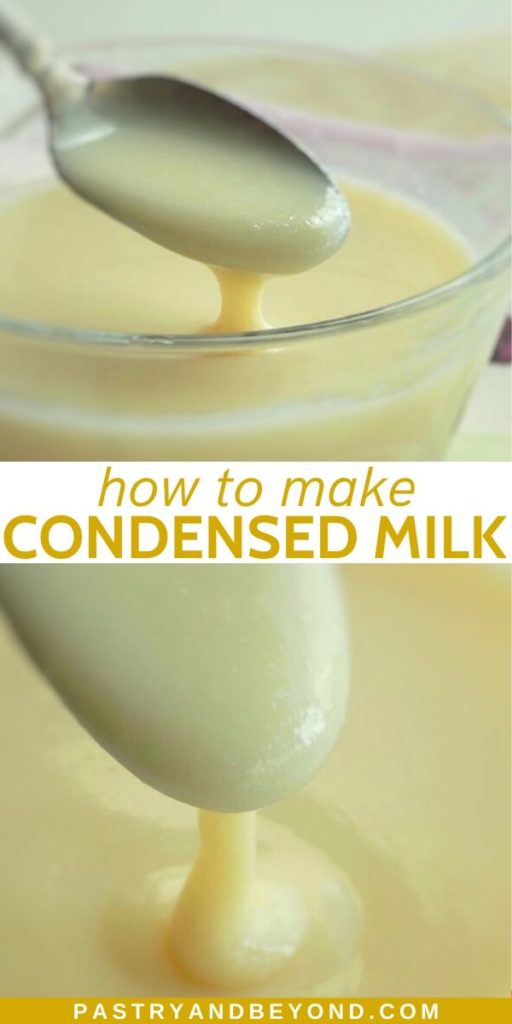
You can make your homemade condensed milk with only 2 simple ingredients! It is so easy to make!

Homemade condensed milk pouring from a spoon.

Today I share my homemade condensed milk recipe.  When you need it to make no-churn ice creams, fudge recipes, or any other desserts you can use this homemade version.  

Making condensed milk couldn’t be easier. I use this homemade version when I make my praline ice cream. It works perfectly fine.

What is condensed milk

Also named as sweetened condensed milk, it is a combination of cow’s milk and sugar.  Some of the water content of the milk is removed by evaporation. Along with sugar, this evaporation step thickens the milk.

If sugar is not used, it will be evaporated milk.

Showing the consistency of homemade condensed milk with a spoon.

Ingredients you’ll need

  • Milk-I use whole milk. I haven’t tried but I heard almond milk and coconut milk also work.
  • Sugar-I use granulated sugar. Sugar plays an important role as a thickener besides the sweetness.

How to make step by step

First, place the milk and sugar in a pan and stir with a spoon/spatula over med-low heat until the sugar dissolves.  

Collage of adding sugar over the milk  and stirring the mixture with a wooden spoon.

As the sugar dissolves, without stirring,  let the mixture simmer over med-low heat.  While it simmers, a skin and foam will form on top.   

Thickened milk with a foam and a skin on top.

I used to take the foam and the skin after 15 minutes and repeat this process as needed but lately, I wait and take them after 35 minutes when it becomes very foamy as it doesn’t make any difference. 

After 35 minutes remove the foam and the skin into a small bowl that is covered with water so the foam and the skin of the milk won’t stick to your spoon.

Removing the skin of the milk with a spoon into a water filled bowl.

In total, the mixture thickens in almost 42-45 minutes.  After 35 minutes when you take the foam and skin, you’ll understand the consistency better.   

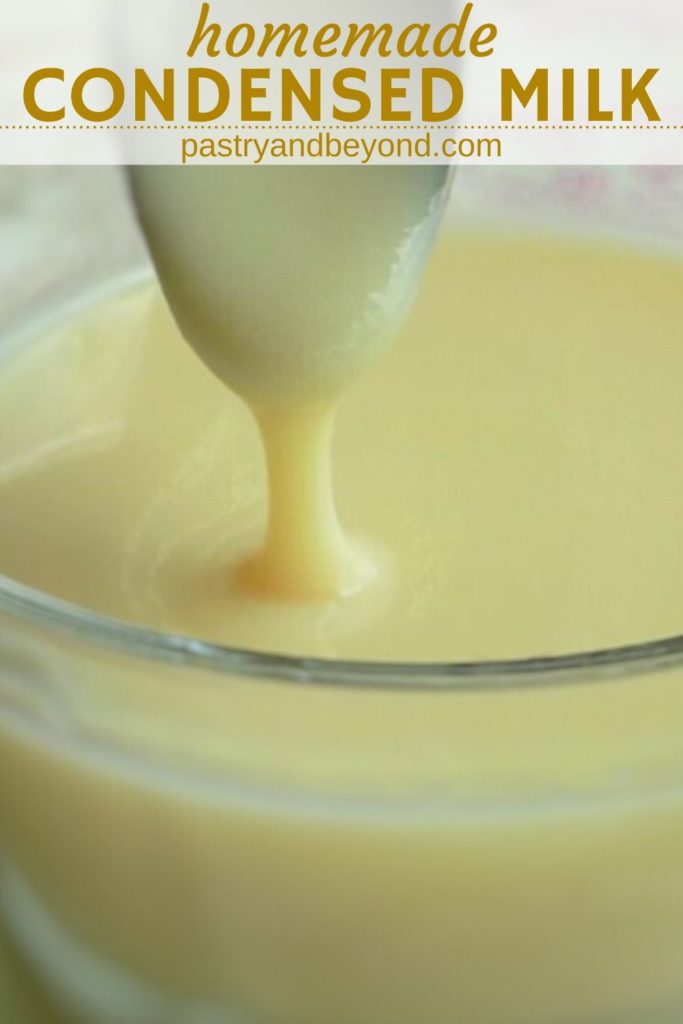
When the mixture thickens, you should remove it from the heat. You’ll understand it when the color becomes darker and the mixture is reduced more than half.

Thickened and bubbling homemade condensed milk in a pan.

Then sieve the it to make sure it is smooth.

Sieving the sweetened condensed milk.

Finally, pour the homemade condensed milk into a jar and let it cool at room temperature.  When it cools, close the lid and keep in the fridge.

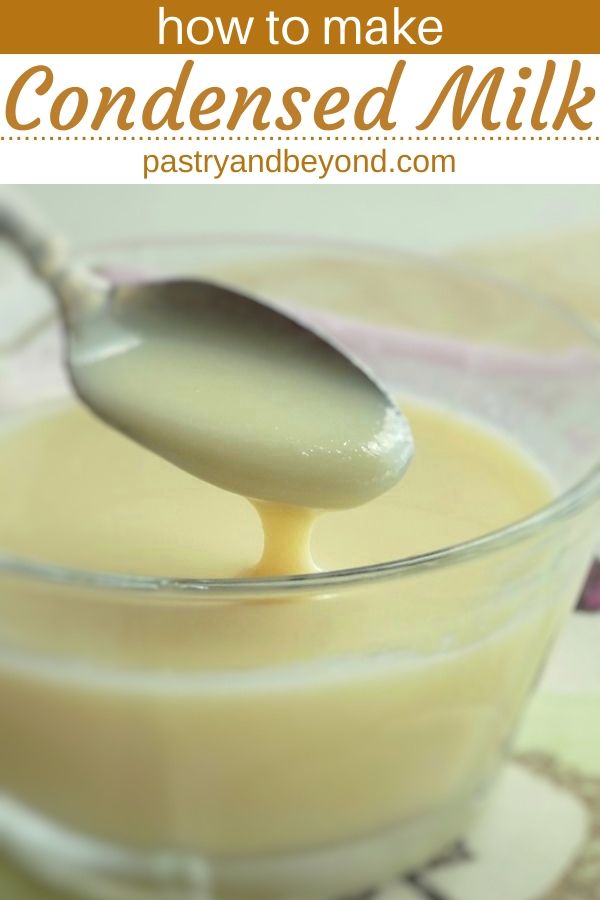
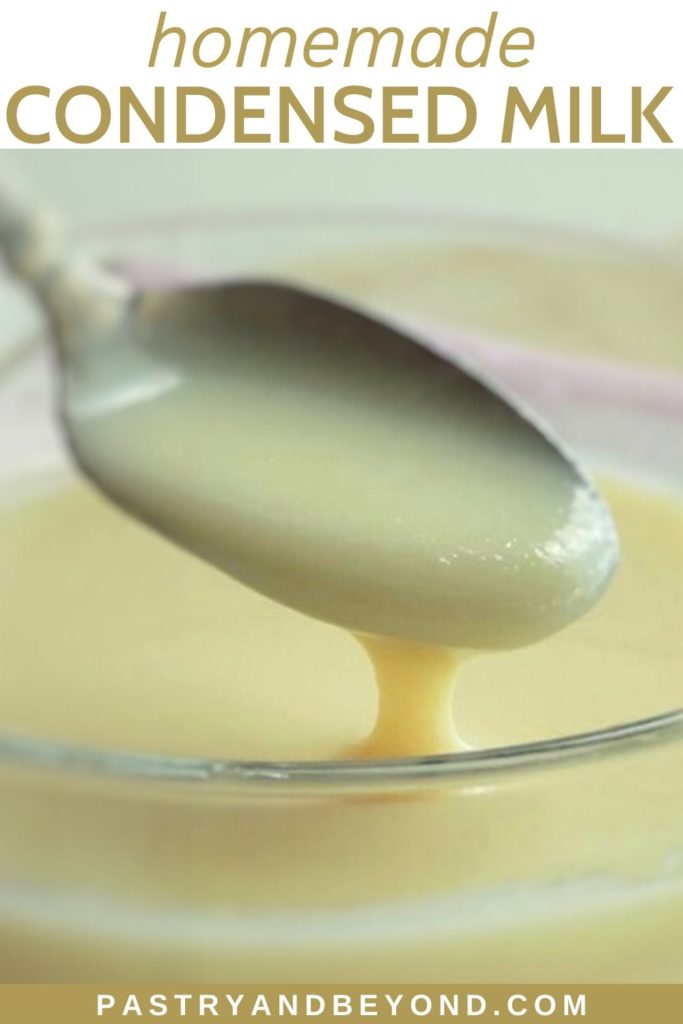
It will be very thin when you remove it from the heat.

Homemade condensed milk dripping from a spoon which is thin after removing from the heat.

Then it will be thicker after it stays in the fridge.

Showing the consistency of the sweetened condensed milk on a spoon.
Homemade condensed milk pouring from a spoon which is thick after keeping in the fridge.

Enjoy this homemade version of condensed milk in your recipes! 

Thickened condensed milk pouring from a spoon.

Frequently Asked Questions

How to store homemade condensed milk

After you leave your condensed milk from the heat, pour into a jar.   Once it cools, close the lid and keep in the fridge up to a week or in the freezer for up to 3 months.

How to understand the right consistency

The mixture will be thickened and the color will become darker.  This recipe makes 180-190 grams (⅔ cups) which is almost half can of condensed milk. 

To be on the safe side, when I believe it is the right consistency I use my ⅔ cup and pour it into that.  If it is a lot more than that, I continue to reduce. But you should be careful though as when it gets thick and close to the right consistency, the amount reduces very quickly. 

It will come to the real condensed milk consistency in the fridge after a couple of hours.  

What you should do if it doesn’t thicken in the fridge

If your condensed milk doesn’t thicken after a couple of hours, it means you removed the pan from the heat early.  You can pour the mixture into a small pan and carefully continue to reduce the mixture.

Sweetened condensed milk in a ⅔ cup.
Homemade condensed milk pouring from a spoon.

Homemade Condensed Milk

You only need 2 ingredients to make your homemade condensed milk!
5 from 14 votes
Print Pin Rate
Course: Dessert
Cuisine: American
Prep Time: 1 minute
Cook Time: 45 minutes
Total Time: 46 minutes
Servings: 7 Oz
Calories: 106kcal
Author: Meymi

Ingredients

  • 490 g/470ml (2 cups) milk
  • 105 g (½ cup) granulated sugar
Prevent your screen from going dark

Instructions

  • Place milk and sugar in a medium pan and stir over med-low heat with a spoon/spatula until the sugar dissolves.
  • As the sugar dissolves, without stirring, let the mixture simmer over medium-low heat. You’ll notice skin and foam on top during the simmering process. After 35 minutes, take them with a spoon/spatula.
  • When the mixture thickens, the color becomes darker and the mixture reduces more than half, remove the pan from the heat. The whole process takes almost 42-45 minutes.* Sieve the condensed milk to make it smooth. Pour into a jar and let it cool at room temperature. Once it cools, close the lid and keep it in the fridge. It will thicken in the fridge after a couple of hours.**

Notes

*I read 2 comments on social media that it took extra 15-25 minutes for some of my readers.  So it may change from stove to stove.
**If your condensed milk doesn’t thicken after a couple of hours, it means you removed the pan from the heat early.  You can pour the mixture into a small pan and carefully continue to reduce the mixture.
To be on the safe side, when I believe it is the right consistency I use my ⅔ cup and pour it into that.  If it is a lot more than that, I continue to reduce. But you should be careful though as when it gets thick and close to the right consistency, the amount reduces very quickly.  It will come to the real condensed milk consistency in the fridge after a couple of hours. 
How to store:  You can keep in the fridge for up to a week and in the freezer for up to 3 months.
The calorie information above is an estimate that is provided by an online nutrition calculator.

Nutrition

Calories: 106kcal
Tried this Recipe? Pin it for Later!Mention @PastryandBeyond or tag #PastryandBeyond!

Update Notes: I shared this post first on June 3, 2017. I republish it today with extra information. The recipe is same.

Homemade condensed milk pouring from a spoon with text overlay.
« Healthy No Bake Peanut Butter Bars
Lemon Raspberry Streusel Muffins »

Subscribe to receive delicious step by step recipes straight to your inbox!

Yes

Reader Interactions

Comments

  1. Nano

    August 14, 2018 at 4:04 pm

    Hi
    Can i use almond milk or oat milk for that recipe ?

    Reply
    • Meymi

      August 14, 2018 at 9:56 pm

      Hi! Although I haven’t tried it with dairy-free milk, I know people replace regular milk with almond and coconut milk to make condensed milk. So, I think you can use almond milk. I would love to hear your feedback if you try this recipe with dairy-free milk!

      Reply
  2. Leslie

    July 11, 2019 at 6:00 pm

    Could you water process this in a jam jar to create Dolce de Leche?

    Thanks

    Reply
    • Meymi

      July 11, 2019 at 8:04 pm

      Hi Leslie, I haven’t tried it so I am not sure. I’ve read that even if you put store bought condensed milk into a jar and do the water process, you should be careful; you should close the lid properly, not too tight or loose. For example, if you close too tight, it may explode. You should be very careful while working with glass as it may break. Unfortunately, I’m not much help. If you give it a try, I’d love to hear your feedback. Thank you!

      Reply
  3. Pam

    July 24, 2020 at 12:14 pm

    Can I double this recipe ??

    Reply
    • Meymi

      July 24, 2020 at 10:45 pm

      Yes, you can!

      Reply

Leave a Reply Cancel reply

Your email address will not be published. Required fields are marked *

Recipe Rating


This site uses Akismet to reduce spam. Learn how your comment data is processed.

Primary Sidebar

Welcome to my blog! I share my tested, easy and yummy recipes from scratch with accessible ingredients. I make everything clear with step by step pictures. Hope you all enjoy Pastry and Beyond!
More about me...

  • Facebook
  • Instagram
  • Pinterest

Subscribe to receive delicious step by step recipes straight to your inbox!

YES!

As an Amazon Associate I earn from qualifying purchases.

AS SEEN IN:

LEMON RECIPES

Lemon slice-and-bake cookies in a row on a wooden bowl, halved lemons in the background.

Lemon Slice-and-Bake Cookies

Homemade lemon curd in a jar with a spoon, half lemons in the background.

Homemade Lemon Curd

Stacked lemon curd bars.

Lemon Bars with Lemon Curd

Lemon curd mousse with candied lemon slice in a glass.

Lemon Curd Mousse Recipe

Lemon coconut bars on a black surface and a half lemon in the background.

Lemon Coconut Bars with White Chocolate Ganache

Honey lemonade in a glass with lemon slice and mint leaves.

Healthy Honey Lemonade with Mint

Cake Loaf

Apple cake loaf cut in half and slices on a wooden board.

Apple Cake Loaf

Carrot cake loaf slice on a white plate.

Carrot Cake Loaf Recipe

Chocolate loaf cake on a parchment paper with slices.

Chocolate Loaf Cake

TRENDING POSTS

Carrot cake loaf slice on a white plate.

Carrot Cake Loaf Recipe

Stacked dried apples on a white surface and one of the apples stand to the stacks.

How to Make Dried Apples Chewy vs. Crispy

Stacked apple oatmeal cookies.

Healthy Apple Oatmeal Cookies

Stacked fudgy brownies without cocoa powder.

Fudgy Brownies without Cocoa Powder

Peach crumb bars in a row on a white surface.

Peach Crumble Bars

Toasted sesame seeds in a jar.

How To Toast Sesame Seeds

Stacked lemon curd bars.

Lemon Bars with Lemon Curd

Green iron rich smoothie in a glass with straws, banana and orange in the background.

Green Smoothie-Rich in Iron

Stacked chocolate cookies.

Moist Chocolate Cookies with Cocoa Powder

Easy cinnamon cookies with criss cross pattern with cinnamon sticks in the background.

4 Ingredient Easy Cinnamon Cookies

Footer

↑ back to top

About

  • About
  • Privacy Policy
  • Cookie Policy
  • Disclosure Policy
  • Accessibility Policy

Newsletter

  • Sign Up! for emails and updates

Contact

  • Contact

Copyright © 2022 Pastry & Beyond