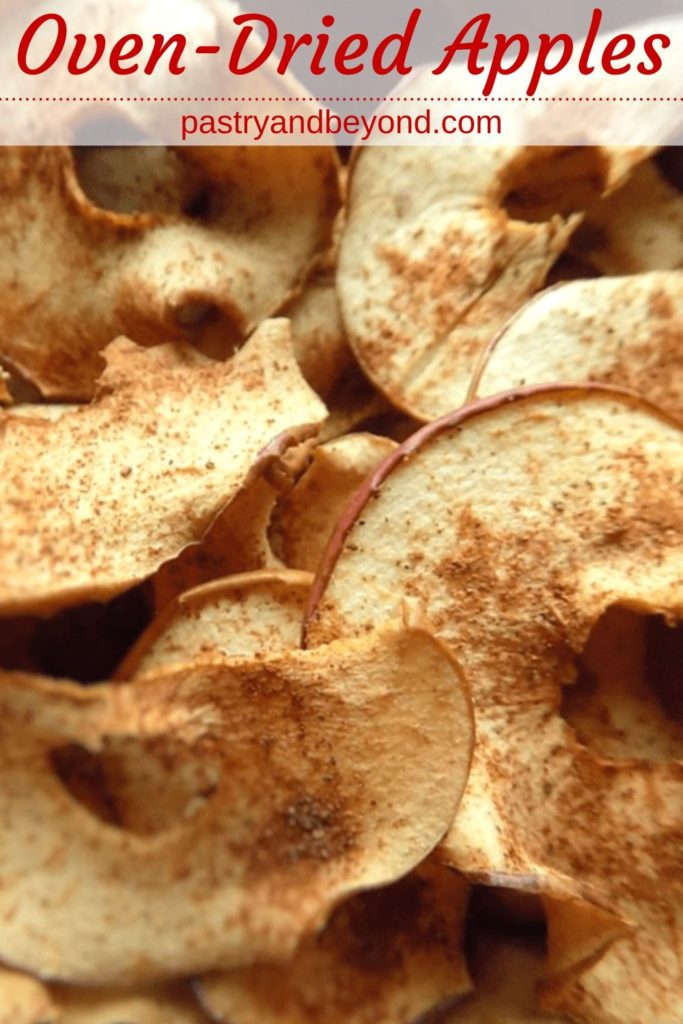
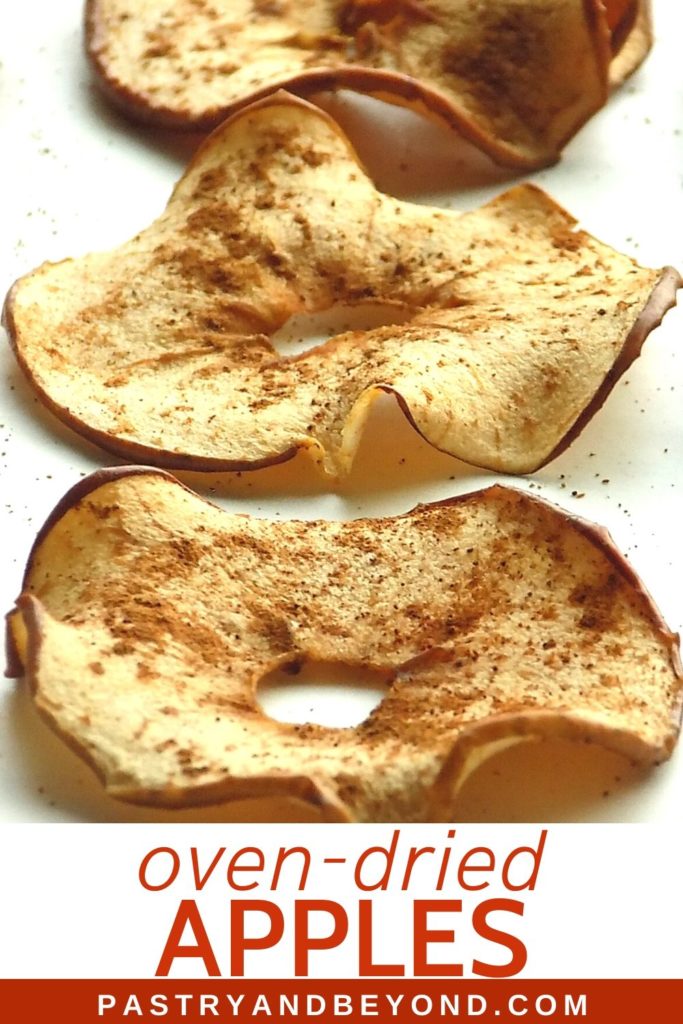
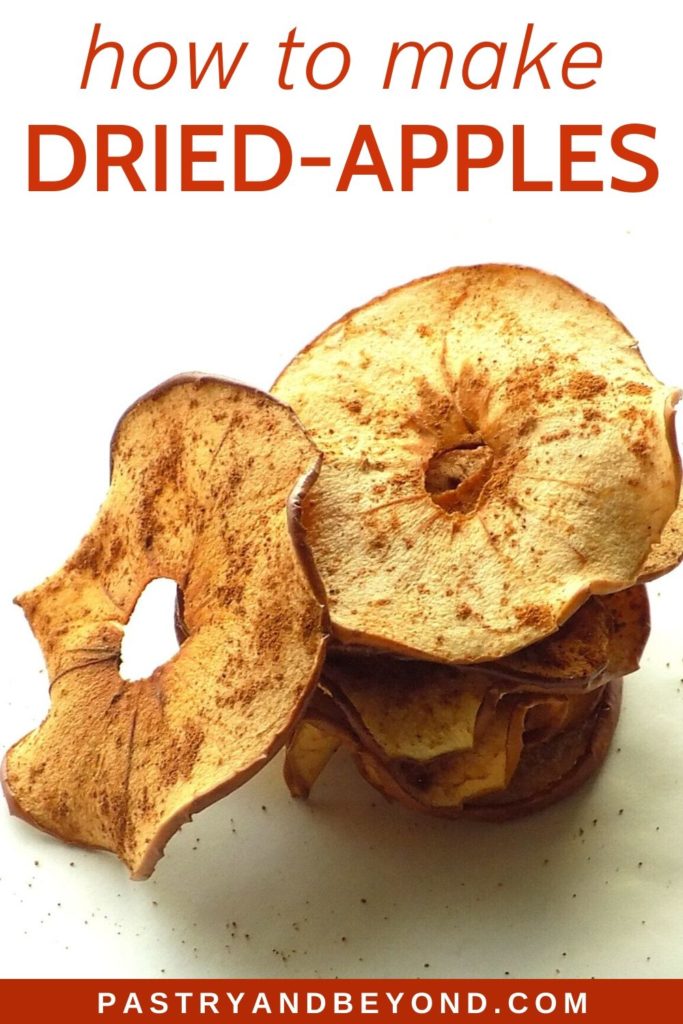
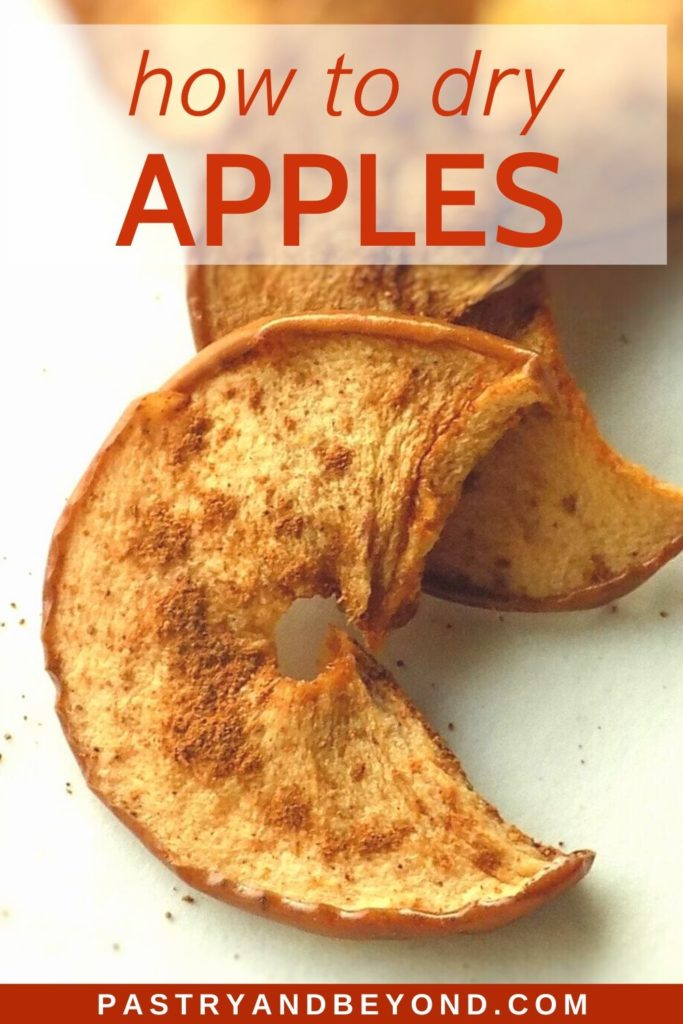
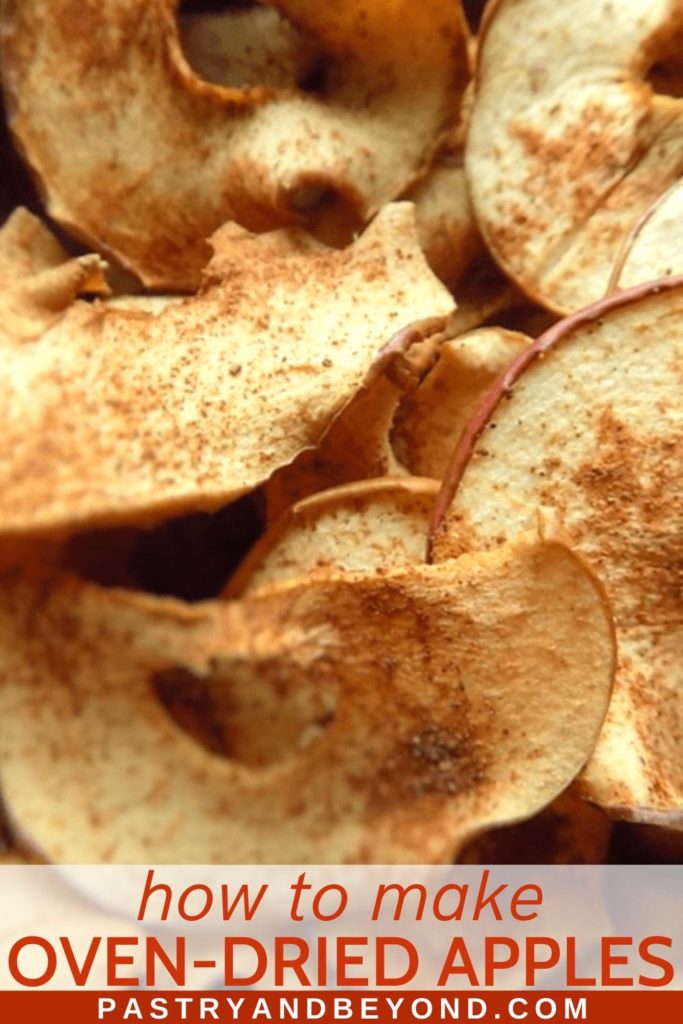
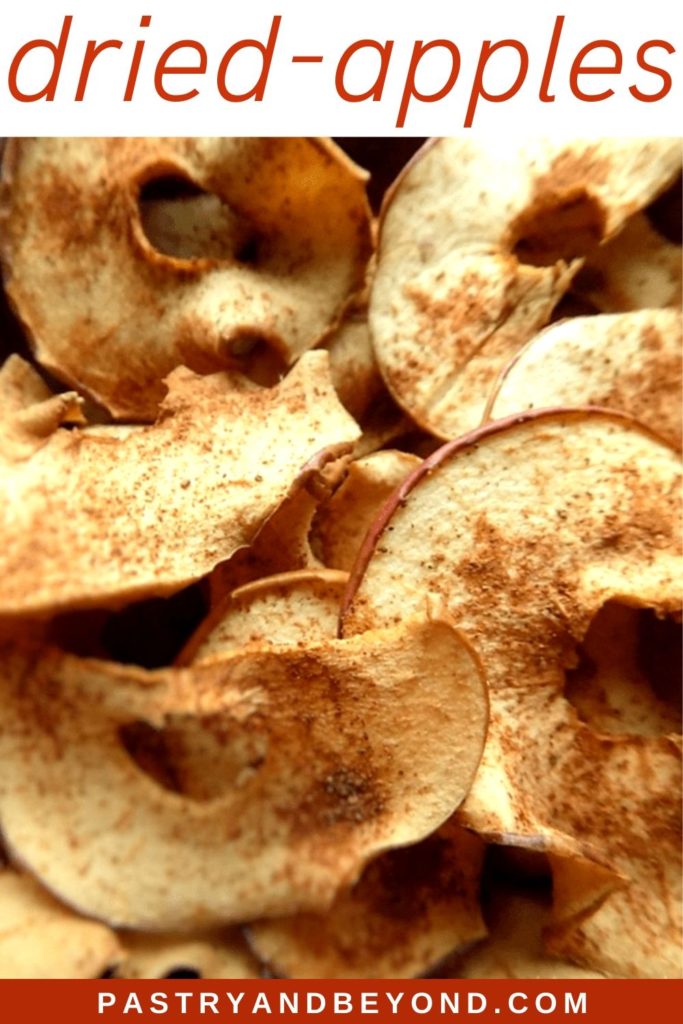
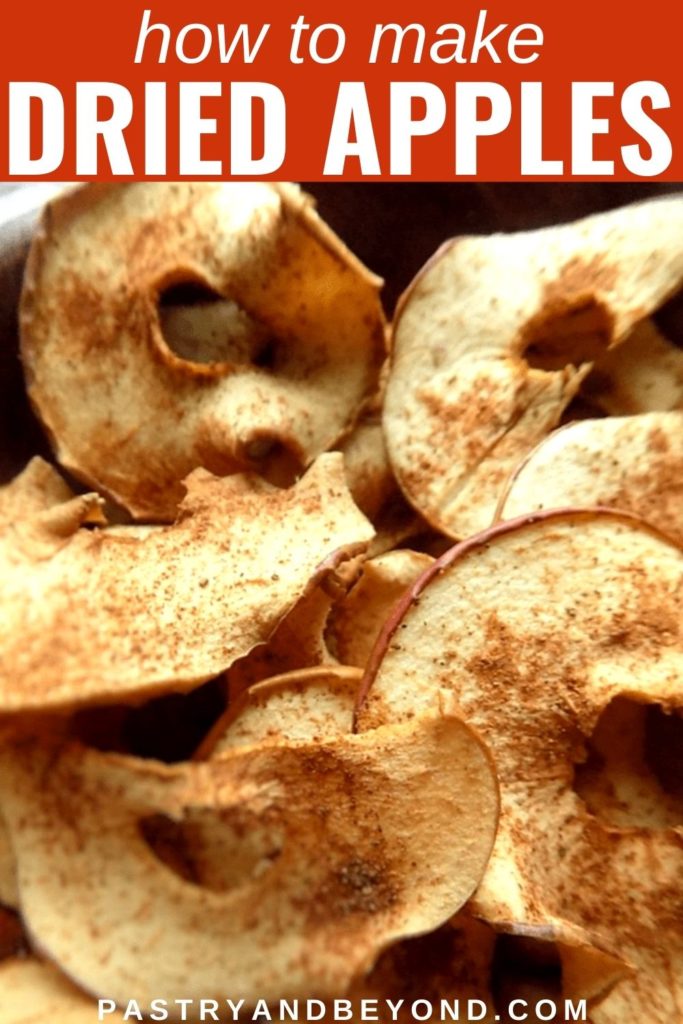
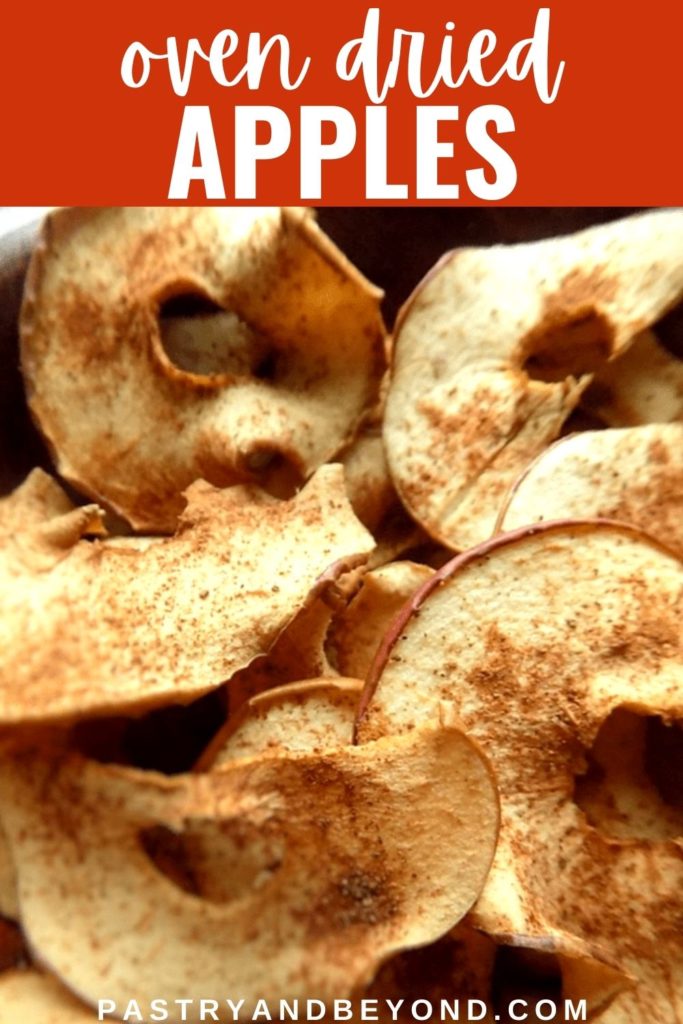
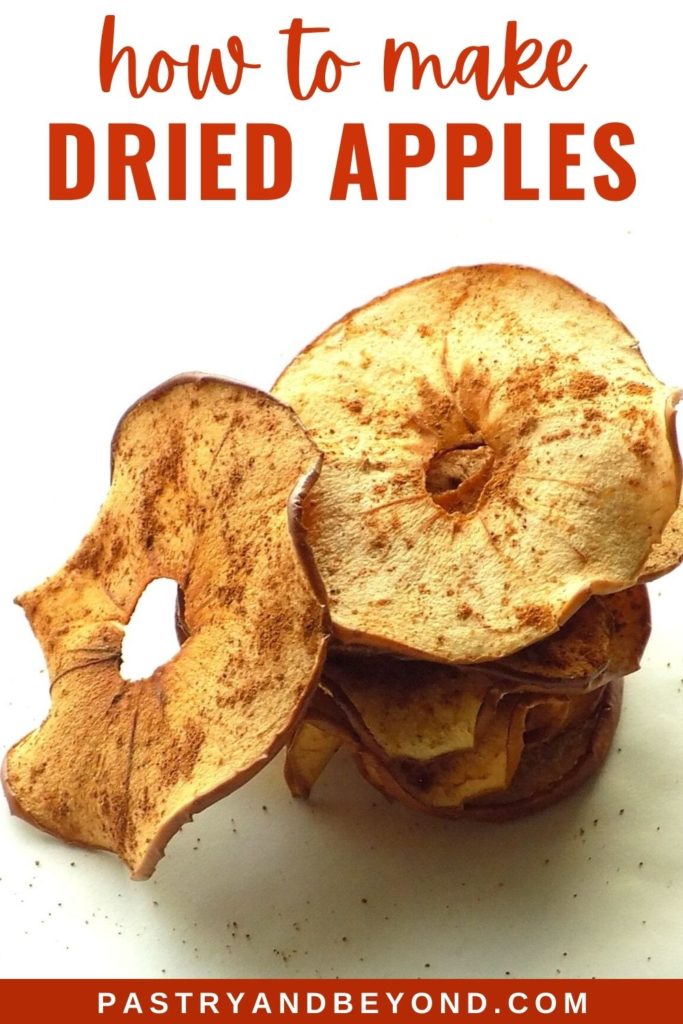
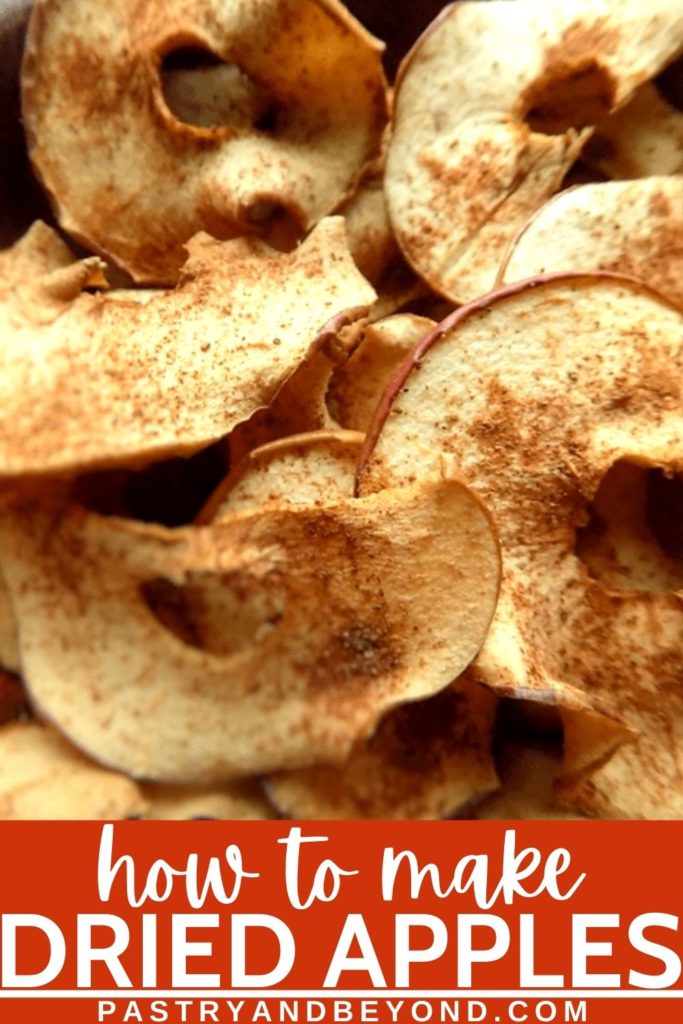
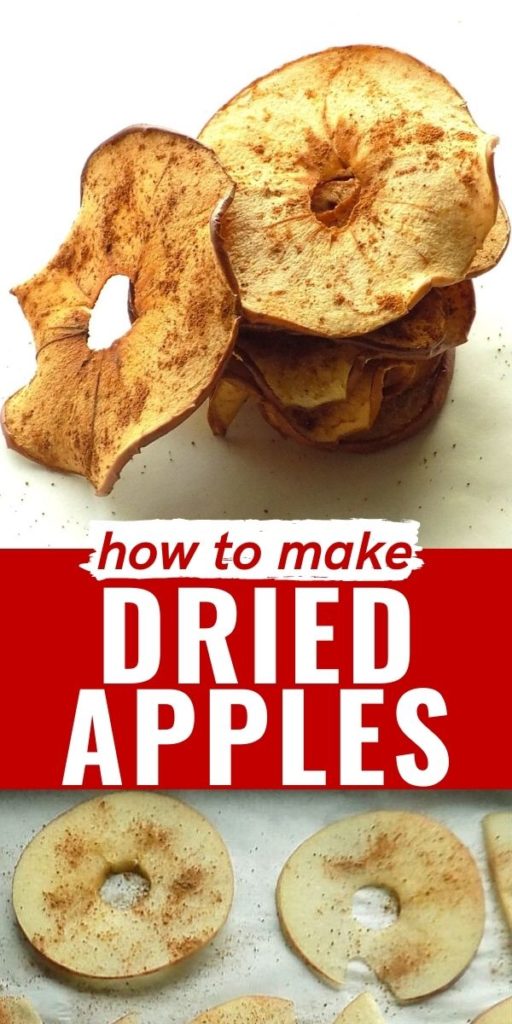
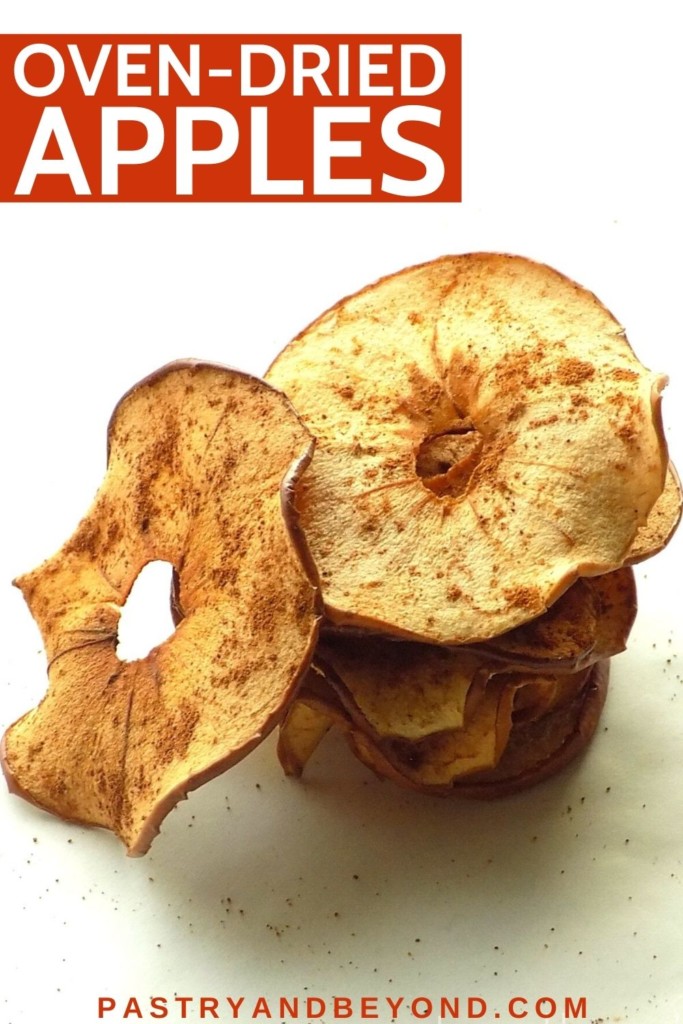
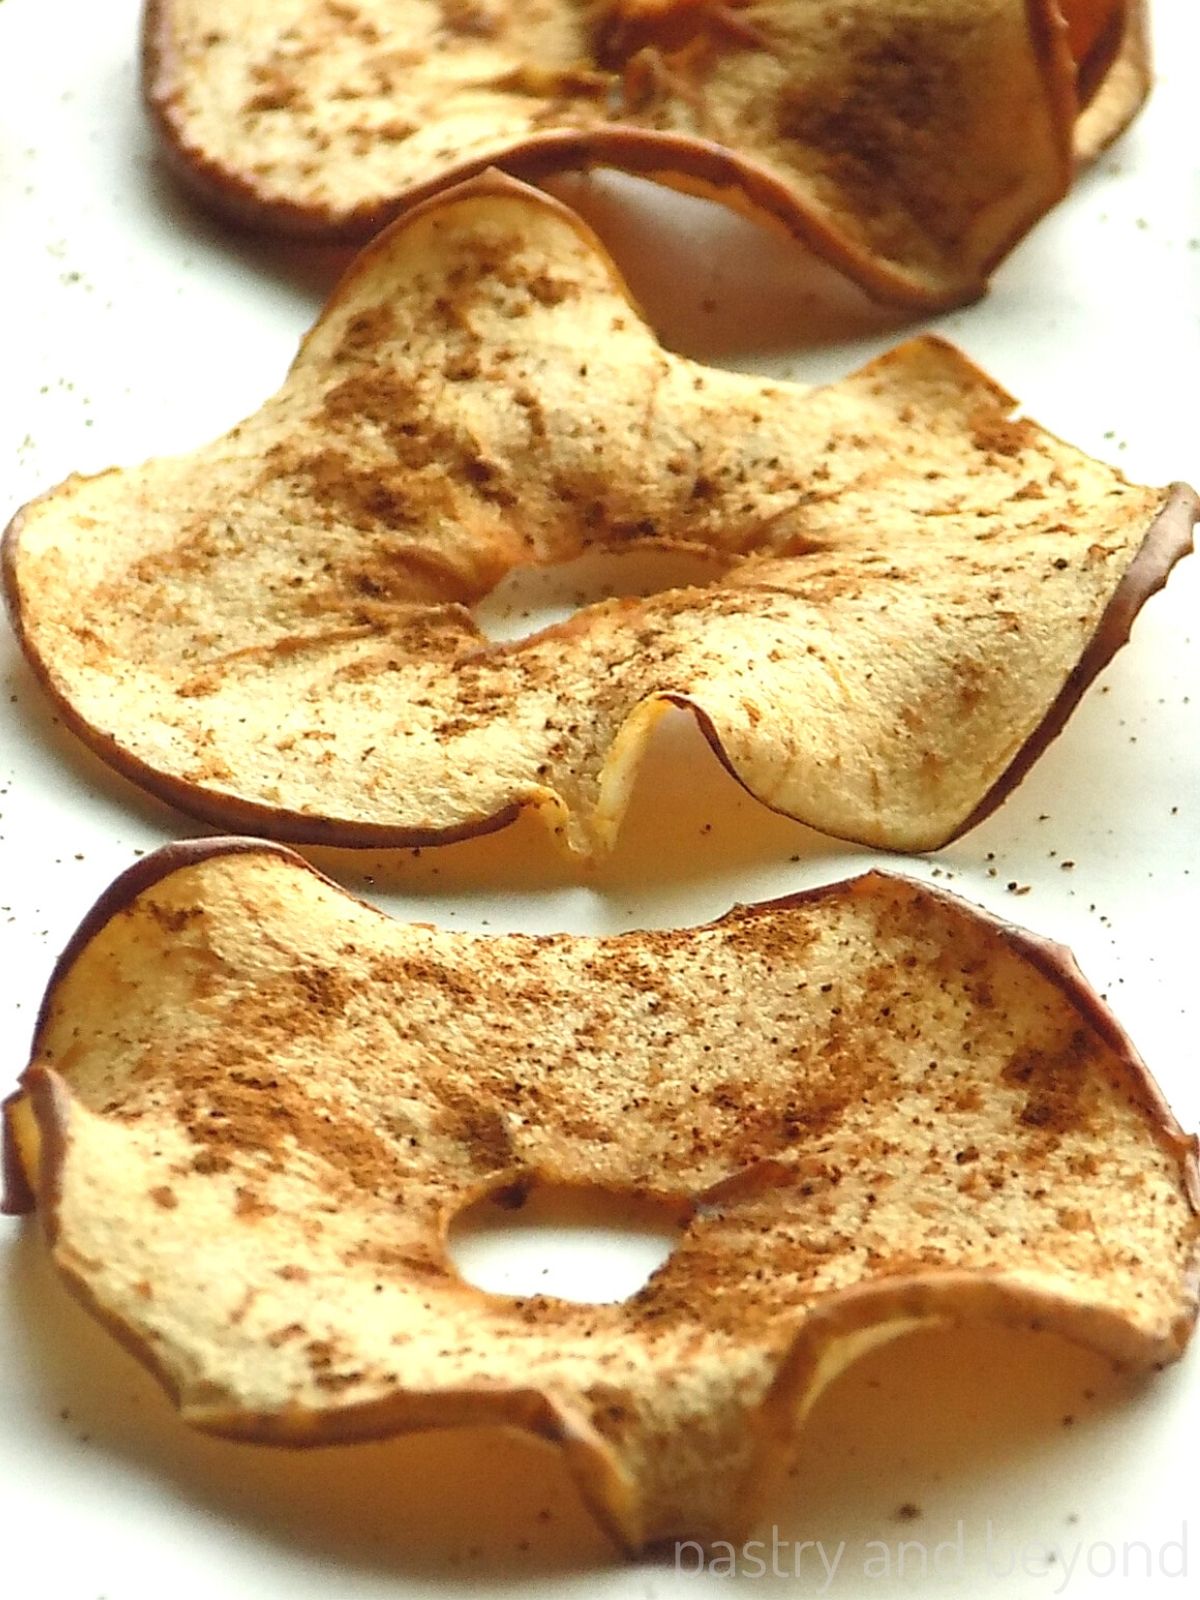
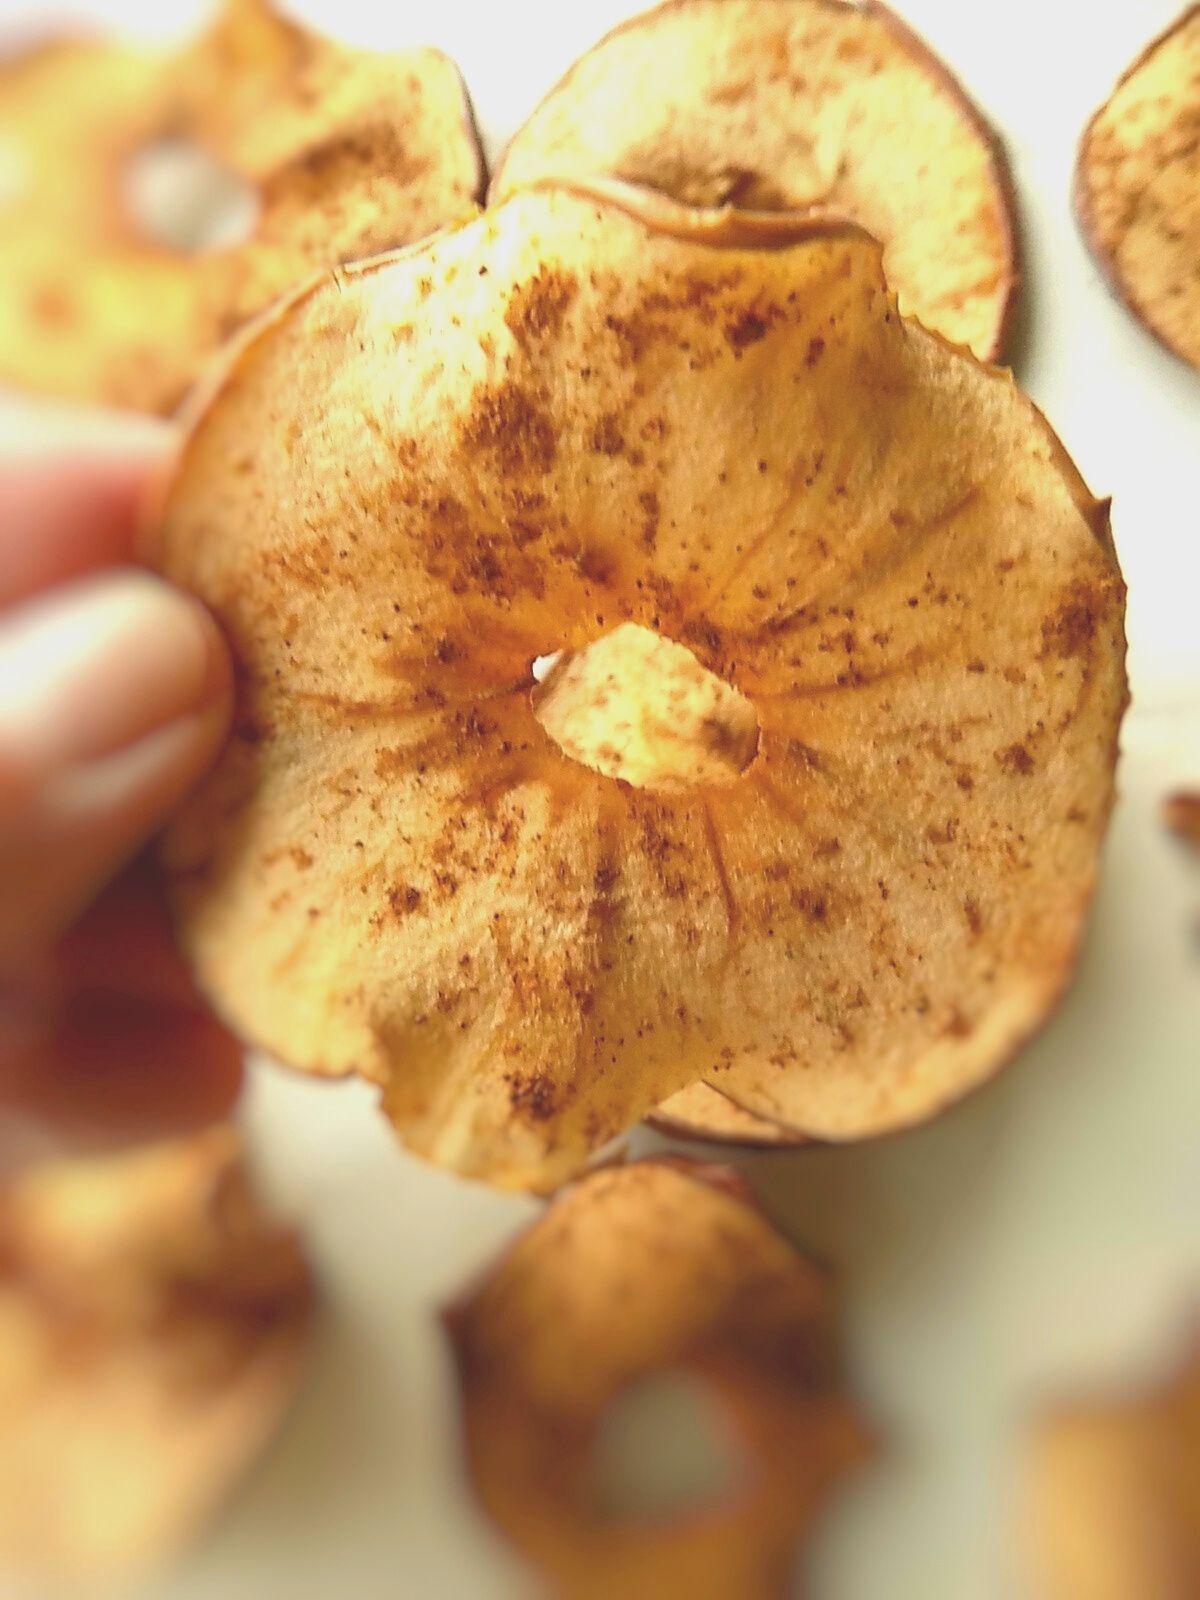
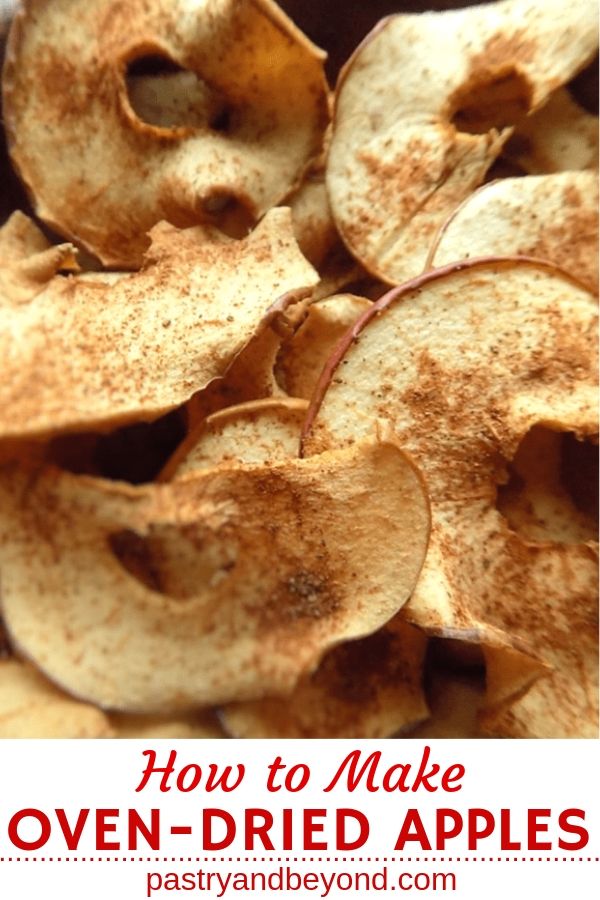
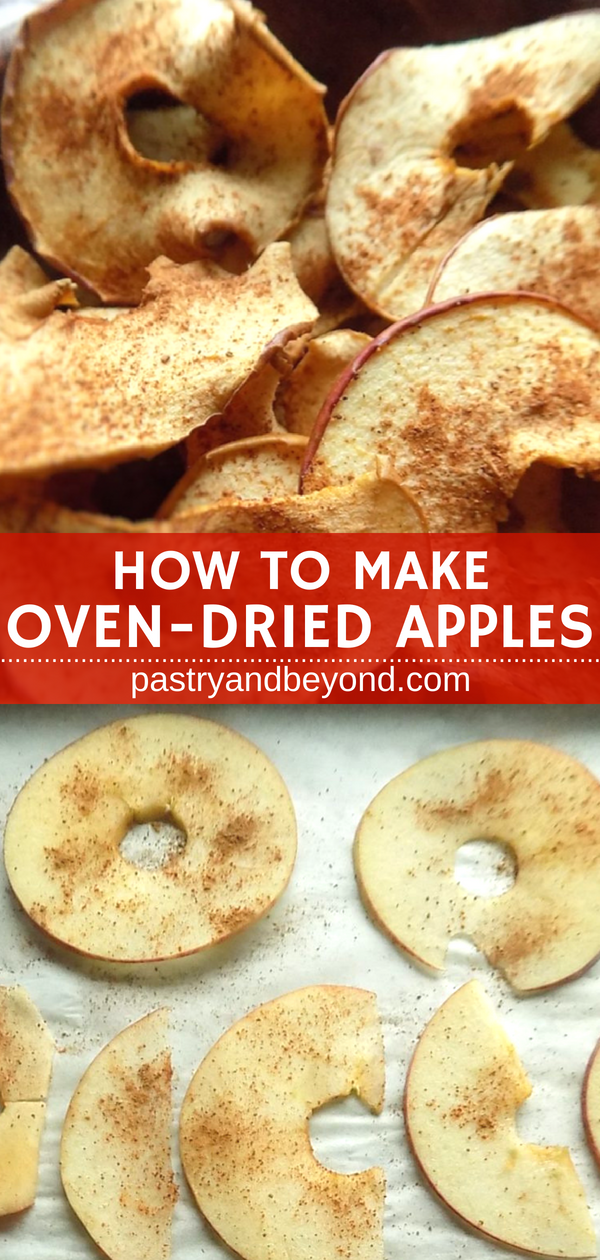
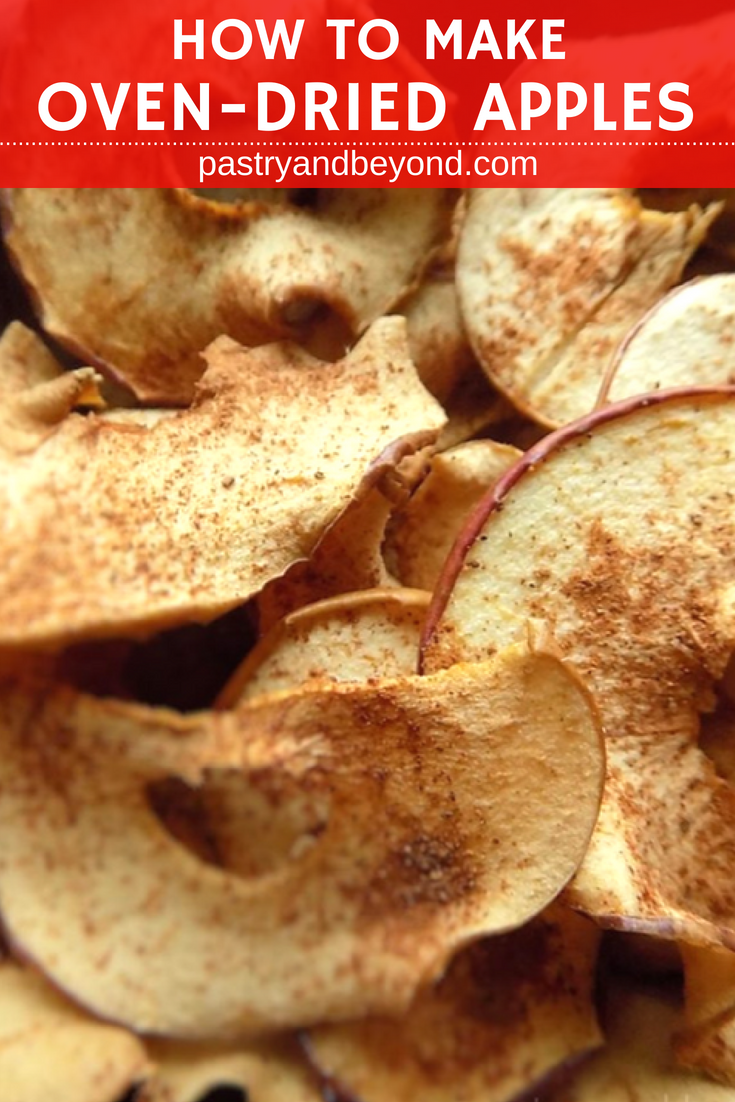
You can easily learn how to make dried apples in the oven! You should slice your apples very thin and sprinkle cinnamon to make these healthy snacks. You can either make these dried apples chewy or crispy!
I made dried apples first almost 2.5 years ago and I should tell you that drying apples in the oven couldn’t be easier! Once you see how easy it is, I am sure you’ll want to make these healthy snacks again and again.
These dried apples don’t contain any sugar but when you eat them you may think some sugar is added. They are sweet as I used Gala Apples.
How Long to Dehydrate Apples in the Oven
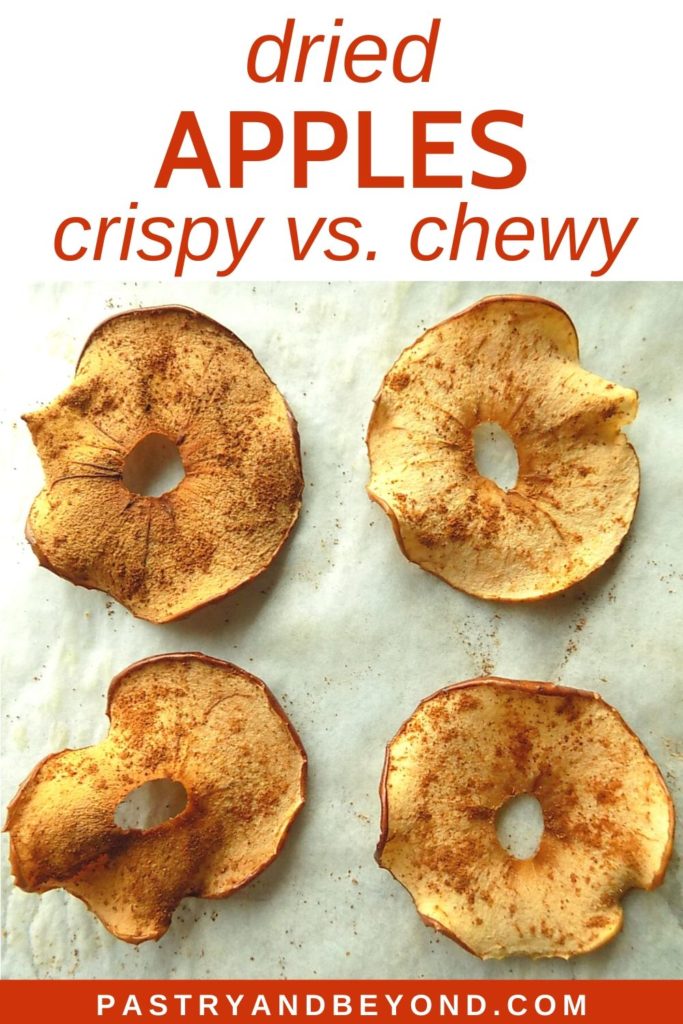
When you make dried apples you have two options. You can either make them chewy or crispy.
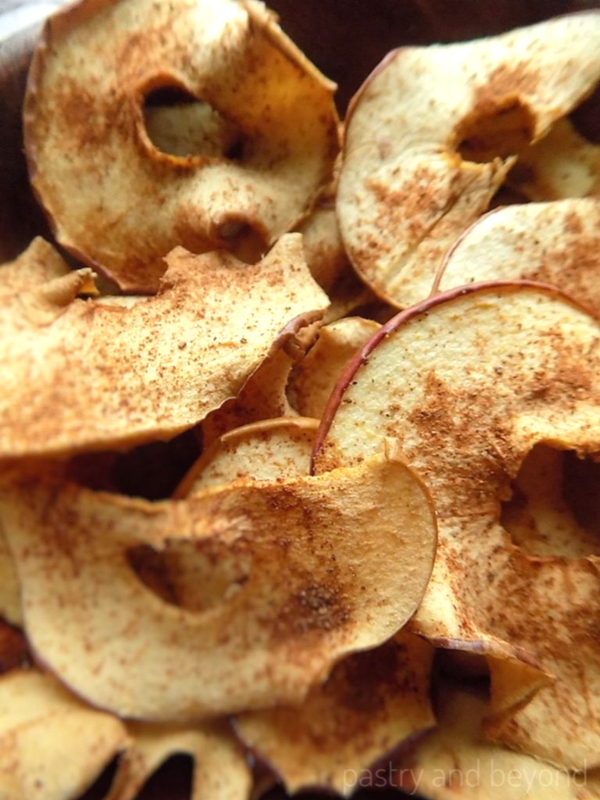
If you like them chewy, you can slice them really thin and have them ready in an hour. The thickness of the slices affects the baking time.
I slice them very thin. After I keep them in the oven for an hour, they are chewy and a little bit crispy. This is how I like them.
If you want them all crispy without any chewiness, you should bake for 2 hours. Then you should keep in the turned-off oven for an extra hour. You should check the oven to give the final decision as I said the thickness of the slices is a factor.
The Ingredients for Dried Apples
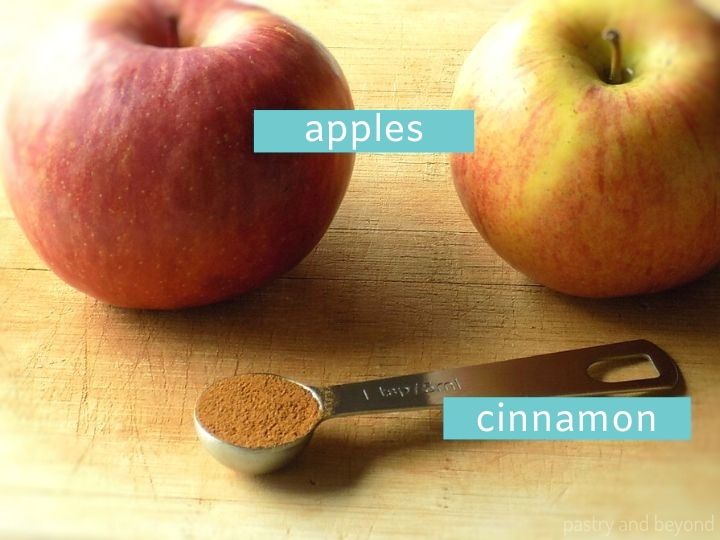
Apples-I use Gala but you can use any other sweet apple as well or use Granny Smith to make tart dried apples.
Cinnamon-perfect with apples
How to Make Oven-Dried Apples
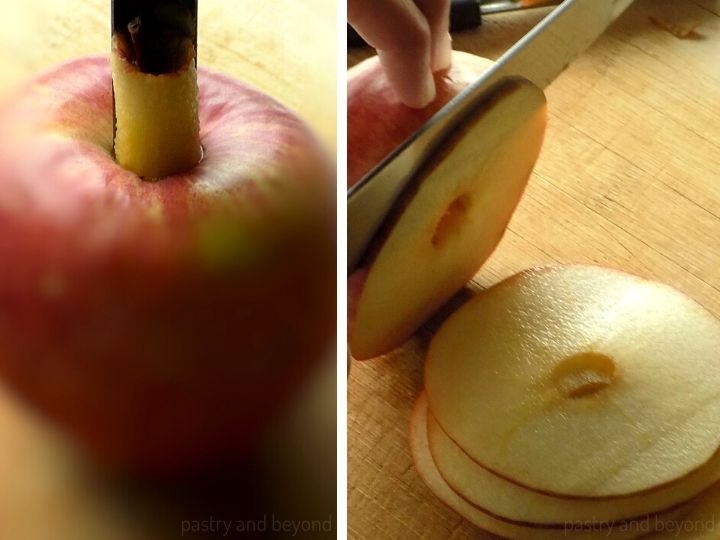
First core the apples with an apple corer. Then, slice the apples very thin as circles. I suggest no more than ⅕ inch (5mm) thick slices.
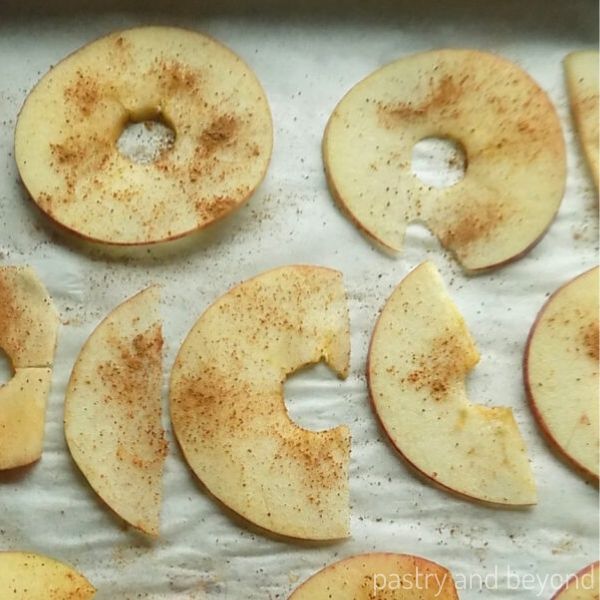
Once you cut more than half of the apple, it will be hard to hold and cut as whole circles, then you can cut as half circles.
If you have a mandoline with a hand guard and you find it safe to use, you can use it instead of using a knife.
Place the slices onto the baking sheet that is covered with parchment paper. Finally, sprinkle ground cinnamon on top and dry the apples in the oven.
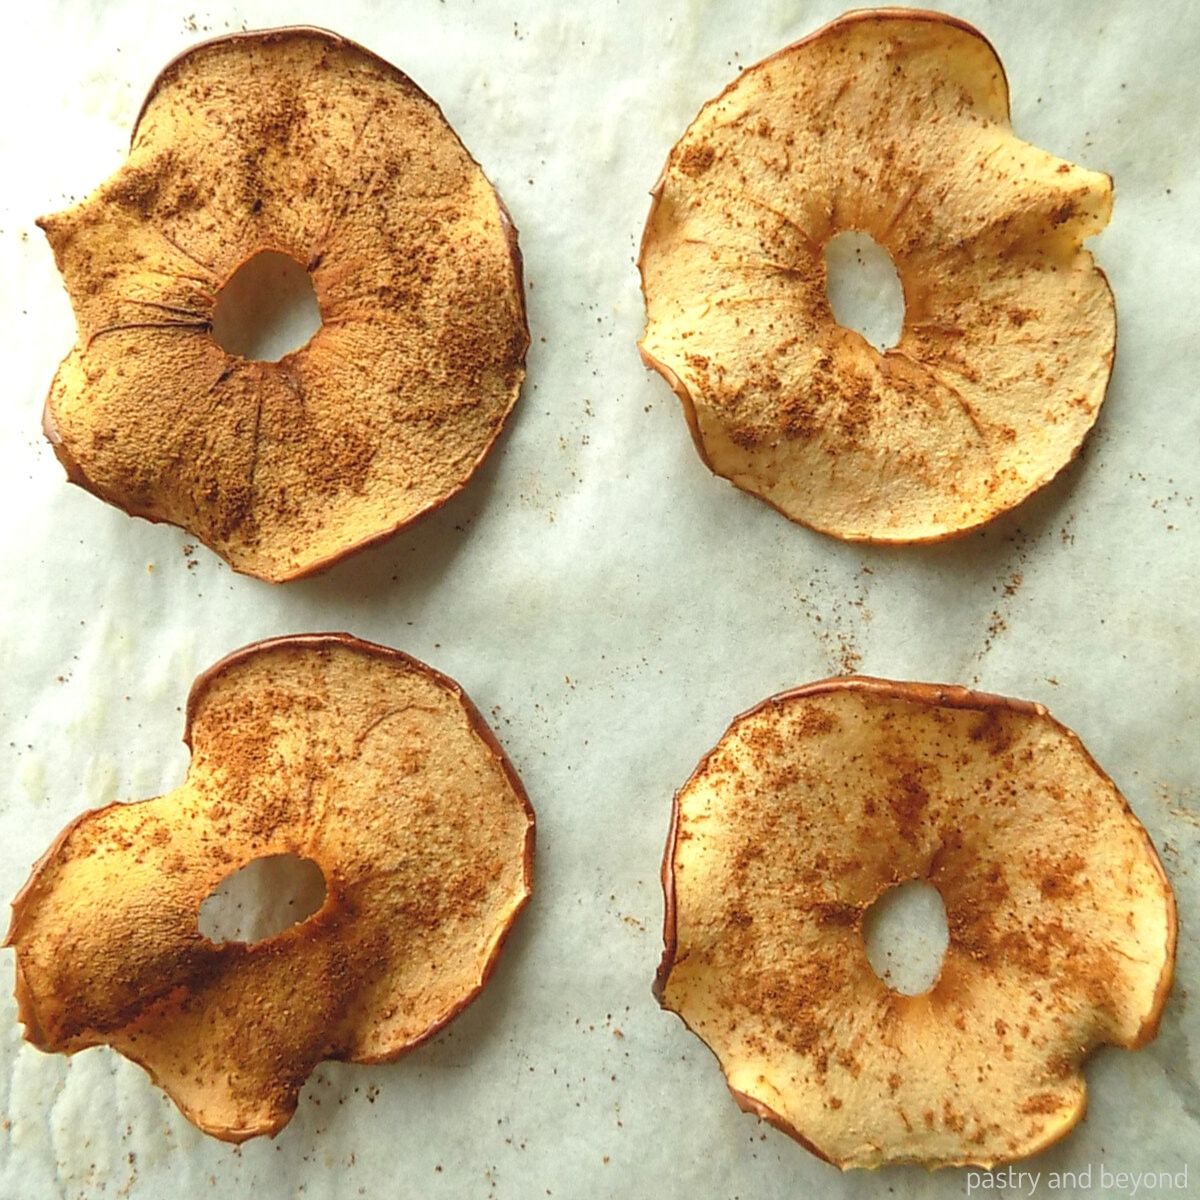
After 35-45 minutes (depending on the thickness of the slices) when the slices start to dry and the edges curl up, flip them over and bake for an additional 25-30 minutes. This time is enough if you are looking for some crispiness and chewiness.
If you don’t want any chewiness, you need to bake for an additional hour. Let them cool in the turned-off oven for crispiness for almost an hour.
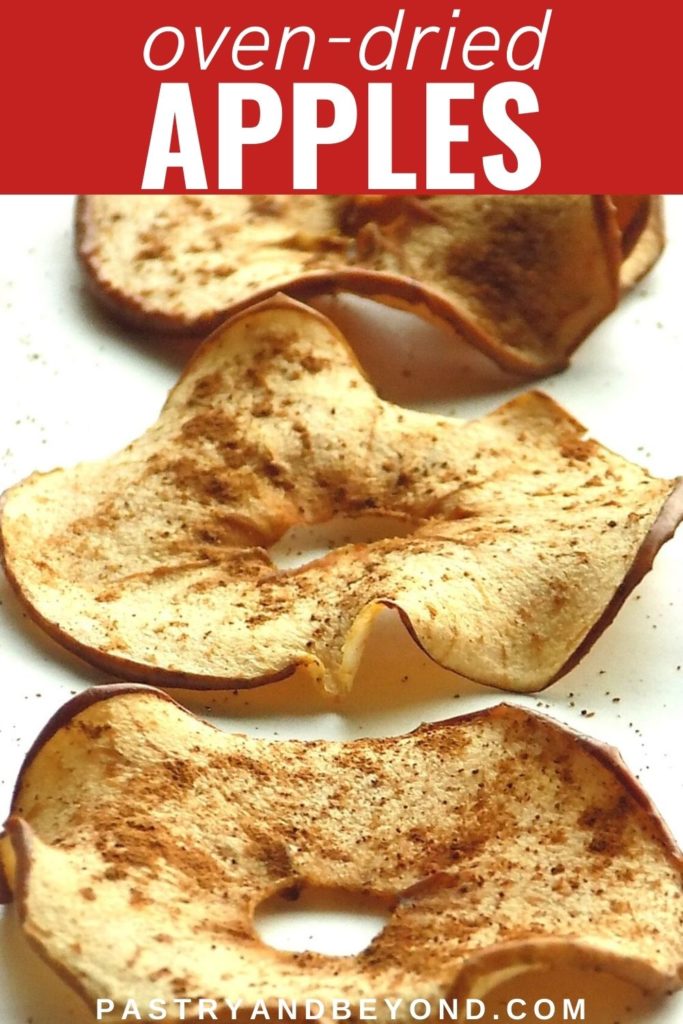
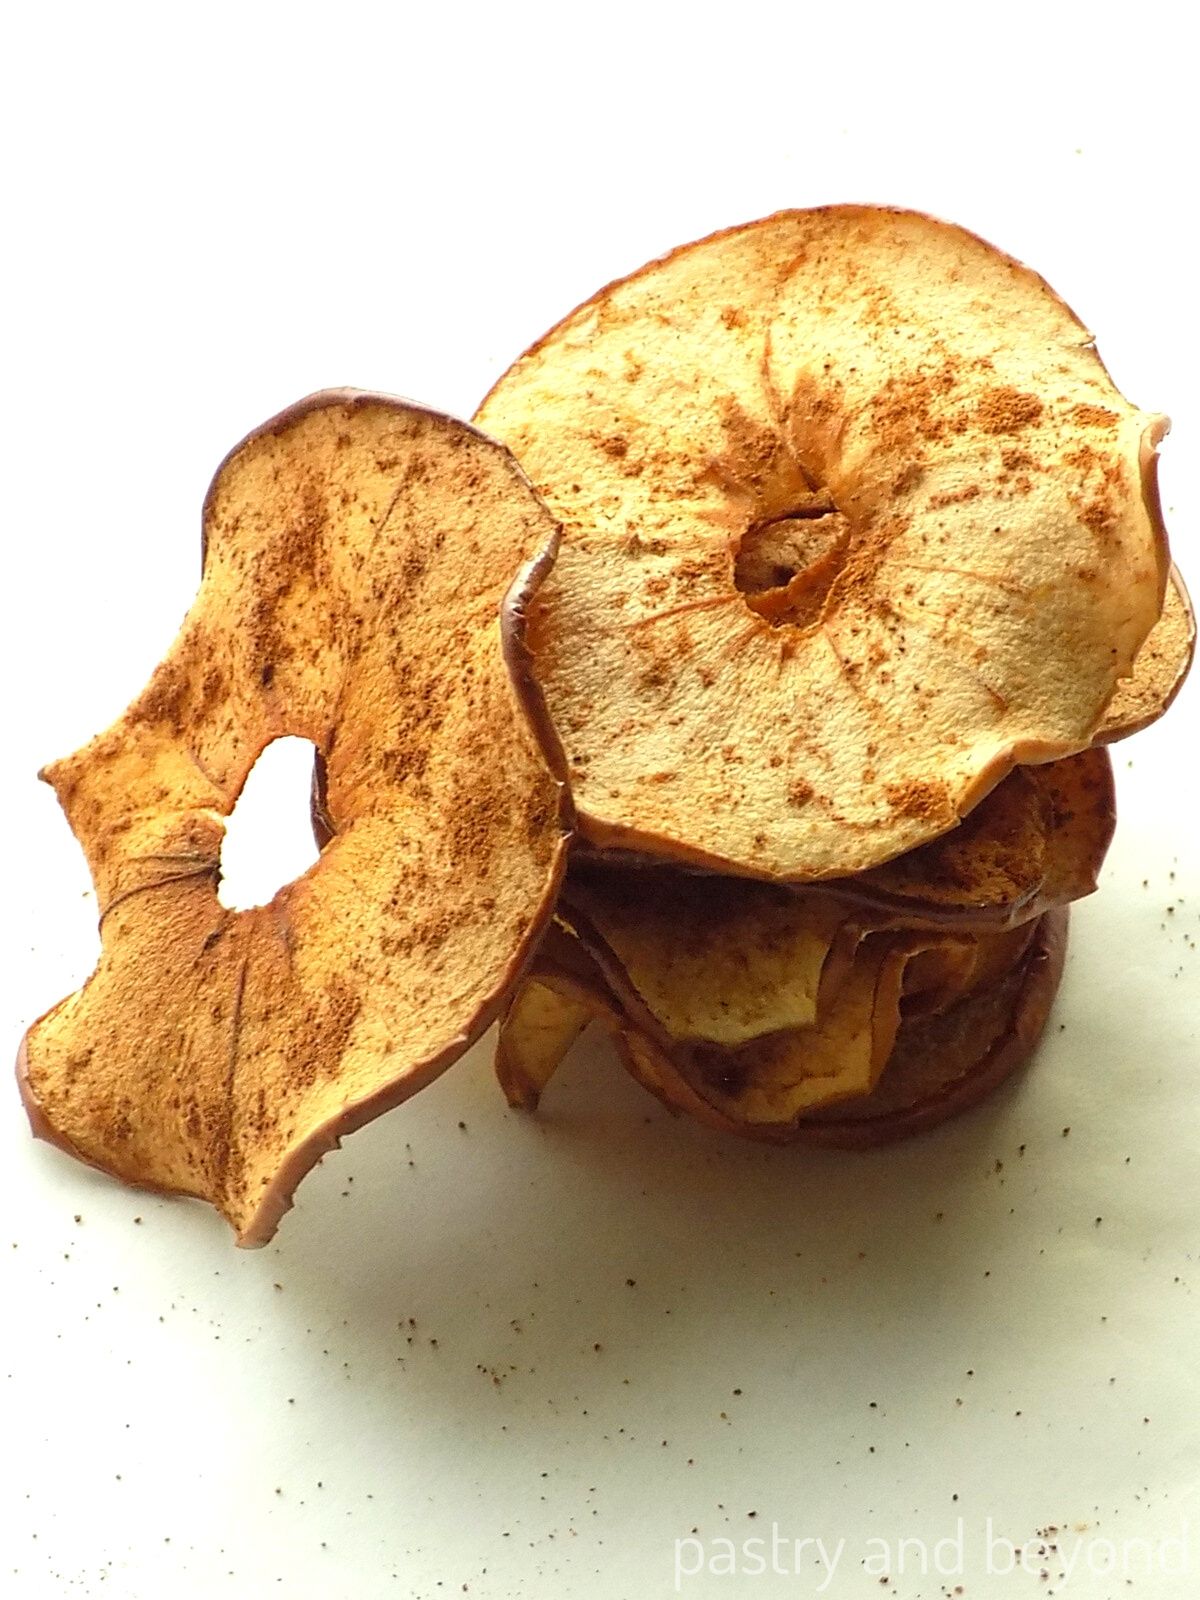
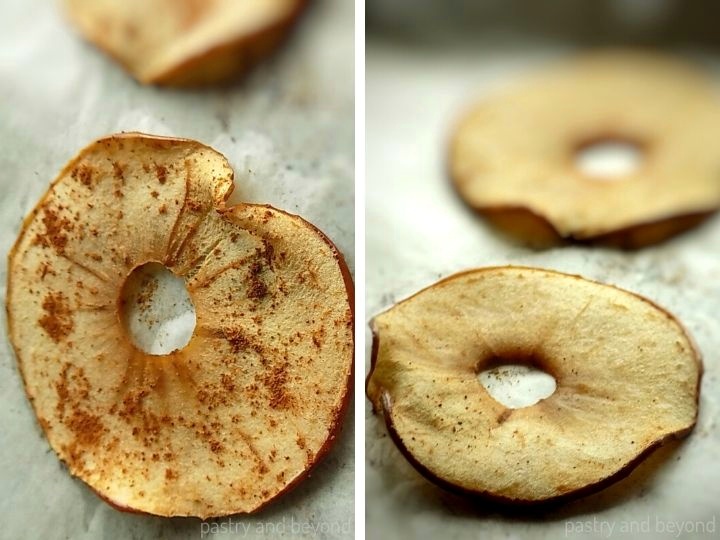
The apples on the left side are crispy ones, and the ones on the right side are chewy with a slight crispiness.
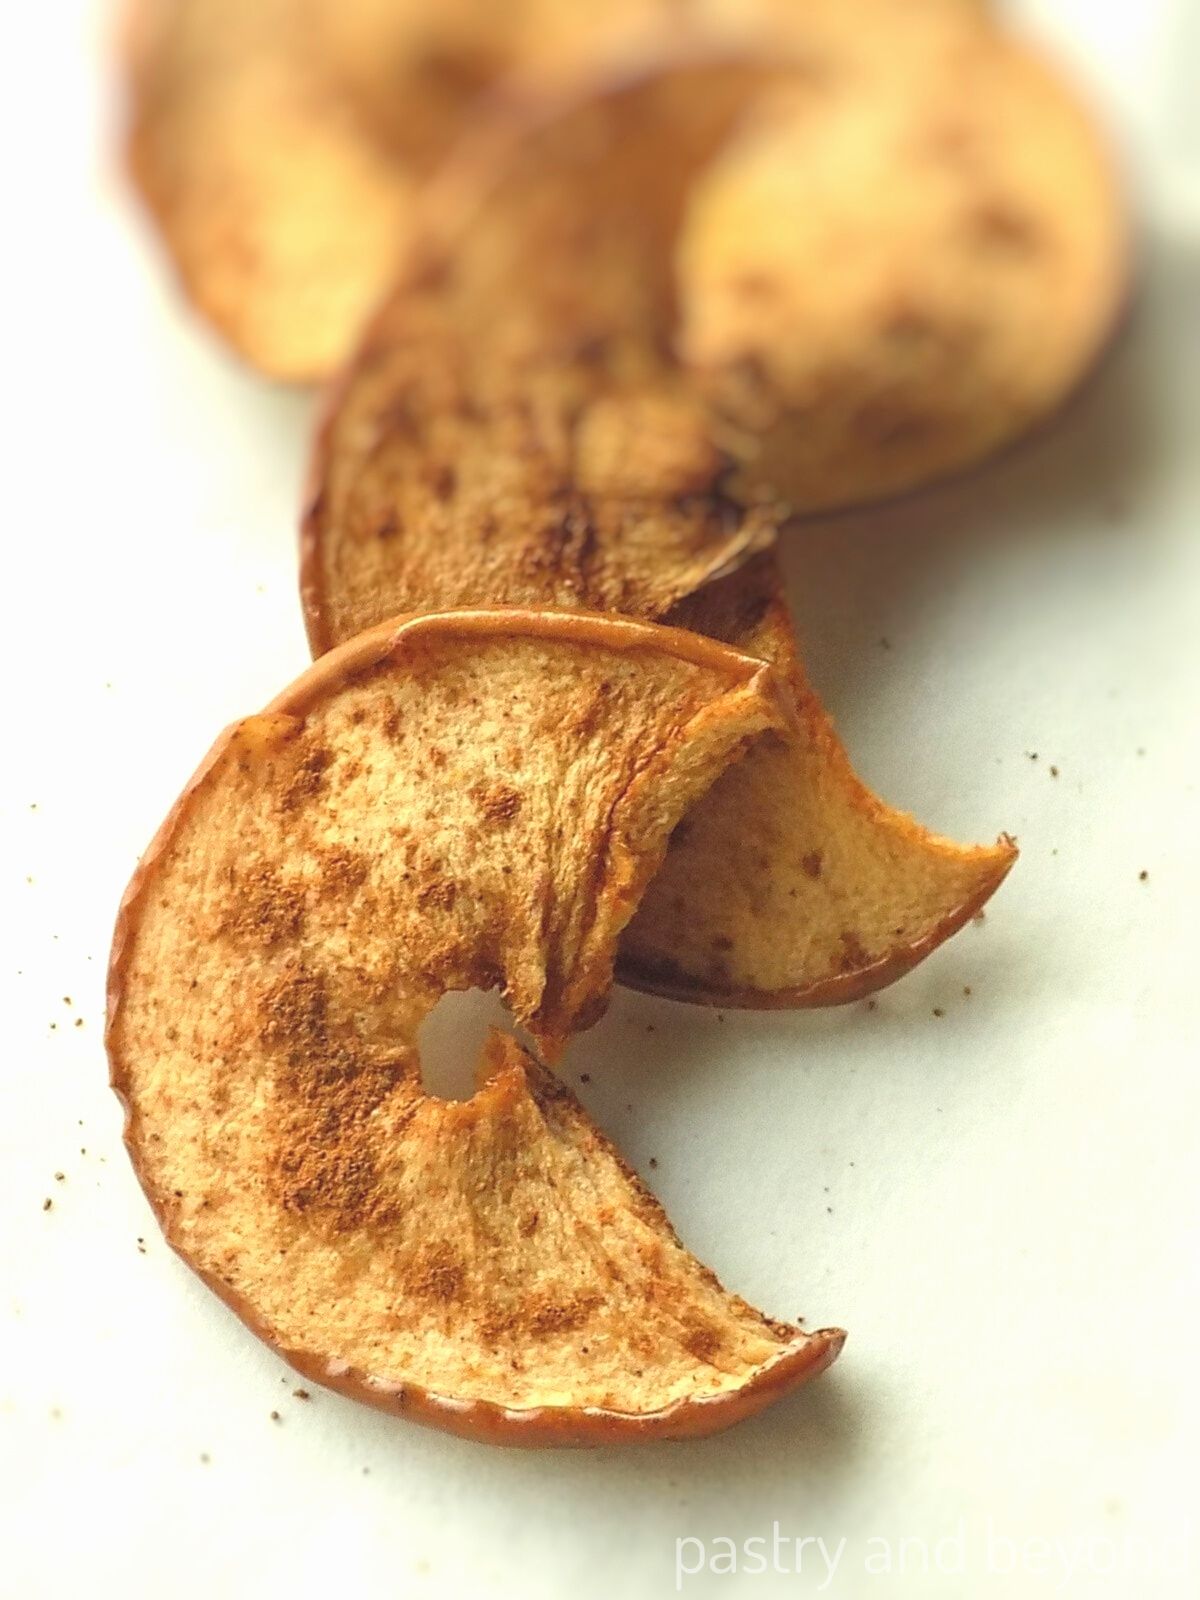
You can keep this dried fruit in an airtight container.
Enjoy these delicious dried apple slices!
YOU CAN PIN THIS RECIPE AND SAVE FOR LATER!
If you are looking for another healthy apple recipe, you should try my apple oatmeal cookies.
If you like dried fruits, you should also check my how to make dried bananas post.
Other Apple Recipes You May Enjoy!
- Caramel Apple Bars
- Apple Crumble Muffins
- Puff Pastry Apple Turnovers
- Apple Pie Bars Recipe
- Apple Crisp Cookie Cups
- Easy Apple Crumble Recipe
How to Make Dried Apples Crispy/Chewy vs. Crispy
Ingredients
- 2 Gala Apples*
- 1 teaspoon ground cinnamon**
Instructions
- Preheat the oven to 225°F(107C°). Line baking sheet with parchment paper.
- Wash the apples. Core the apples with an apple corer. Using a sharp knife, slice them very thin as circles, preferably no more than ⅕ inch thick(5mm). Once you cut more than half of each apple, it will be hard to hold and cut them as whole circles, so you’ll need to cut them as half circles.Instead of using a knife, you can use a mandoline slicer with a hand guard as long as you find it safe to use.
- Place the apple circles onto the parchment paper and sprinkle ground cinnamon on top. Bake one side of the apples for 35-45 minutes (depending on the thickness of the slices) or until the apples start to dry and the edges start to curl up. Then flip them over and bake for an additional 25-30 minutes. If you like your dried apples as chewy and a little bit crispy, take them from the oven. If you like them all crispy, bake for an additional 1 hour and let them cool in the turned off oven for an extra hour.
Notes
Nutrition
Update Notes: I originally shared this post on December 30, 2016. Today I add extra pictures.


