This tuile recipe is delicious and easy to make. You’ll be surprised how easily you can make different shapes from curved cookies to ice cream baskets with this classic tuile recipe.

Today I am sharing my delicious tuile recipe. In my last post, I’ve presented my no-churn praline ice cream in a tuile bowl. Below I’ll share how I made it with a simple tuile recipe.
What are Tuiles?
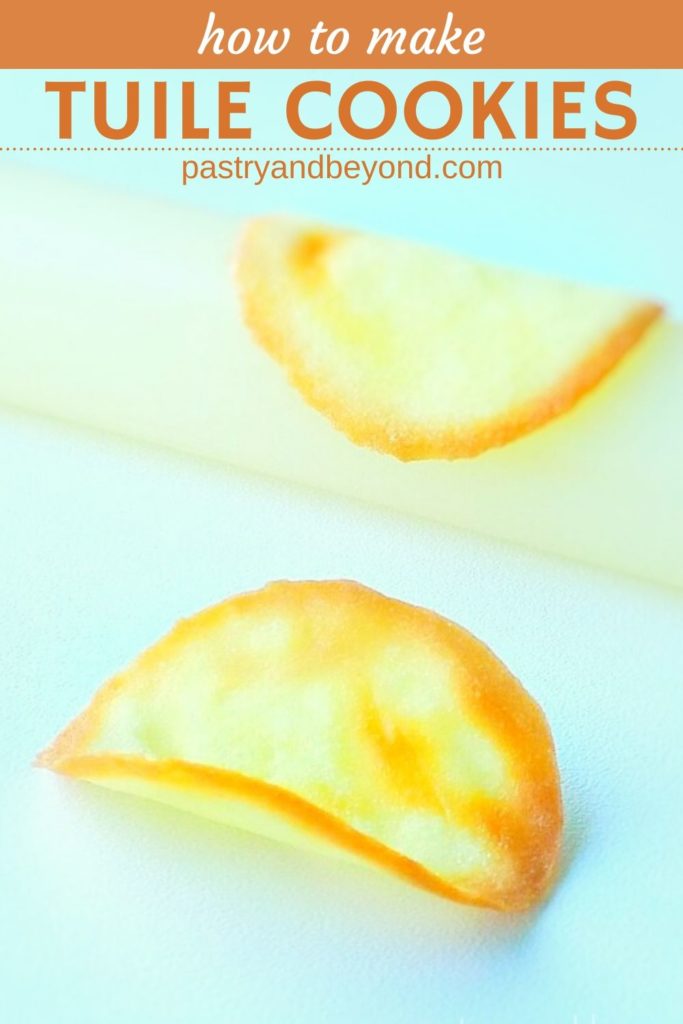
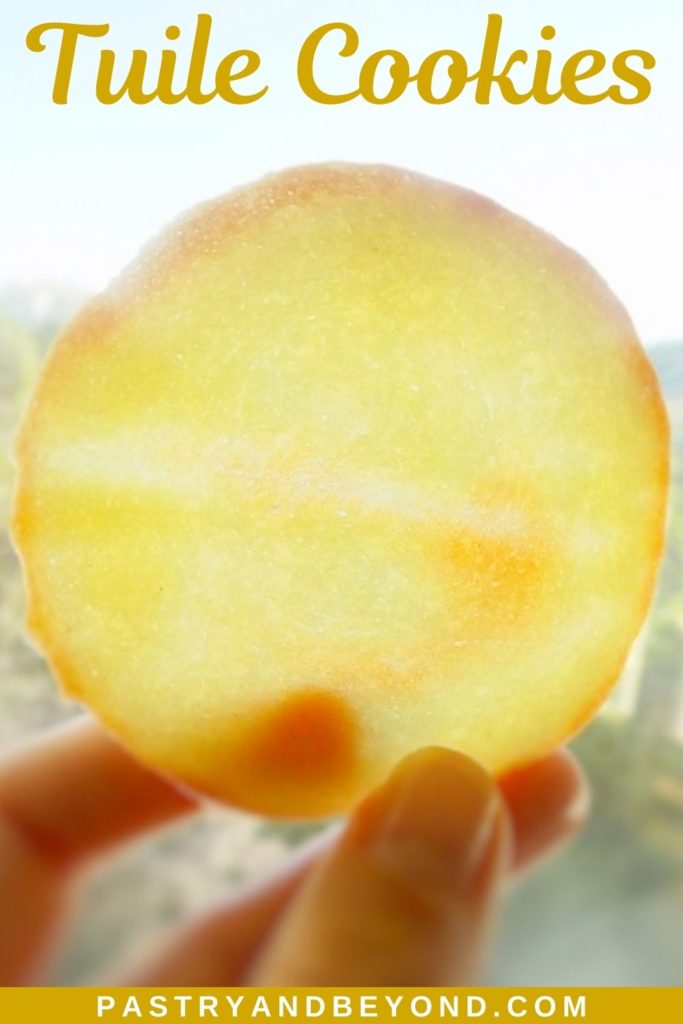
Tuiles are thin and crisp delicate cookies that you can form into different shapes while they are still hot. Curved tuile cookies are the most known version of tuile.

Why You Should Make Tuile Cookies
You can make easy and delicious ice cream baskets that I shared in my praline ice cream post with tuile batter. Besides you can make ice cream cones, tuile cigarettes, fortune cookies with the same batter.
Tuile cookies are very versatile that you can garnish your desserts with many different forms you can think of. There is 1 important rule: you need to work very fast with hot cookies.
Having said that I have to add that these cookies are forgiving. If the cookies cool before you give a shape, you can place it into the oven for 30 seconds to 1 minute and they’ll soften. Then you can try to give a shape.

Main Ingredients for Tuile
- Egg whites
- All-purpose flour
- Butter-melted
- Granulated sugar
- Vanilla extract/Almond extract/other flavors (optional)
If you are using grams, you’ll never forget the amounts because this recipe calls the same weight measurements for each ingredient.
1 large egg white is almost 35 grams. If you are using 1 egg white, you should use 35 grams of flour, 35 grams of butter, 35 grams of sugar.
Today I am sharing my recipe with 2 large egg whites. This means I am using 70 grams egg white. So each other ingredient will be 70 grams.
If you want your tuile cookies less buttery, you can use 57 grams (¼ cup) of butter when using 2 eggs. You don’t need to change the other ingredients. They are delicious each way.

How to Store Tuile Cookies
You should keep tuile cookies in an airtight container so that they can still be crispy and keep their shape but any little moisture and humidity will change the form of the cookies.
As these cookies are very sensitive to moisture, it is best to bake the amount you are planning to consume. You can keep the batter in the fridge up to 3-4 days and bake and shape the cookies when you are planning to eat.

How To Make Tuiles
First mix the egg whites with sugar, until just combined. You are not trying to make any types of meringue so you don’t need a mixer. We just need a quick mix with a whisk. Then mix in the vanilla extract/almond extract or other flavorings. (If you are not using any flavoring, you can mix egg whites, sugar, melted butter and flour at the same time.)

Next, add the melted butter and flour, stir until incorporated well. It will be a thick consistency.
(I always melt the butter halfway and then remove it from the heat and stir. That way it cools fast.)

Next, take 1 teaspoon of batter from the mixture and place it onto parchment paper. Then make almost 2,5 -3inch (6cm-7,5 cm) circles with circular motions. The circle shouldn’t be thick.

Bake for 5 minutes or until the edges and some middle parts get brown at 350F(177ºC). Then place them on a rolling pin. It is better to make almost 4 cookies at a time as they will be firm very fast before you can shape the others. If you don’t want to make curved cookies, you can keep them as they are and place on a wire rack to cool.

If some of the cookies cool down before you shape the cookies, you can put them back to the oven and soften them by baking at the same temperature for 30 seconds to 1 minute. After you leave them from the oven, you should immediately give their shape.
Let’s continue with tuile bowls.
How To Make Tuiles Bowls
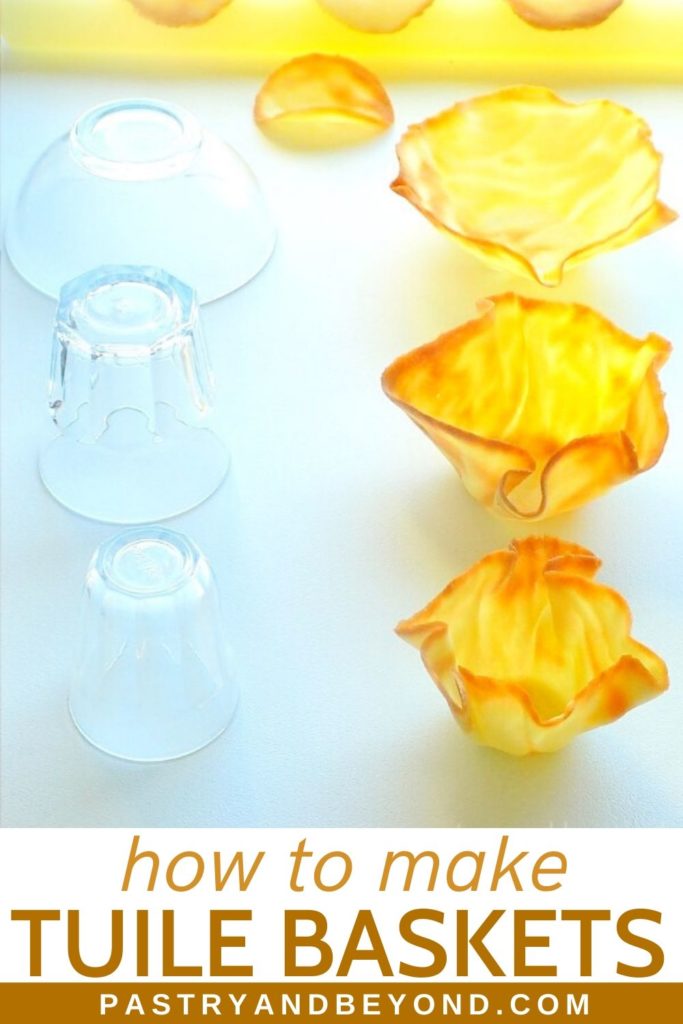
Place 1 and ½ tablespoons or 2 tablespoons of the dough onto parchment paper or on a silicone mat. With the back of a spoon, spread the dough into 5.5 to 7 inch( 14cm or 17cm) circles depending on the size you want to make. Try to spread the dough evenly with circular motions. You should spread it thin.
Try to make only 1 or 2 cookies at a time as they cool down very fast.
Alternatively, you can use a cake ring if you like. You can put the batter into the cake ring and spread the dough to the edges to have an outline for the circle. Then remove the cake ring and spread the batter evenly.

Bake for 5 to 6 minutes or until the edges and some middle parts are getting brown. You should check the oven after 4 minutes as baking time may change from oven to oven.
Place an offset spatula or a knife under the baked dough and place on or in a bowl.

Tuile will be very hot and you should work while it is hot. So the kitchen towel will be your best friend while giving the shape.
After you place it onto a bowl, cover the tuile with a kitchen towel and gently press it with your hands for a few seconds so the tuile can take its shape. Then you can place it on a wire rack to completely cool.
If it is your first time working with tuiles, you may break some of the tuile bowls while shaping but as you continue to work with them, you’ll start to learn how to work with them, so don’t worry!
In order to decide how big you should spread the batter, you can measure the bottom and sides of the bowl you are planning to use.
I make 5.5 inch (14 cm) circles for smaller bowls.

I make a 7inch (18 cm) circle to make the wide bowl below.

If you have a bowl with a ruffle or another special design, you can place the hot cookie into the bowl instead of an inverted bowl, and gently press your hand to the bottom. It will immediately take the bowl’s shape in seconds.

In order to decide how big you should spread the batter, you can measure the bottom and sides of the bowl you are planning to use.

I hope you enjoy this tuile recipe!

Summary of the tips from the post
- You should work very fast. You can only give the cookies’ shape while the cookies are still hot and soft.
- If the cookies cool down before you give their shape, place them into the oven at the same temperature for 30 seconds to 1 minute. They will soften again, then you can give their shape.
- If you don’t like the shape, as long as you haven’t broken the cookie during the shaping process, you can still place it into the oven, it will soften and you can try to give the shape again.
- In order to decide how big you should spread the batter, you can measure the bottom and sides of the bowl you are planning to use.
- You should keep the cookies/bowls in an airtight container so they can be crispy and keep their shape as humidity and moisture will change their form. You can keep the batter in the fridge up to 3-4 days. As these cookies are very sensitive to moisture, you may want to bake and shape the cookies when you are planning to eat.
- If it is your first trial, you may break some of the cookies while giving shape which is totally fine. You’ll learn when to remove the cookies and how fast you should work as you start to work with the cookies.

Tuile Recipe
Ingredients
- 2 large egg whites
- 70 grams (⅓ cup) granulated sugar
- 70 grams (¼ cup and 1 tablespoon) unsalted butter*, melted
- 70 grams (½ cup) all-purpose flour, (dip and sweep)**
- ¼ teaspoon vanilla extract or almond extract, optional
Instructions
- Preheat the oven to 350°F(177°C). Line baking sheet with parchment paper or silicone baking mat. Set aside.
Tuile Batter
- First mix the egg whites with sugar, until just combined.
- Mix in the vanilla extract/almond extract(optional). (If you are not using any flavoring, you can mix egg whites, sugar, melted butter and flour at the same time.) Then add the melted butter and flour and stir until combined well.
Curved Tuile Cookies
- Place 1 teaspoon of batter onto a parchment paper and make almost 2,5 -3inch (6cm-7,5cm) circles with circular motions. If you find it hard to spread, keep in the fridge for 10-15 minutes. It is better to make almost 4 cookies at a time as they firm very fast before you can shape the others after you remove them from the oven. (Alternatively, you can use a rounded cookie mold. You can put the batter into the mold and spread the batter to the edges to have an outline for the circle. Then you can remove the mold and spread the batter evenly.)
- Bake for 5 minutes or until the edges and some middle parts get brown. Remove from the oven and place an offset spatula or a knife under the baked dough. Then place them on a rolling pin to give their shape. If you don’t want to make curved cookies, you can keep them as they are and place on a wire rack to cool.
- If some of the cookies cool down before you shape the cookies, you can put them back to the oven and soften them by baking at the same temperature for 30 seconds to 1 minute. After you leave them from the oven, you should immediately give their shape.
- Before you make the other batches, make sure the baking is sheet is cool, otherwise, you can't spread the batter properly.
- You should keep tuile cookies in an airtight container so that they can still be crispy and keep their shape but any little moisture and humidity will change the form of the cookies. As these cookies are very sensitive to moisture, it is best to bake the amount you are planning to consume. You can keep the batter in the fridge up to 3-4 days and bake and shape the cookies when you are planning to eat.
Tuile Baskets
- Place 1 and ½ tablespoons or 2 tablespoons of the dough onto a parchment paper or on a silicone mat. With the back of a spoon, spread the batter with circular motions into 5.5 to 7 inch( 14cm or 17cm) depending on the size you want to make. If you find it hard to spread, keep the batter in the fridge for 10-15 minutes. Try to make only 1 or 2 cookies at a time as they cool down very fast-you don't have time to shape more than 1 or 2 baskets. (Alternatively, you can use a cake ring if you like. You can put the batter into the cake ring and spread the batter to the edges to have an outline for the circle. Then remove the cake ring and spread the batter evenly.)
- Bake for 5 to 6 minutes or until the edges and some middle parts are getting brown. You should check the oven after 4 minutes as baking time may change from oven to oven.
- Remove from the oven and place an offset spatula or a knife under the baked dough and place on an inverted bowl or glass. Tuile will be very hot and you should work while it is hot. After you place it on an inverted bowl, cover the tuile with a kitchen towel(otherwise you can burn your fingers) and gently press it with your hands for a few seconds so the tuile can take its shape. Then you can place it on a wire rack to completely cool. If you have a bowl with a ruffle or another special design, you can place the hot cookie into the bowl instead of an inverted bowl/glass, and gently press with your fingers to the bottom. It will immediately take the bowl’s shape in seconds.
- If some of the cookies cool down before you shape the cookies, you can put them back to the oven and soften them by baking at the same temperature for 30 seconds to 1 minute. After you leave them from the oven, you should immediately give their shape.
- Before you make the other batches, make sure the baking is sheet is cool, otherwise, you can't spread the batter properly.
- You should keep tuile bowls in an airtight container so that they can still be crispy and keep their shape but any little moisture and humidity will change the form of the bowls. As they are very sensitive to moisture, it is best to bake the amount you are planning to consume. You can keep the batter in the fridge up to 3-4 days and bake and shape the bowls when you are planning to eat.
Leave a Reply