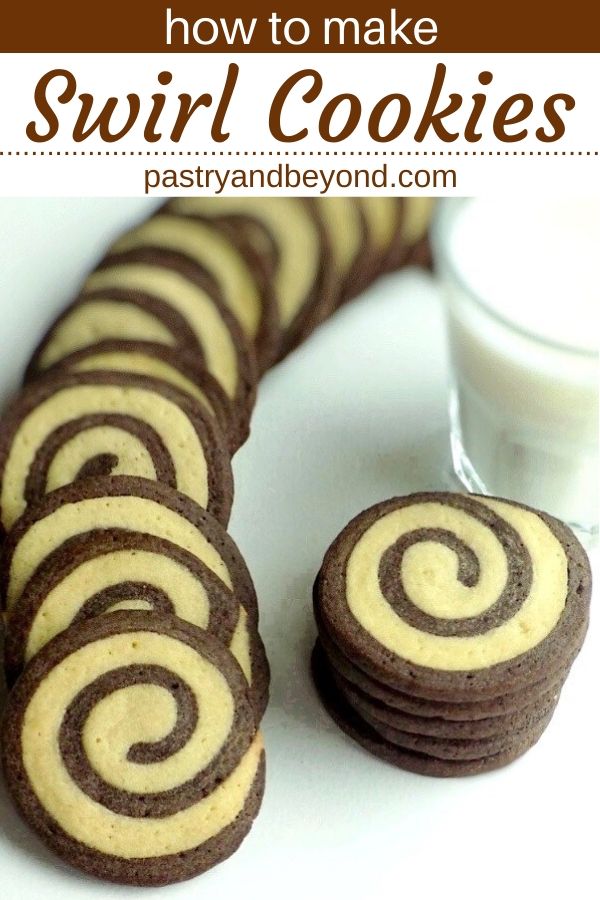
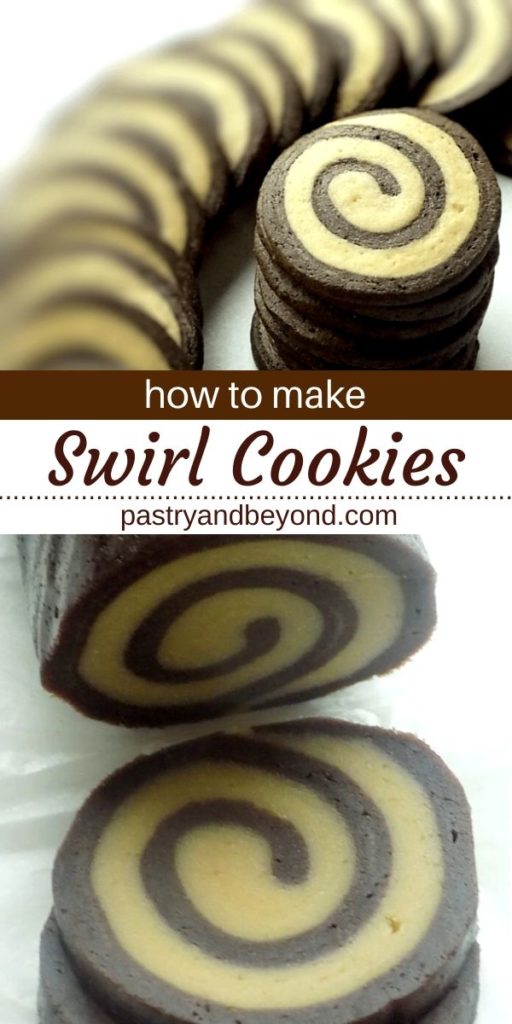
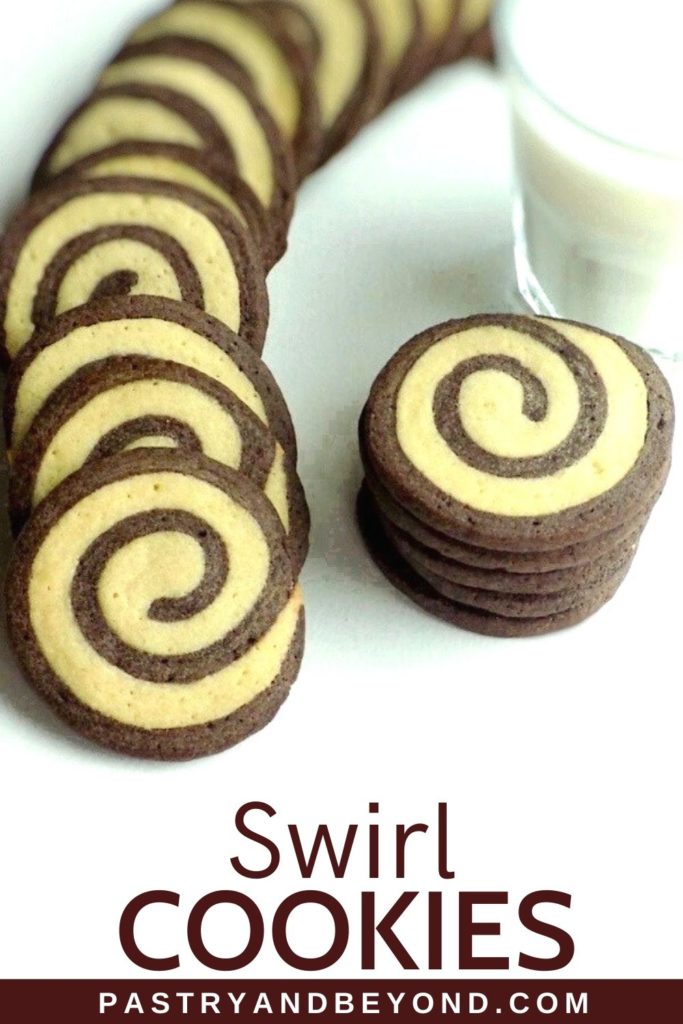
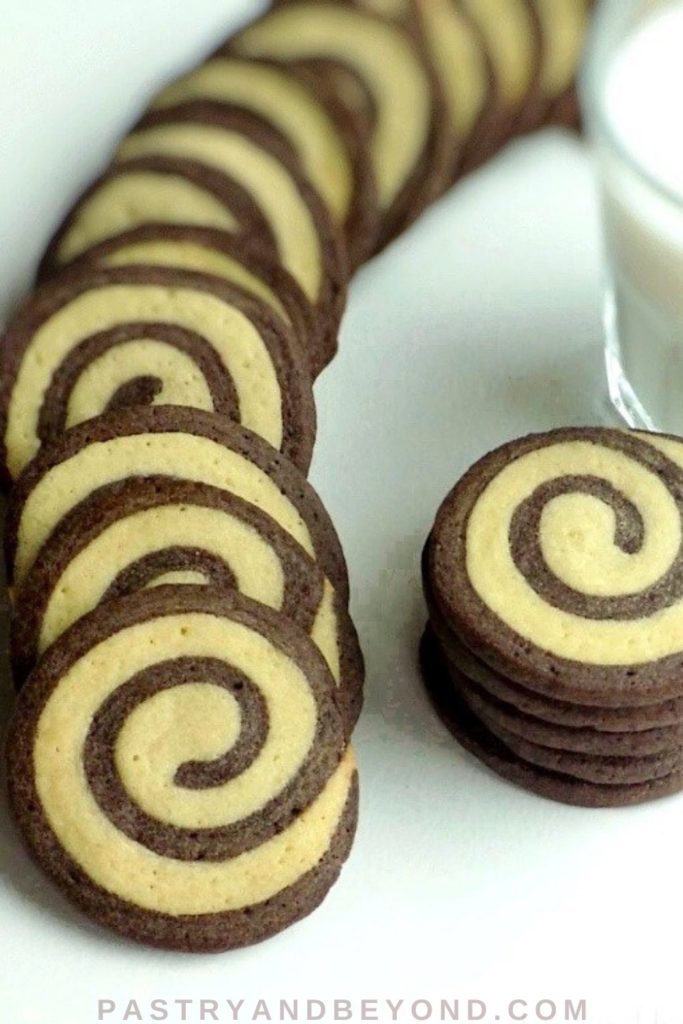
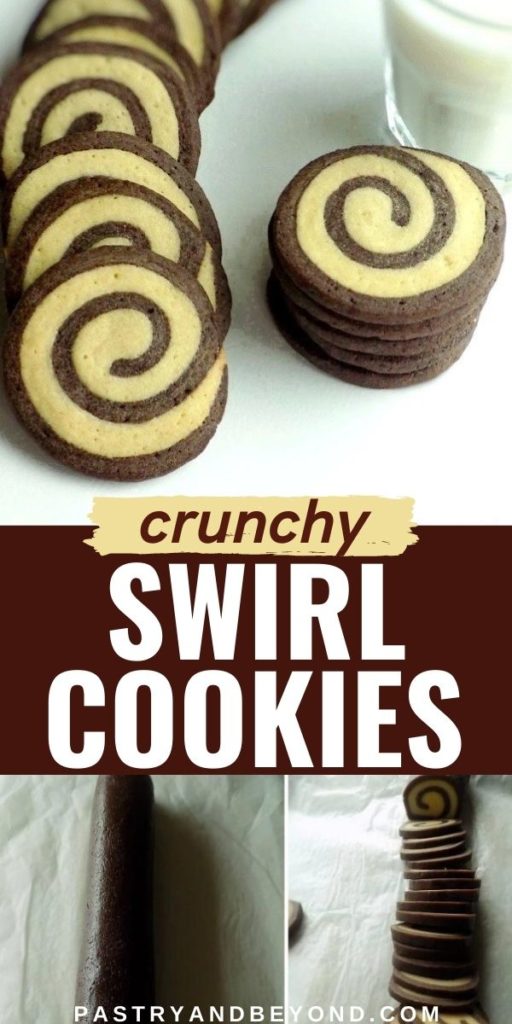
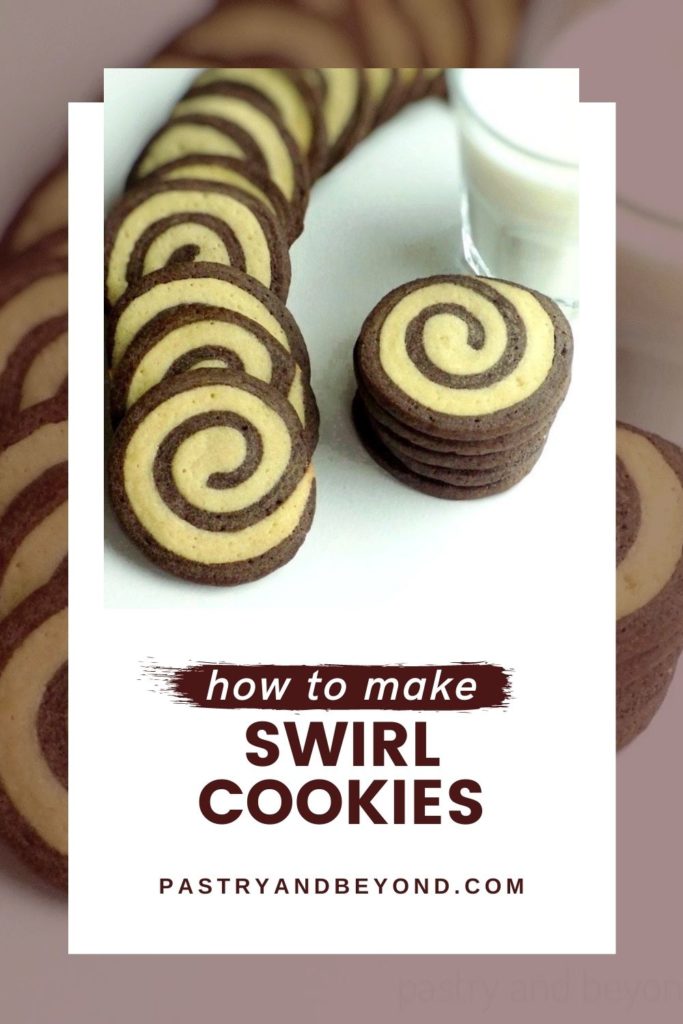
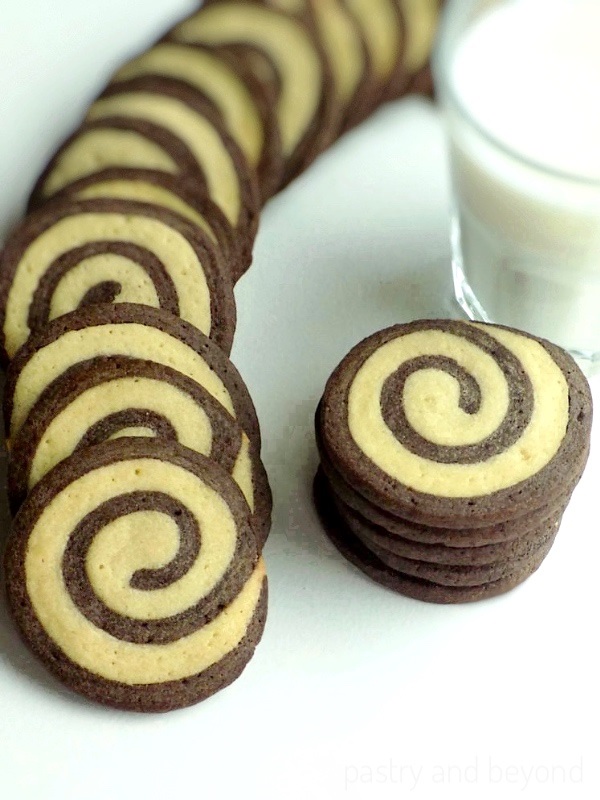
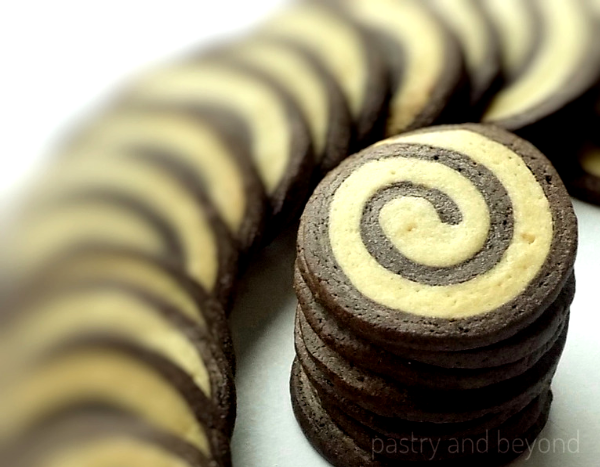
These vanilla and chocolate swirl cookies are light and delicious. Also named as pinwheel cookies, they look so fancy with the spiral but at the same time, they are so easy to make.
I love the look of the swirl cookies. These fancy-looking cookies take the attention immediately.
Actually, it is nothing more than rolling out two different doughs and placing one dough over the other. Then you tightly roll the dough into a log shape and slice. That’s all.
I try to explain the steps in detail.
So let’s start,
Today I make it very classic with vanilla and cocoa dough. They are very light and crunchy cookies. The lightness of the dough is very similar to my cookie sticks dough.
How to Make Swirl Cookies
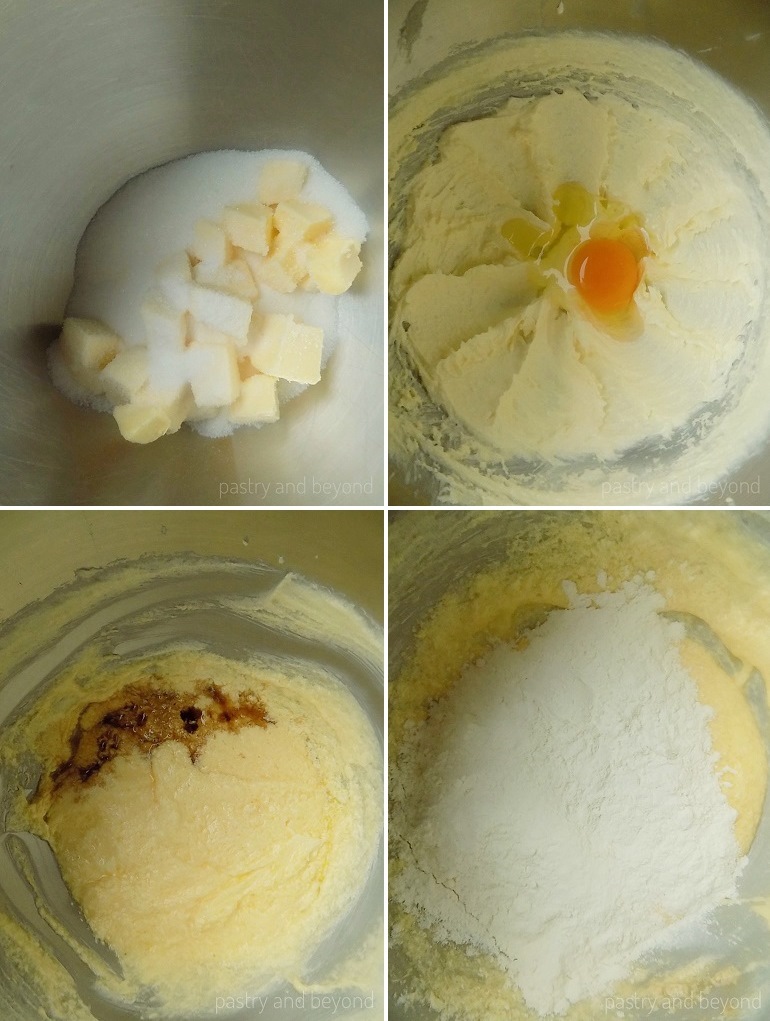
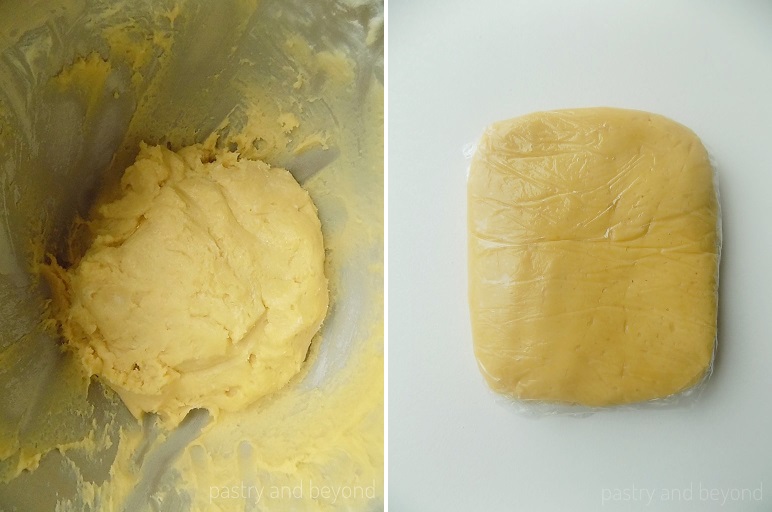
First, combine the butter and sugar at low speed and then beat at medium speed until light and fluffy for almost 4 minutes. Later, add in the eggs one at a time and then add the vanilla. When they mix well, add the flour and mix until incorporated. The dough will be sticky but easy to roll out after it rests in the freezer.
Next, divide the dough in half. Then place one half on a plastic film and form into disc or a square.
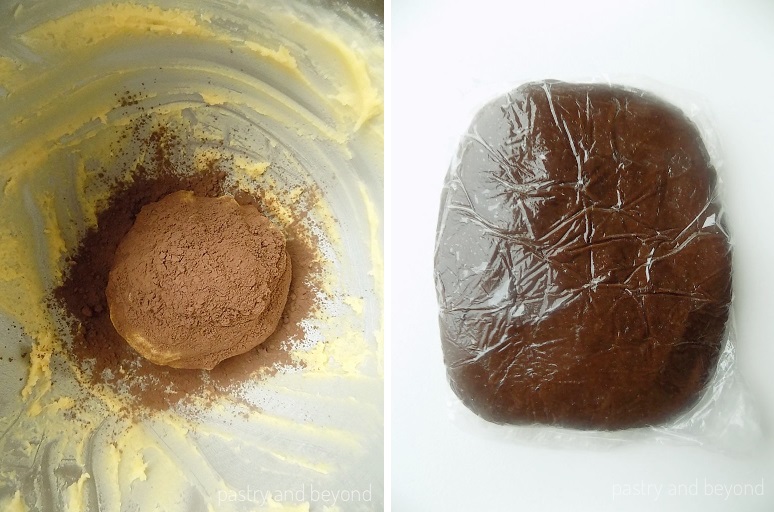
Later add cocoa powder to the other half and mix well. Place the cocoa dough on a plastic film and form into a disc or a square as well. Then let them chill for 30-45 minutes in the freezer.
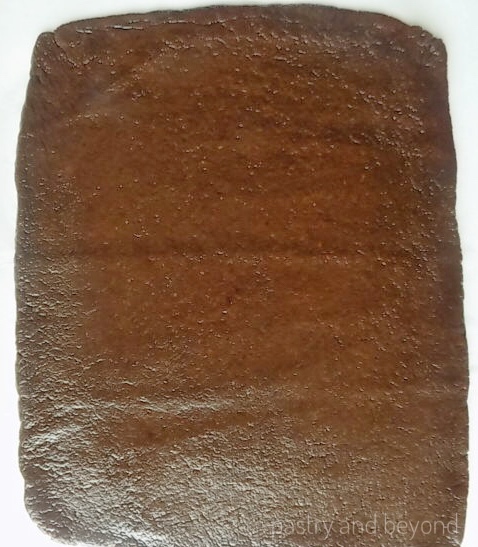
Remove the doughs from the freezer. Place the cocoa dough on parchment paper. Roll out the dough almost 7,5*10,5 inches (19*26cm) long, ⅛ inch (3mm) thick. Keep it aside.
If the dough chills enough, the rolling pin won’t stick to the dough but if you think flour is needed when rolling, you can sprinkle cocoa powder on top of the cocoa dough instead of flour.
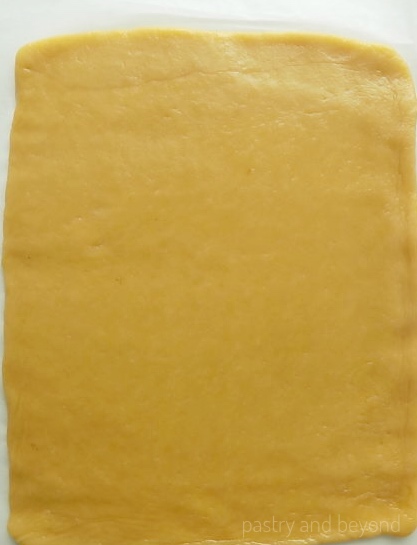
Then take the vanilla dough from the freezer and place the dough on parchment paper and apply the same steps. If the dough sticks, you can use flour over the vanilla dough.
After these steps, if the doughs are getting warm, keep them in the freezer for 10 minutes to let them cool so you can work easily in the next step.
We will put one dough over another. They shouldn’t be too cold so that they can stick to each other easily. But they shouldn’t be too warm so we can put one dough over the other easily. We can have control over the dough, it doesn’t fall over the other dough/separate from the parchment paper suddenly.
I put vanilla dough over cocoa dough. You can do the opposite, it depends on how you want the cookies to look like.
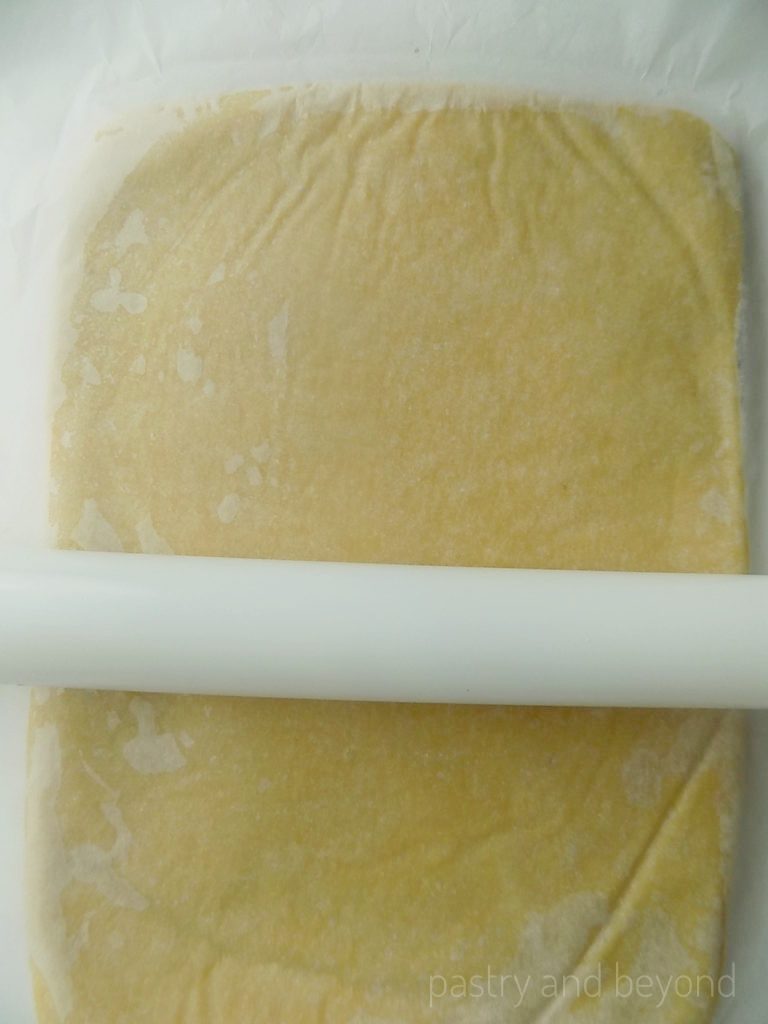
After placing the vanilla dough over the cocoa dough or vice versa, use your rolling pin to stick the doughs. Then remove the parchment paper. If needed, trim from the edges.
Next step is making a cylinder but first, you need to decide how you want your cookies to look like.
You can either make them with less swirl or more swirl.
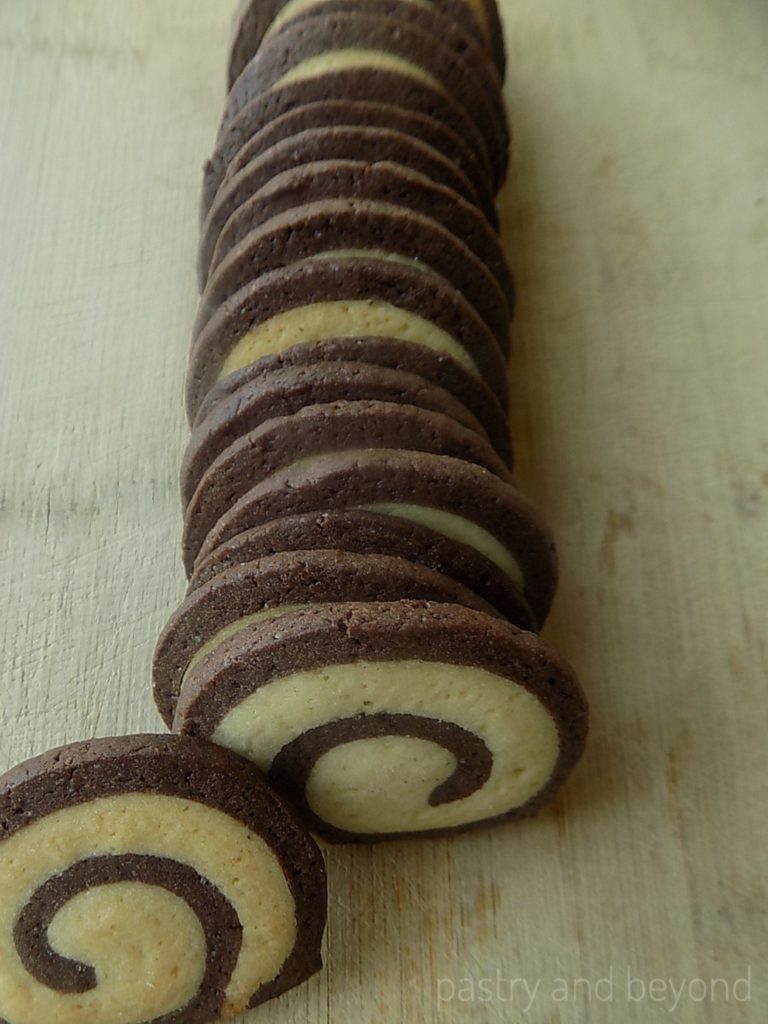
If you prefer less swirl but more cookies;
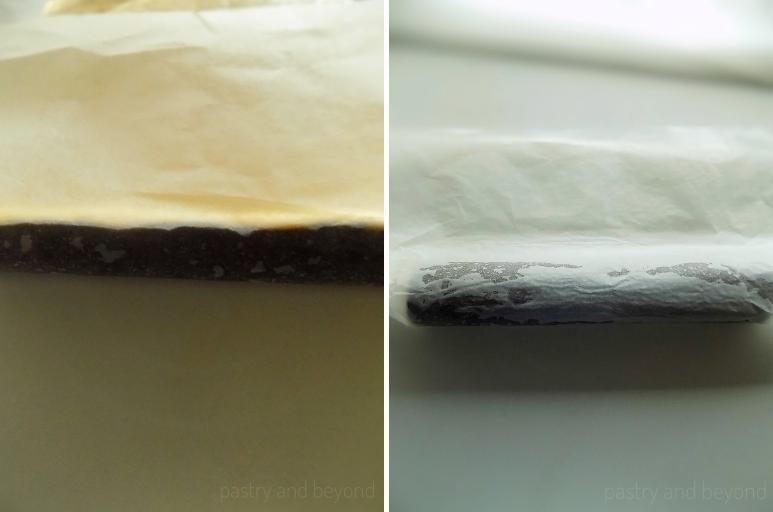
Put the long side of the dough in front of you and roll the dough tightly to make it a cylinder with the help of parchment paper.
During the rolling step, the cocoa dough may have some tears. If it happens, gently squeeze the dough with your fingers. Before you slice them, cover the dough with parchment paper and keep the dough almost 1 hour in the freezer.
If you prefer more swirl and as a result, fewer cookies(but still there will be lots of cookies);
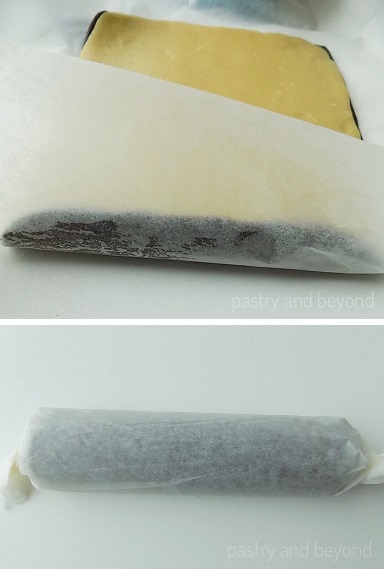
Place the short side of the dough in front of you and roll the dough tightly to make it a cylinder with the help of parchment paper.
Then place the log in the freezer for 1 hour.
(If you want to keep the log’s rounded shape when you remove it from the freezer-without rolling it to make it round again, you can use the trick in the link: Before putting the rounded log in the freezer, place it between two rounded glasses.)
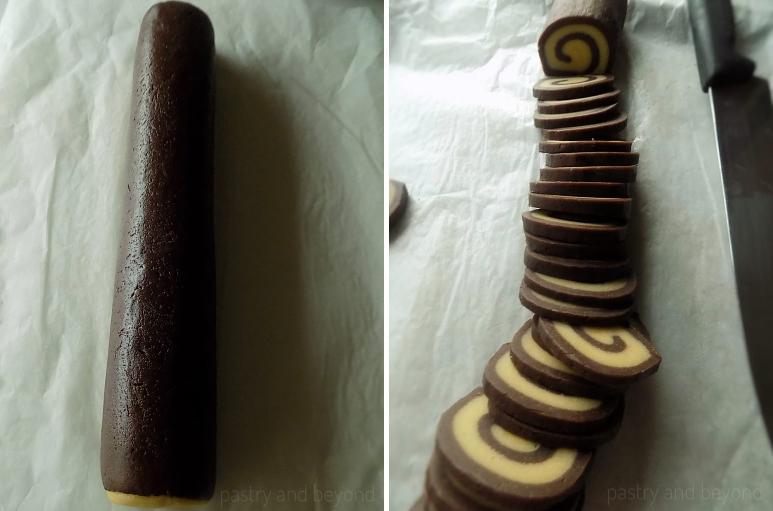
Next, remove the dough from the freezer and cut the slices into almost ⅕ inches (5mm) thick and bake for 10 minutes or until the cookies slightly change color from the edges. (If you don’t use the glass method, and want to make the flatten part round again, roll that part on a work surface a couple of times to give its rounded shape again).
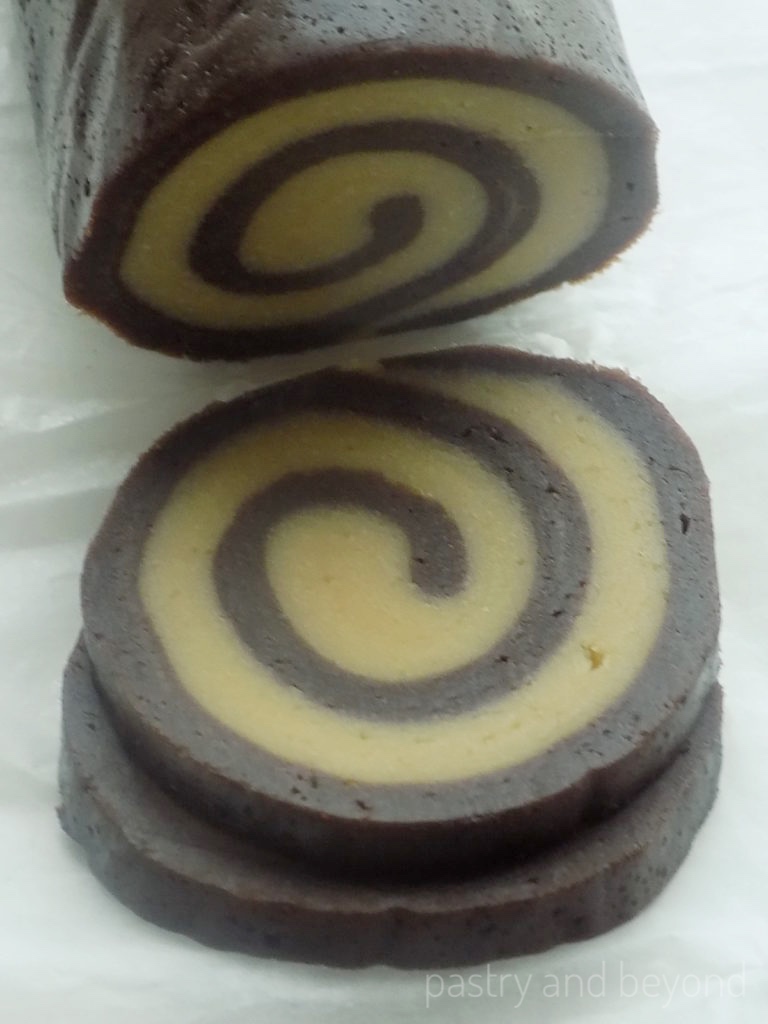
The dough with less swirl:
The dough with more swirl:
Then place the slices on the baking sheet 2 inches (5cm) apart as they expand during baking.
Cookies with less swirl:
Cookies with more swirl:
Enjoy!
Other Recipes with Vanilla or Cocoa/Chocolate You May Enjoy!
- Chocolate Cookies with Cocoa Powder
- Vanilla Cookies
- Easy Chocolate Pudding
- Cake-Like Vanilla Cookies
Swirl Cookies
Ingredients
- 300 g (2 cups and 2 tablespoons) all-purpose flour (dip and sweep)*
- 150 g (⅔ cup)unsalted butter, at room temperature, cut into cubes
- 2 large eggs
- 105 g (½ cup) granulated sugar**
- 10 g (1 tablespoon and 2 teaspoons)cocoa powder
- 2 teaspoons pure vanilla extract
Instructions
- Place the butter and sugar in a large bowl and beat at medium speed until light and fluffy for almost 4 minutes with a hand-held mixer or with paddle attachment if using a stand mixer. Add the eggs one at a time, mix well. Add in the vanilla. When needed, stop the machine during these steps and scrape down the sides of the bowl with a rubber spatula to be sure they are all mixed.
- Add the flour and mix until the dough comes together. Divide the dough in half. Place one half on a plastic film and form into a disc or a square.
- Add cocoa powder to the dough that stays in the mixer and mix well. Place the cocoa dough on a plastic film and form into a disc or a square as well. Then let them chill for 30-45 minutes in the freezer.
- Remove the cocoa dough from the freezer and place it on a parchment paper. If needed, lightly sprinkle cocoa powder over the dough to avoid sticking and roll out into almost 7,5*10,5 inches (19*26cm)long, ⅛ inch (3mm) thick. Set aside.
- Take the vanilla dough from the freezer, and place it on a parchment paper. If needed, lightly sprinkle flour over the dough to avoid sticking. Roll out into almost 7,5*10,5 inches (19*26cm)long, ⅛ inch (3mm) thick as you did for the cocoa dough. After these steps, if they are getting too warm, keep them in the freezer for 10 minutes to let them cool-not too much- so you can work easily in the next step.
- Flip the vanilla dough with parchment paper over the cocoa dough(if you like you can do the opposite) and slightly press with your rolling pin to stick the doughs to each other. Remove the parchment paper. Make sure two rectangles are the same size, so if needed trim from the edges with a sharp knife.
- You can either make these cookies with less or more swirl. Take the long side(less swirl) or short side(more swirl) in front of you and roll the dough tightly to make a cylinder-log. Cover the logs from the sides with the parchment paper and keep in the freezer for almost 1 hour or until ready to cut easily. If you want to keep the log’s rounded shape when you remove it from the freezer-without rolling it to make it round again, place it between two rounded glasses before putting the rounded log in the freezer. (you can check the linked video)
- Preheat the oven to 350°F(177C°). Line baking sheet with parchment paper or silicone baking mat.
- Remove the log from the freezer. If you don’t use the glass method, and want to make the flatten part round again, you can roll that part on a worksurface a couple of times to give its rounded shape again. Cut the log into ⅕inches (5mm) slices. Place them on the baking sheet almost 2 inches (5cm) apart as they expand during baking and bake for 10 minutes or until the edges of the cookies slightly change color. The cookies will become crunchy as they cool. For soft cookies, you can bake for almost 8 minutes until the cookies set.
Notes
Nutrition
Update Notes: I published this post first on Feb 16, 2017. I include some new information today such as showing how to make them more swirl if you like.


