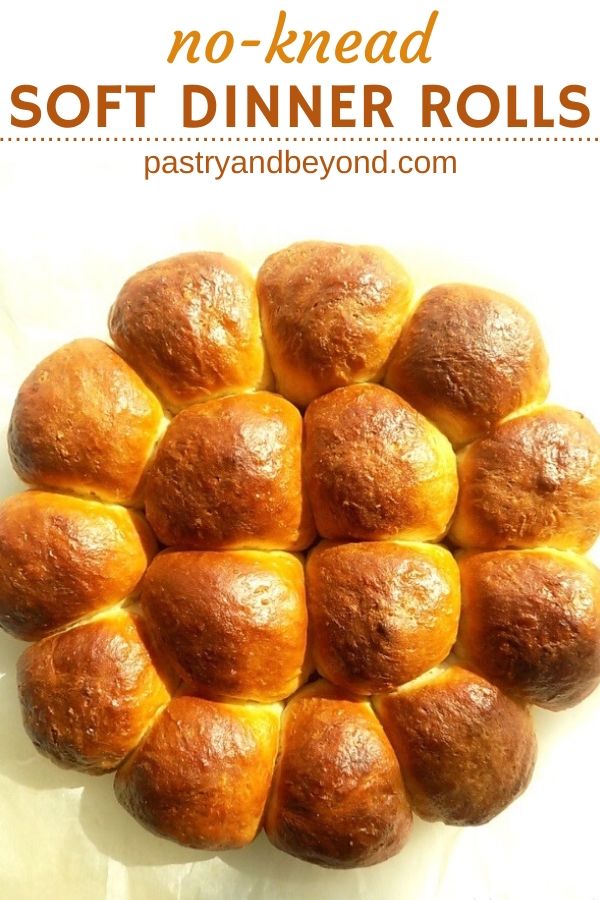

These easy, no-knead soft and fluffy dinner rolls are perfect on their own but also you can make great sandwiches with them.
I love these soft bread rolls that are so easy to make with few ingredients. You don’t need a mixer to make these no-knead rolls just like my no-knead whole wheat bread.
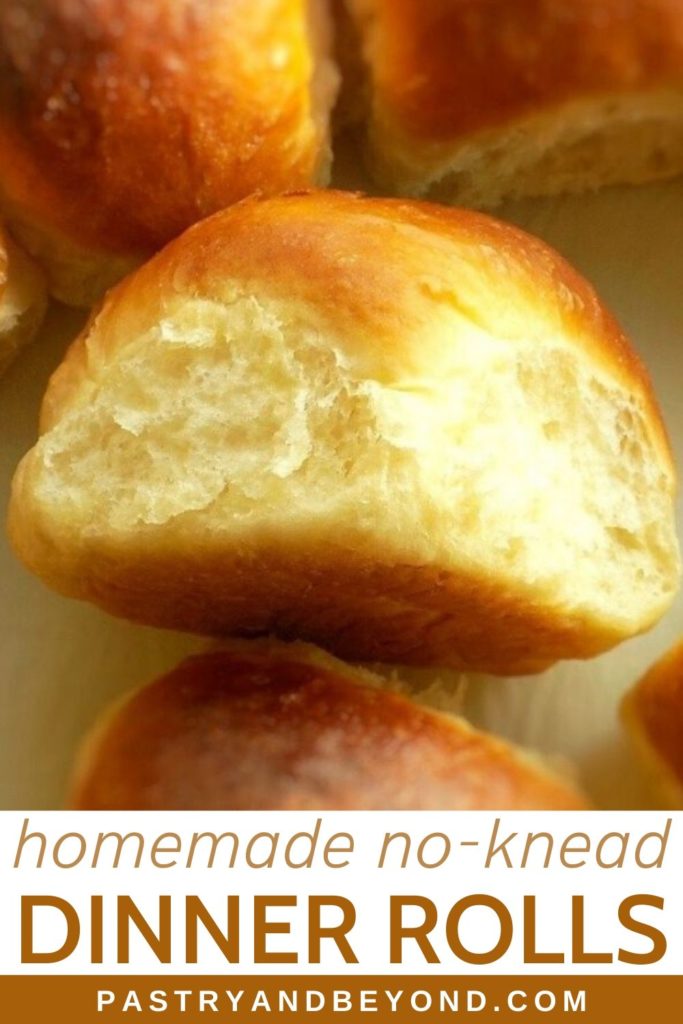
You only need basic ingredients to make these unbelievably soft, yummy small bread rolls.
They are slightly sweet, just as how they should be.
What are The Secret Ingredients to Make Soft Rolls?
Milk, egg and butter make these rolls soft and also add such nice flavor.

The active time you’ll spend to make these rolls will be 10 minutes which includes mixing the dough, knocking the dough and giving their shape.
There will be an inactive time where the dough will rise(1rst rise) and prove(2nd rise).
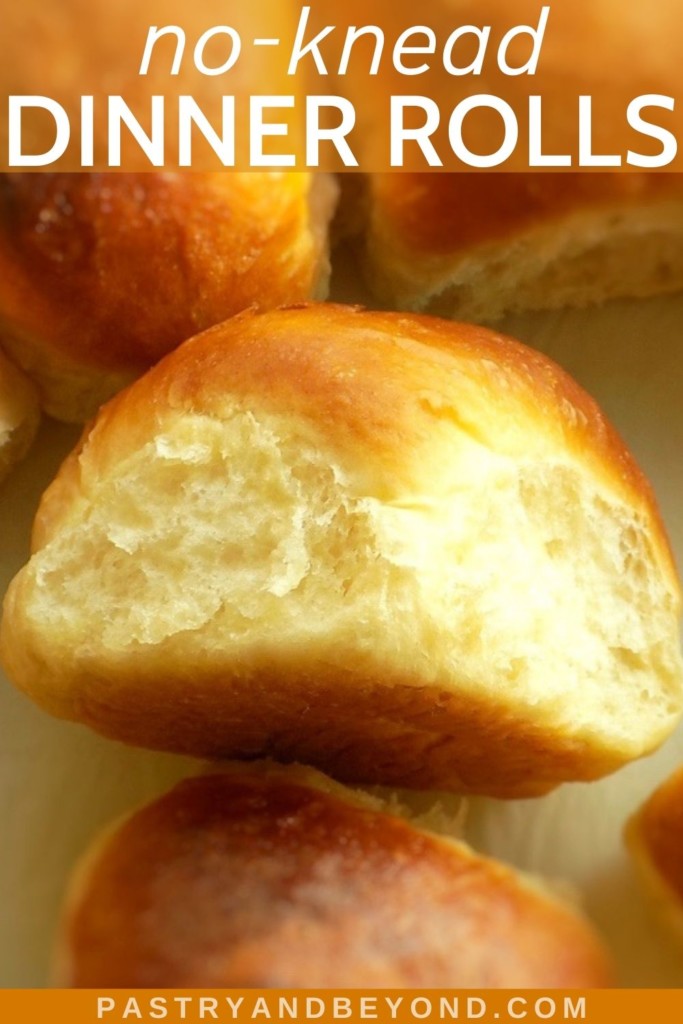
I love and suggest eating these rolls when they are just out of the oven.
So you may wonder:
Can You Make Ahead Soft Dinner Rolls?
Yes! If you like, you can prepare the dough in the morning /evening, knock it back and give shape, cover with plastic film and let the balls prove in the fridge.
Then take the dish from the fridge in the evening/morning and keep at room temperature for 20-25 minutes and bake for 15 minutes and serve fresh these fluffy rolls.
You can see below how fluffy they are.

How to Keep Soft Dinner Rolls Fresh?
If you won’t eat all of them immediately, you should keep them in an airtight container when they are totally cooled. They stay fresh for 2-3 at room temperature. But for the best deliciousness, you should definitely eat them when they are out of the oven or at least the same day.
How to Make No-Knead Bread Rolls
I make my soft bread rolls with fresh yeast but if you like you can use other types. You can find the conversions listed in my recipe card. If you use instant yeast, you don’t need to dissolve it with milk first.
First, place the fresh yeast into a small glass bowl, and crumble it. Then dissolve the yeast with almost ¼ of warm milk by using a wooden spoon. Make sure the milk is not hot only warm as hot milk will kill the yeast.

Then combine flour, sugar, salt in a big bowl. After that, add the dissolved yeast and the rest of the milk, stir with a wooden spoon or a spatula. Finally, add the melted butter and the egg. Stir until all mixed completely.

You can use your hands to make a proper ball. The dough shouldn’t be sticky but soft.
Grease the same bowl with olive oil and place the dough inside and cover with plastic film. Let it rise until more than doubled in size for almost 1 hour.

Next, knock back the dough. If you use grams, you can take 59-60g(for 15 balls) pieces from the dough to make the balls. That’s what I do.

But if you like, you can place the dough on a work surface after you knock back the dough, make a rectangle by slightly pressing to the dough with your hands. (Again, this is not sticky dough. I didn’t even flour the work surface during this step and the dough didn’t stick.)

Then, divide the dough horizontally into 3 and vertically into 5 if you are making 15 rolls. Make the balls from these pieces. I couldn’t cut it equally but you can do your best. 😉

Place the balls into a dish that is lined with parchment paper and cover with plastic film. Let them rise for almost 45-50 minutes. Instead of parchment paper, you can grease and flour the dish. This way the rolls won’t stick to the dish.

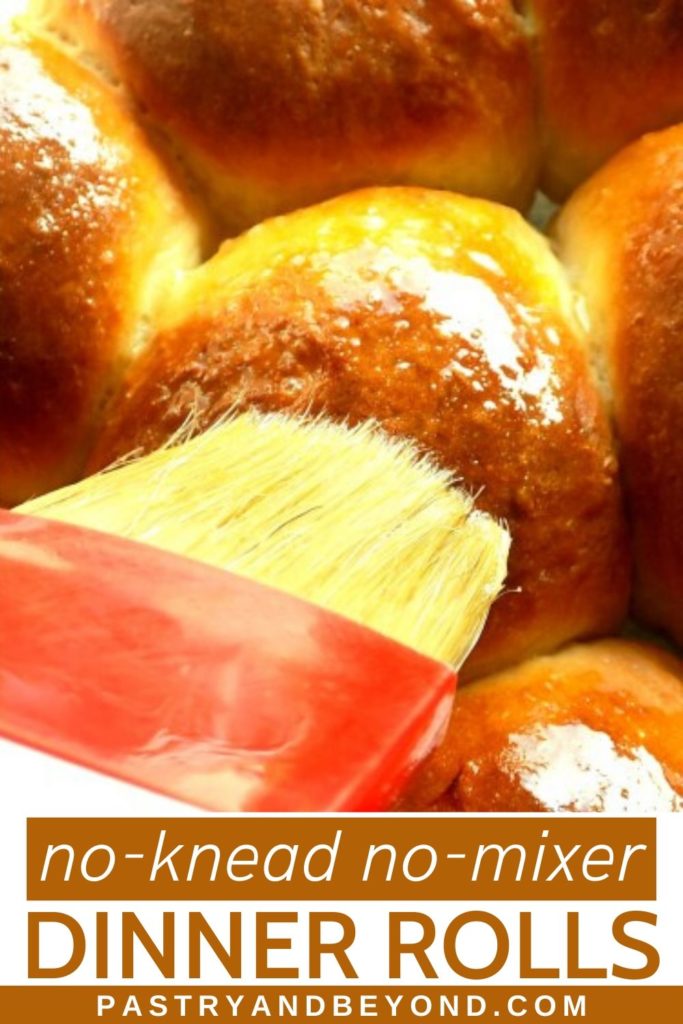
Bake for 15-16 minutes until the top is golden brown. If you are not sure, you can remove one roll and tap underneath. If there is a hollow sound it means it is baked. After you remove the rolls from the oven, brush the top of the rolls with melted butter.

I hope you love my soft and sweet dinner rolls as much as I do. Enjoy!

You should also try my No Knead Bread without Dutch Oven!
I love hearing from you! If you try my Soft Dinner Rolls or my other recipes please leave a comment and give a star rating!

No-Knead Soft Dinner Rolls
Ingredients
- 510 g (3 and ½ cups + 2 tablespoons) all-purpose flour (dip and sweep)*
- 50 g (¼ cup) granulated sugar
- ¼ teaspoon salt
- 245 g (1 cup) warm milk**
- 20 g (0,70 oz) fresh yeast***
- 1 large egg
- 50 g (3 and ½ tablespoons) melted butter, cooled
- 1 tablespoon melted butter, for brushing the rolls
Instructions
- Place the fresh yeast into a small glass bowl, and crumble it. Dissolve the yeast with almost ¼ of the warm milk by using a wooden spoon.
- Combine flour, sugar, salt in a large glass bowl.
- Add in the dissolved yeast and the rest of the milk, stir with a wooden spoon or a spatula.
- Mix in the melted butter and the egg, stir until all combined completely.
- Grease the same bowl with olive oil and place the dough inside and cover with plastic film. Let it rise until more than doubled in size for almost 1 hour.
- Knock back the dough. If you use grams, you can take 59-60g(for 15 balls) or 73-75g pieces(for 12 balls) from the dough to make the balls. Or you can place the dough on a work surface after you knock back the dough, make a rectangle by slightly pressing to the dough with your hands. Divide the dough horizontally into 3 and vertically into 5 if you are making 15 rolls and start making the balls out of these pieces.
- Place the balls into a 12 inch (31cm) round dish or 9*13 inch (23*33cm) rectangle dish that is lined with parchment paper and cover with plastic film. Let them rise for almost 45-50 minutes. Instead of parchment paper, you can grease and flour the dish.
- Preheat the oven to 375°F(190°C) when the dough almost doubles.
- Bake for 15-16 minutes until the top is golden brown. If you are not sure, you can remove one roll and tap underneath. If there is a hollow sound it means it is baked.
- After you remove the rolls from the oven, brush the top of the rolls with melted butter. Serve fresh. Keep them in an airtight container when they are totally cooled.
Notes
Nutrition
