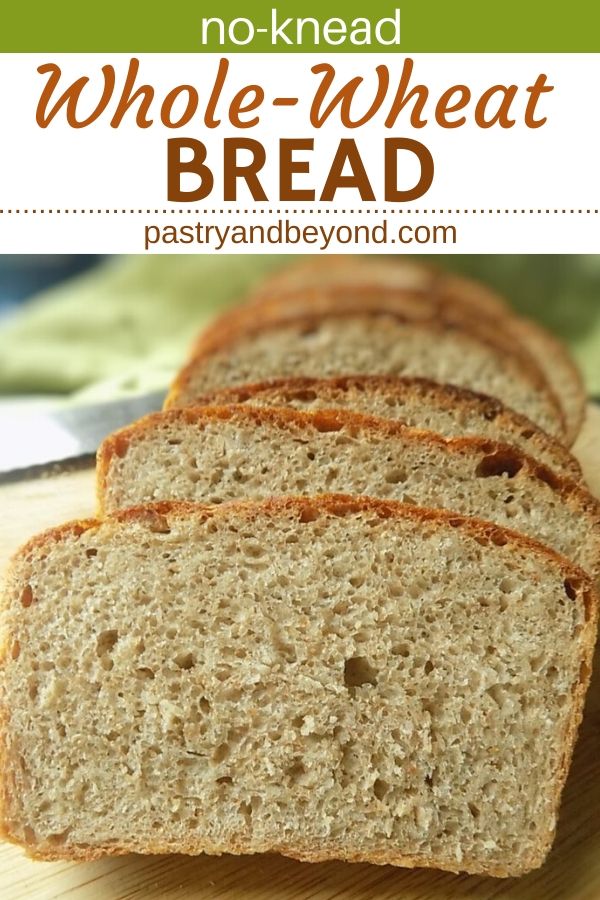
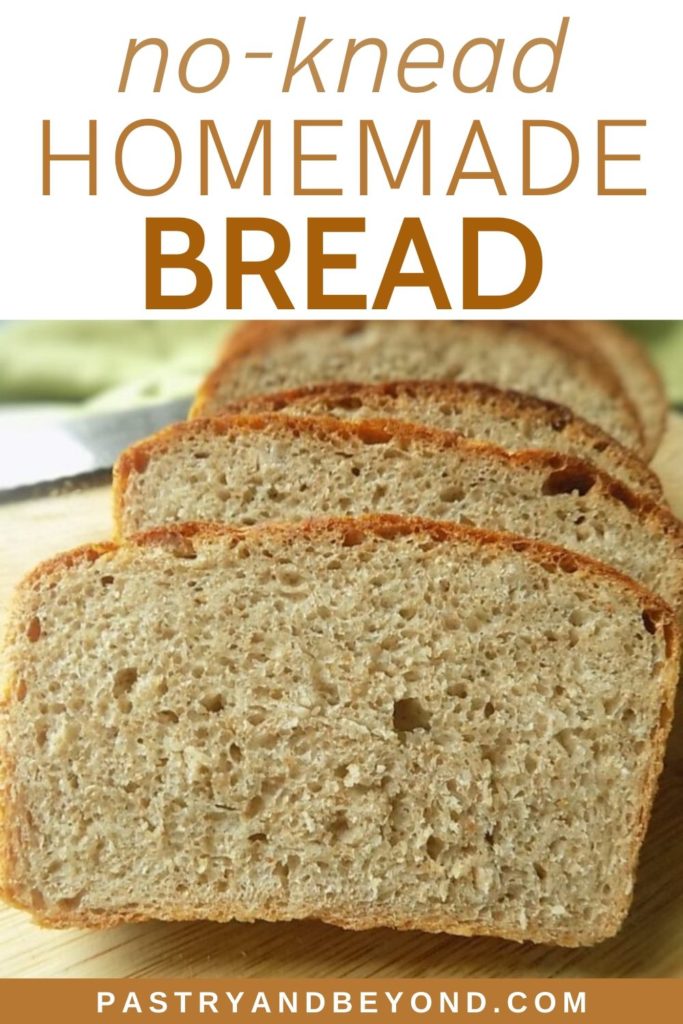
You should make this yummy and easy no-knead whole wheat bread! This recipe is perfect if it is your first time working with yeast. It is soft with a nice crust. You are not only going to make a simple whole wheat bread but also learn the stages of bread making!

It was almost 8 years ago that I started to work with yeast. Before that time, the word “yeast” was intimidating to me, as if it was something very complicated. However, when I started to make bread, I was surprised to see how easy it was to work with.
Especially when my niece was 3 years old, I was making bread with her very often. Knocking back-one of the stages- was something she liked a lot. So bread making can be fun with kids.

This year I am planning to share some bread recipes. I decided to start with a no-knead recipe which is very easy to make.
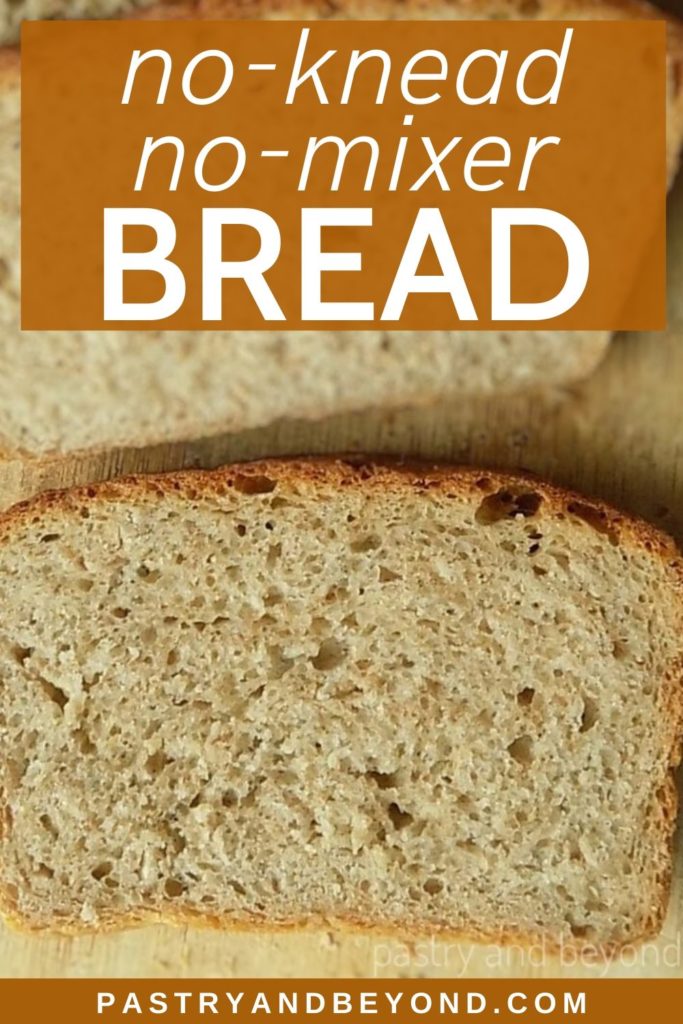
I prefer to work with fresh yeast as it has no additives. But I include other yeast alternatives below. The active time I spent is almost 5 minutes to make this soft, yummy bread. Yes, almost 5 minutes.
If it is your first time working with yeast, this recipe is a good start. You should eat it when it is still warm with herb-infused olive oil and balsamic vinegar, so delicious! I love eating with butter too, even plain. In any case, this bread disappears shortly.

Ingredients of the No-Knead Whole Wheat Bread:
- Whole wheat flour
- Fresh Yeast
- Salt
- Water
You need only 4 ingredients!
I’ll talk about the stages of bread making below while I am talking about my easy recipe.
But first very shortly,
What is Yeast?
Yeast is a one-celled organism that converts carbohydrates (sugar in flour) into carbondioxides that make the bread rise.
Types of Yeast
Fresh Yeast-is sold as a block, needs to be crumbled and dissolved in warm water to activate the yeast
Dry Yeast – looks like tiny granules and needs to be dissolved in warm water to activate the yeast
Instant Yeast– smaller granules than dry yeast, no need to be dissolved, can be mixed with all the ingredients at the same time.
Instead of 100 grams fresh yeast,
you can use
40 grams dry yeast or
33 grams instant yeast
Shortly, you can divide the fresh yeast amount by 2,5 to find the dry yeast conversion, and divide the fresh yeast amount by 3,0303 to find the instant yeast conversion.
Now let’s talk the steps:
Steps of Bread Making
Mixing
First, I mix the whole wheat flour and salt in a large glass mixing bowl.
Then I place the fresh yeast into a small glass bowl, crumble and mix it with warm water using a wooden spoon. Best way to reach warm water is boiling ⅓ of the water that the recipe calls for and mixing it with ⅔ of the room temperature water.
In order to dissolve fresh yeast, I pour almost a quarter of the water that the recipe calls for into the bowl and mix with my wooden spoon.

I pour the dissolved yeast and water over the flour and mix with my wooden spoon. Then I use my hands to bring the dough together and make a ball which takes almost 30-45 seconds. If the dough sticks to your hands while making a ball, you can sprinkle some flour over the dough.
After mixing, usually, there is the kneading step, but today we skip it in this no-knead bread 🙂 (You may notice that I use a wooden spoon as some people say that there may be a chemical reaction while working with metal but actually I never had any problem when I worked with stainless steel. To be on the safe side, you can use a wooden spoon and glass bowl.)

Rising the Dough
After I make a ball, I cover the bowl with a plastic film to let the dough rise. Rising depends on the humidity, the ingredients used-type of flour, yeast and the temperature.
20-26°C is said to be the ideal temperature. The yeasts rise mostly at 35-37ºC. ( While I was working, it was around 26-27 °C(79-80° F) ). This dough doubles almost in 45 minutes. There will be some bubbles on the surface and when you touch the dough with your fingertip, the dough will spring back gradually.

Knocking Back
When the dough doubles in size, I remove the plastic film, sprinkle some flour over the dough to avoid sticking and gently deflate the dough with my knuckle. By this way, I remove the gas bubbles that formed during rising.

Giving the Final Shape
After I knock back the dough, I flatten the dough with my palm. I fold two ends of the dough in the center and seam with my fingers. Then I place the dough into the pan- that is greased with olive oil well-keeping the seam side down.
I make these steps in my bowl as it is big enough but after knocking back you can place the dough on a lightly floured surface and work there.

Proving
I cover the pan with a plastic film for its final rise. It takes almost 40-45 minutes.

Baking
When it doubles in size, I remove the plastic film, making it ready for baking. Without deflating the dough, I gently brush the top of the dough with olive oil for a shiny look which is optional.
How to Make Crusty Bread
In order to have a nice crust, I create steam in the oven. Even if you skip this step, you’ll still have delicious bread but the baking time may be shorter so you should watch the oven.
When the bread is ready to bake, I fill a metal wide dish with almost 3 cups of very hot water and place it on the bottom rack of the oven. Then I place the pan in the oven.
I bake for almost 40 minutes in total or until the color gets brown and there is a hollow sound when I tap the bottom. Then I brush the dough with olive oil when I remove the bread again.

I let it cool in the pan for almost 25 minutes before slicing. That’s all. Enjoy this easy whole wheat bread recipe!

If you like this recipe, you should also check my no-knead Soft Dinner Rolls and No-Knead Bread without Dutch Oven recipe!
I love hearing from you! If you try my No-Knead Whole Wheat Bread recipe or my other recipes please leave a comment and give a star rating!
No Knead Whole Wheat Bread
Ingredients
- 400 g (3 cups) whole wheat flour (dip and sweep)*
- 240 g (1 cup) warm water**
- 13 g (0,46 oz) fresh yeast***
- 6 - 9 g (1 to 1 and ½ teaspoons) salt****
- olive oil for greasing
- olive oil brushing(optional)
Instructions
- Mix whole wheat flour and salt in a large glass mixing bowl. Set aside.
- Crumble the fresh yeast in a small glass bowl and dissolve with almost 60 grams (¼ cup) of warm water.
- Add the dissolved fresh yeast and the remaining water into the flour mixture and mix with a wooden spoon. Finally use your hands to bring the dough together, and make a ball (If the dough sticks to your hands, sprinkle some flour over the dough and continue working). Cover the ball with a plastic film. Let the dough double in size. It takes almost 45 minutes. If the dough gradually springs back when you gently touch the dough with your finger, it means it has risen well.
- Deflate the dough with your knuckle . Flatten the dough, fold two ends in the center and seam with your fingertips.
- Grease 8*4 inch (21*10cm) loaf pan with olive oil. Place the dough-seam side bottom- into the pan. Cover the pan with plastic film and let the dough double in size which takes almost 40-45 minutes.
- Preheat the oven to 390°F(200°C) when the dough almost doubles. For a crusty crust create steam in the oven. When the bread is ready to bake, fill a metal wide dish with almost 3 cups of very hot water and place it on the bottom rack of the oven.
- When the dough doubles, remove the plastic film. Slightly brush the dough with olive oil for a shiny look just before baking(optional).
- Bake for almost for 40 minutes or until the color gets brown and there is a hollow sound when you tap the back of the loaf.
- Remove the pan from the oven and immediately brush the top with olive oil again for a shiny look(optional). Let it cool in the pan for almost 25-30 minutes. Then slice and enjoy!
Notes
Nutrition

Leave a Reply