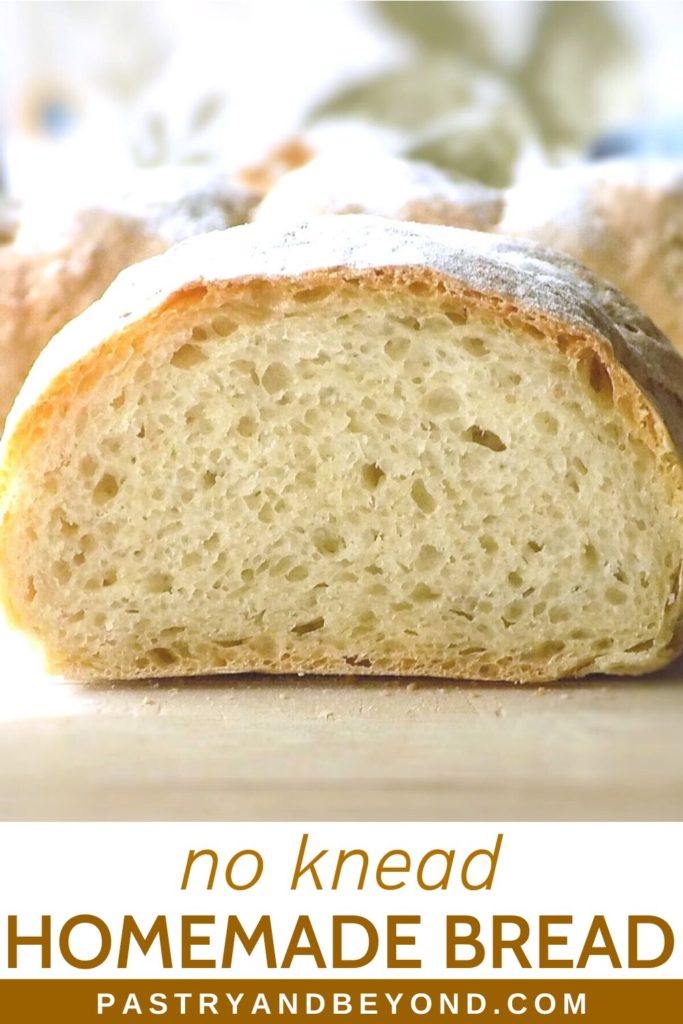
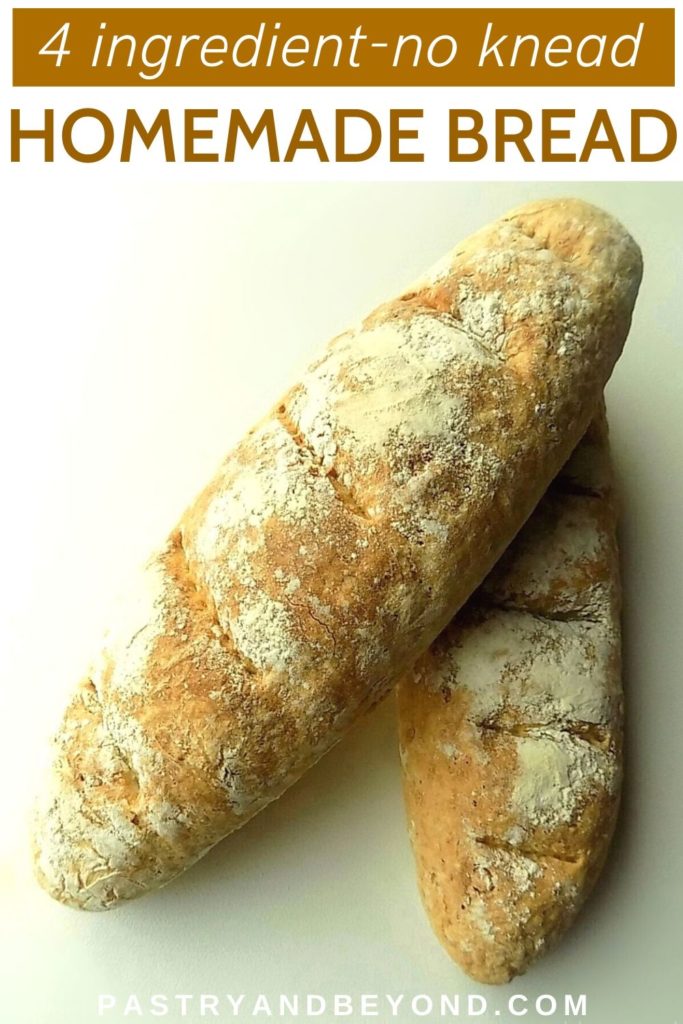
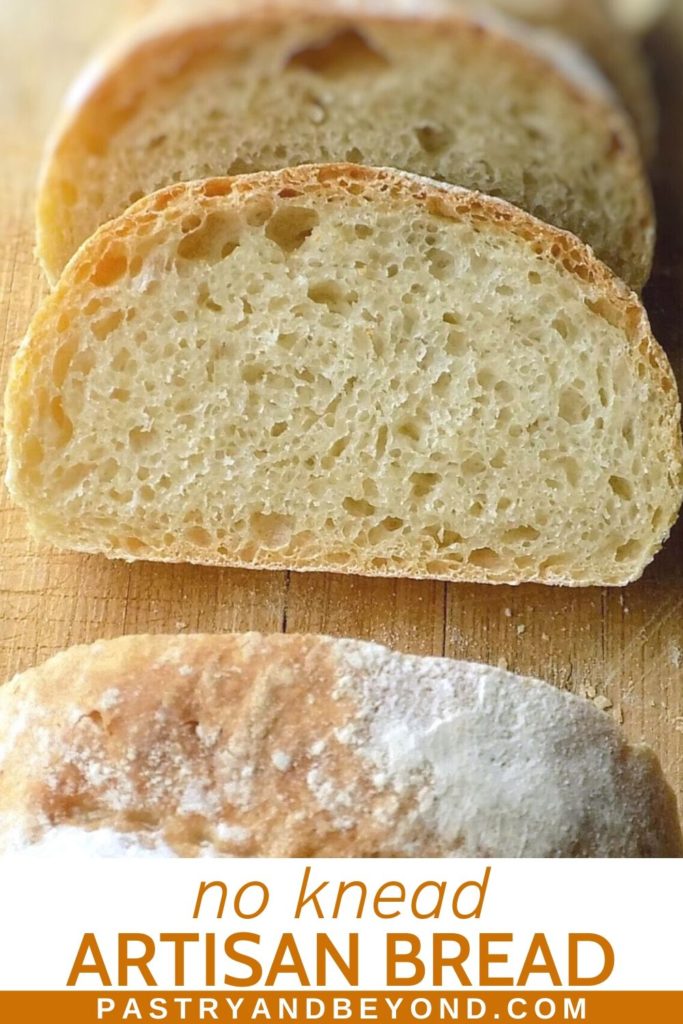
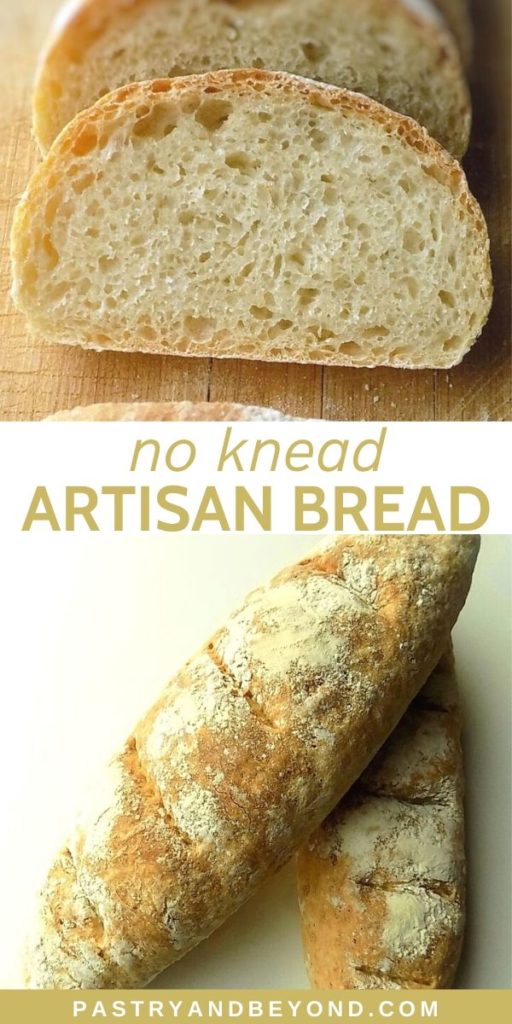
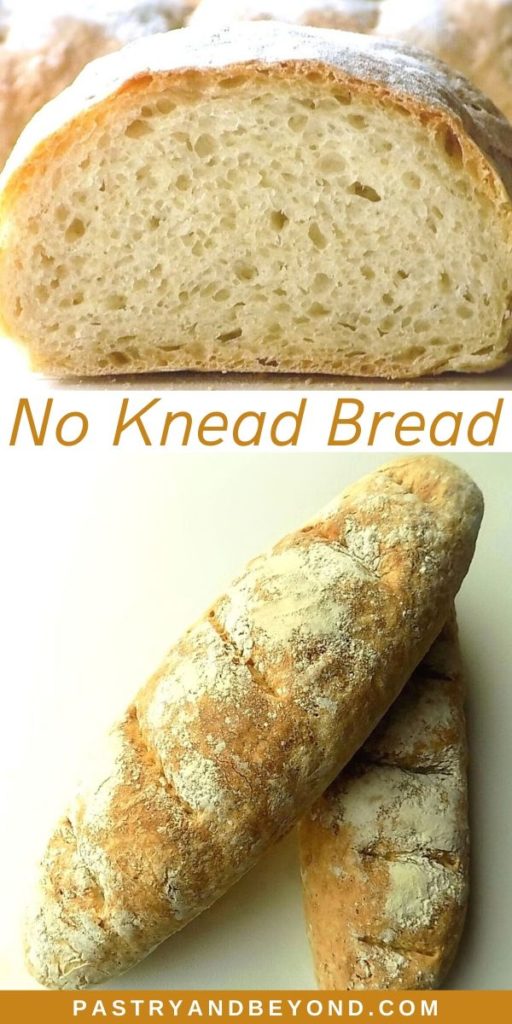
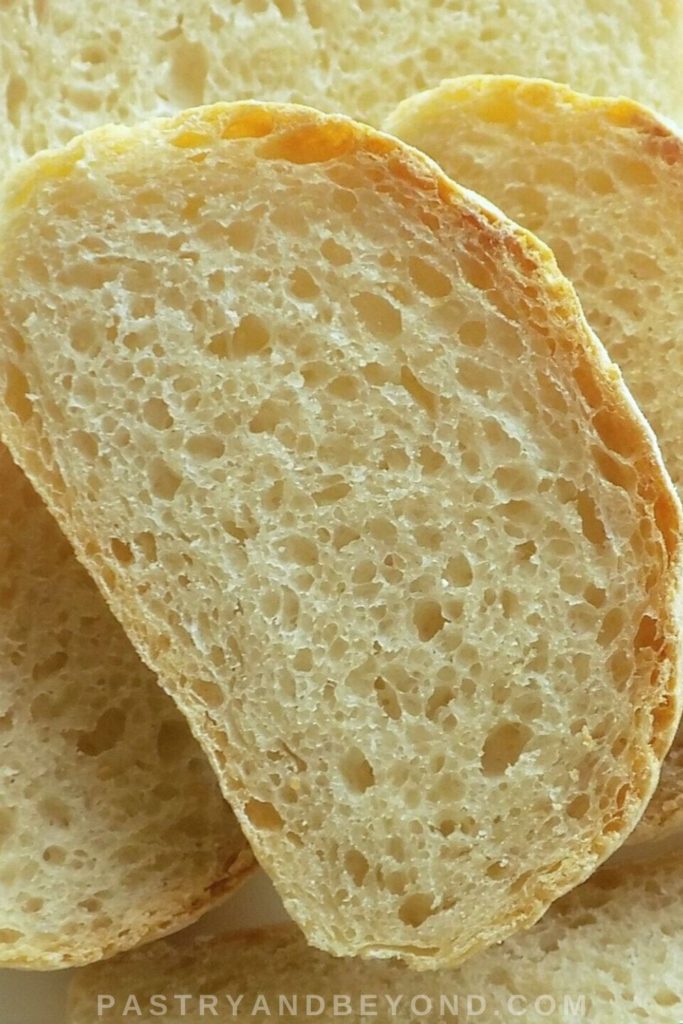
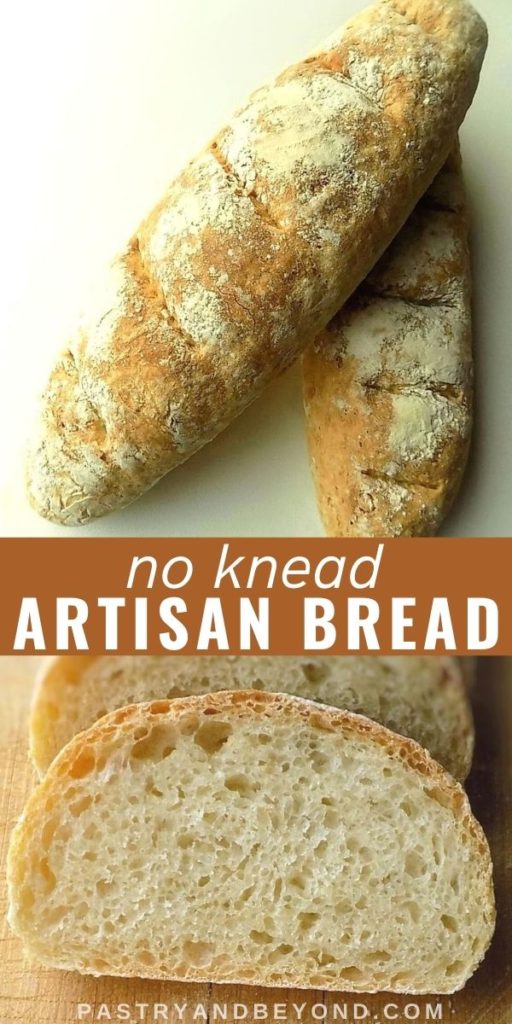
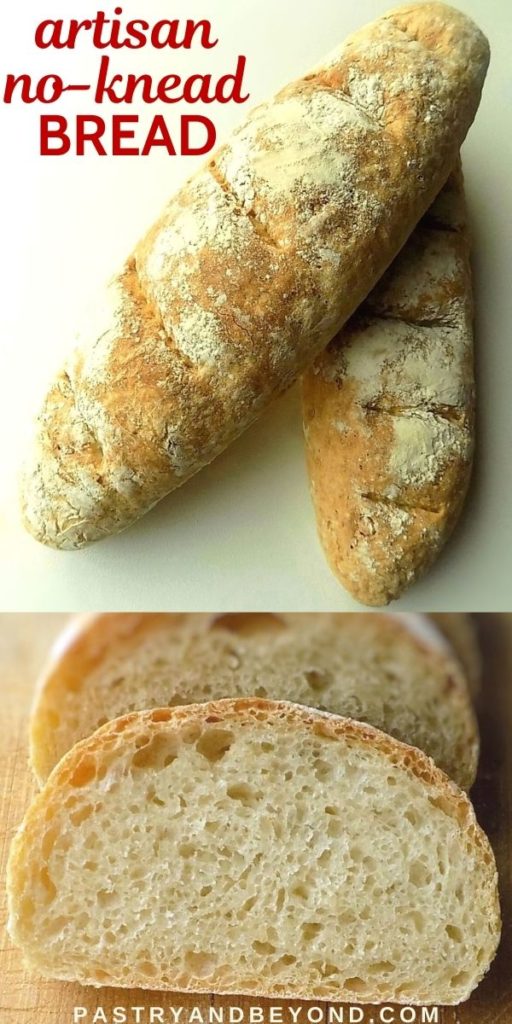
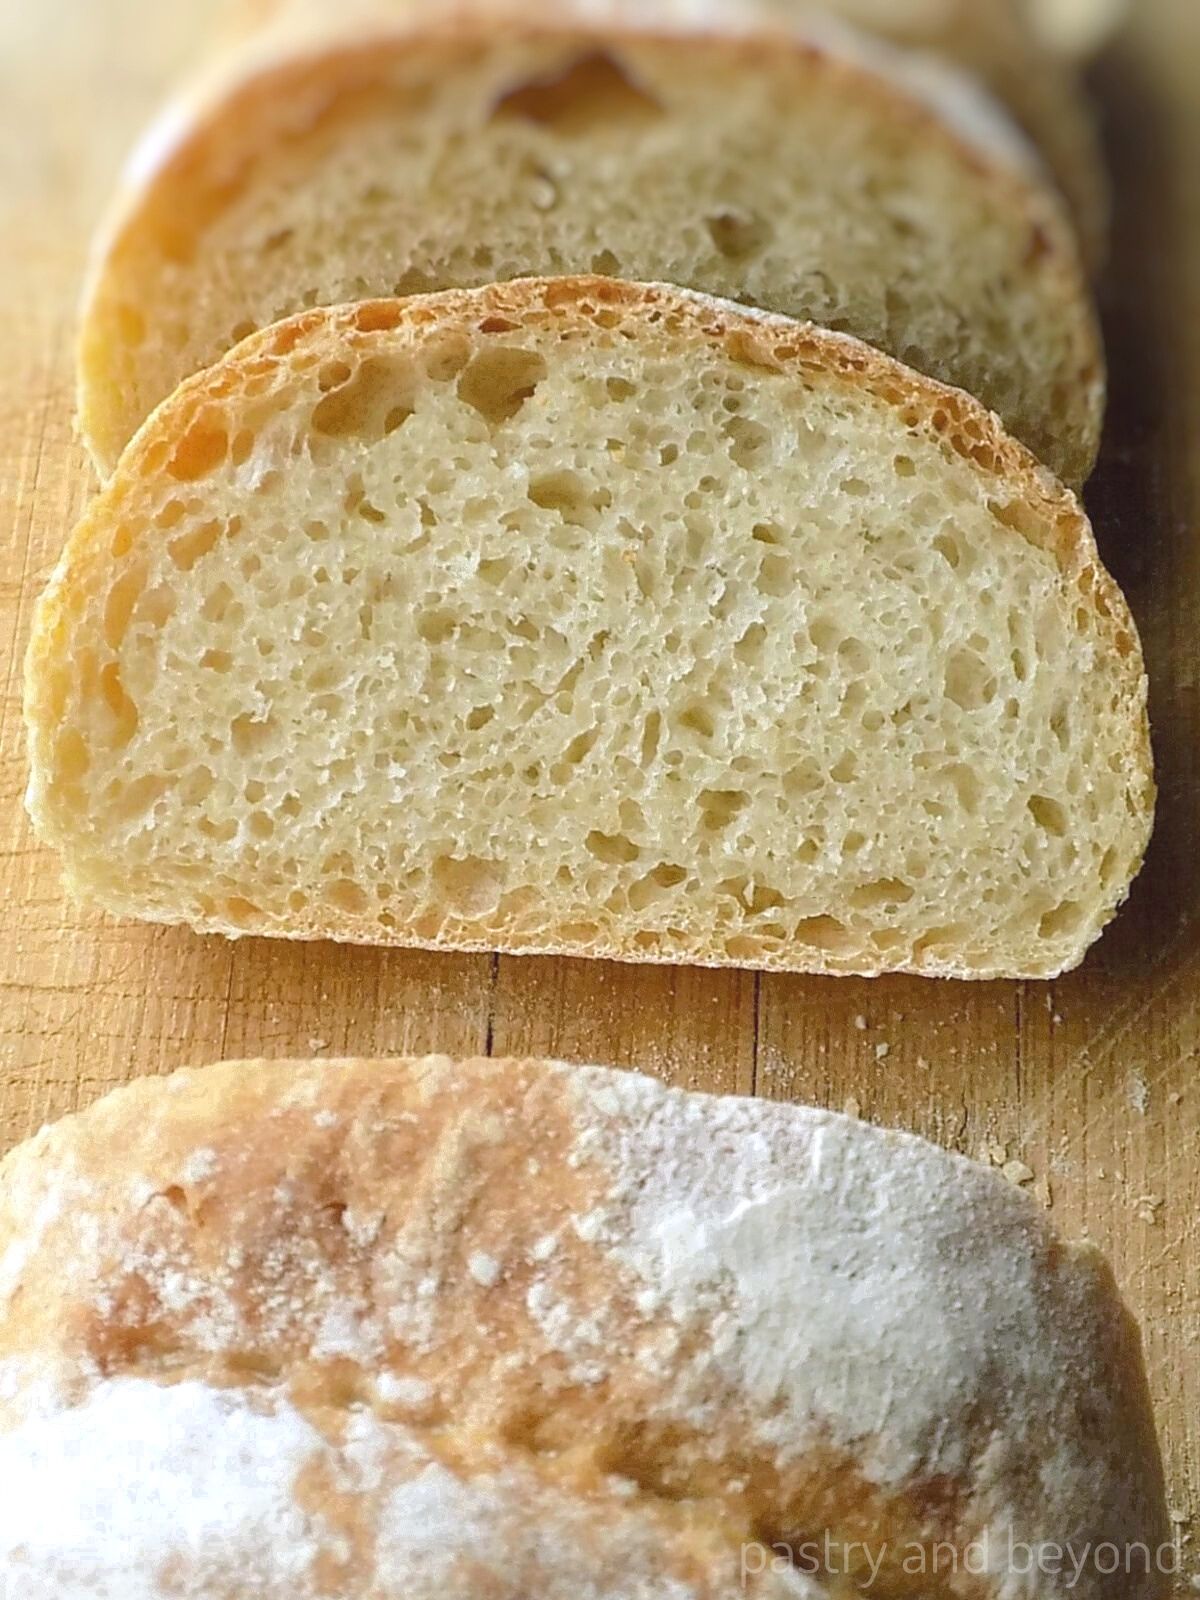
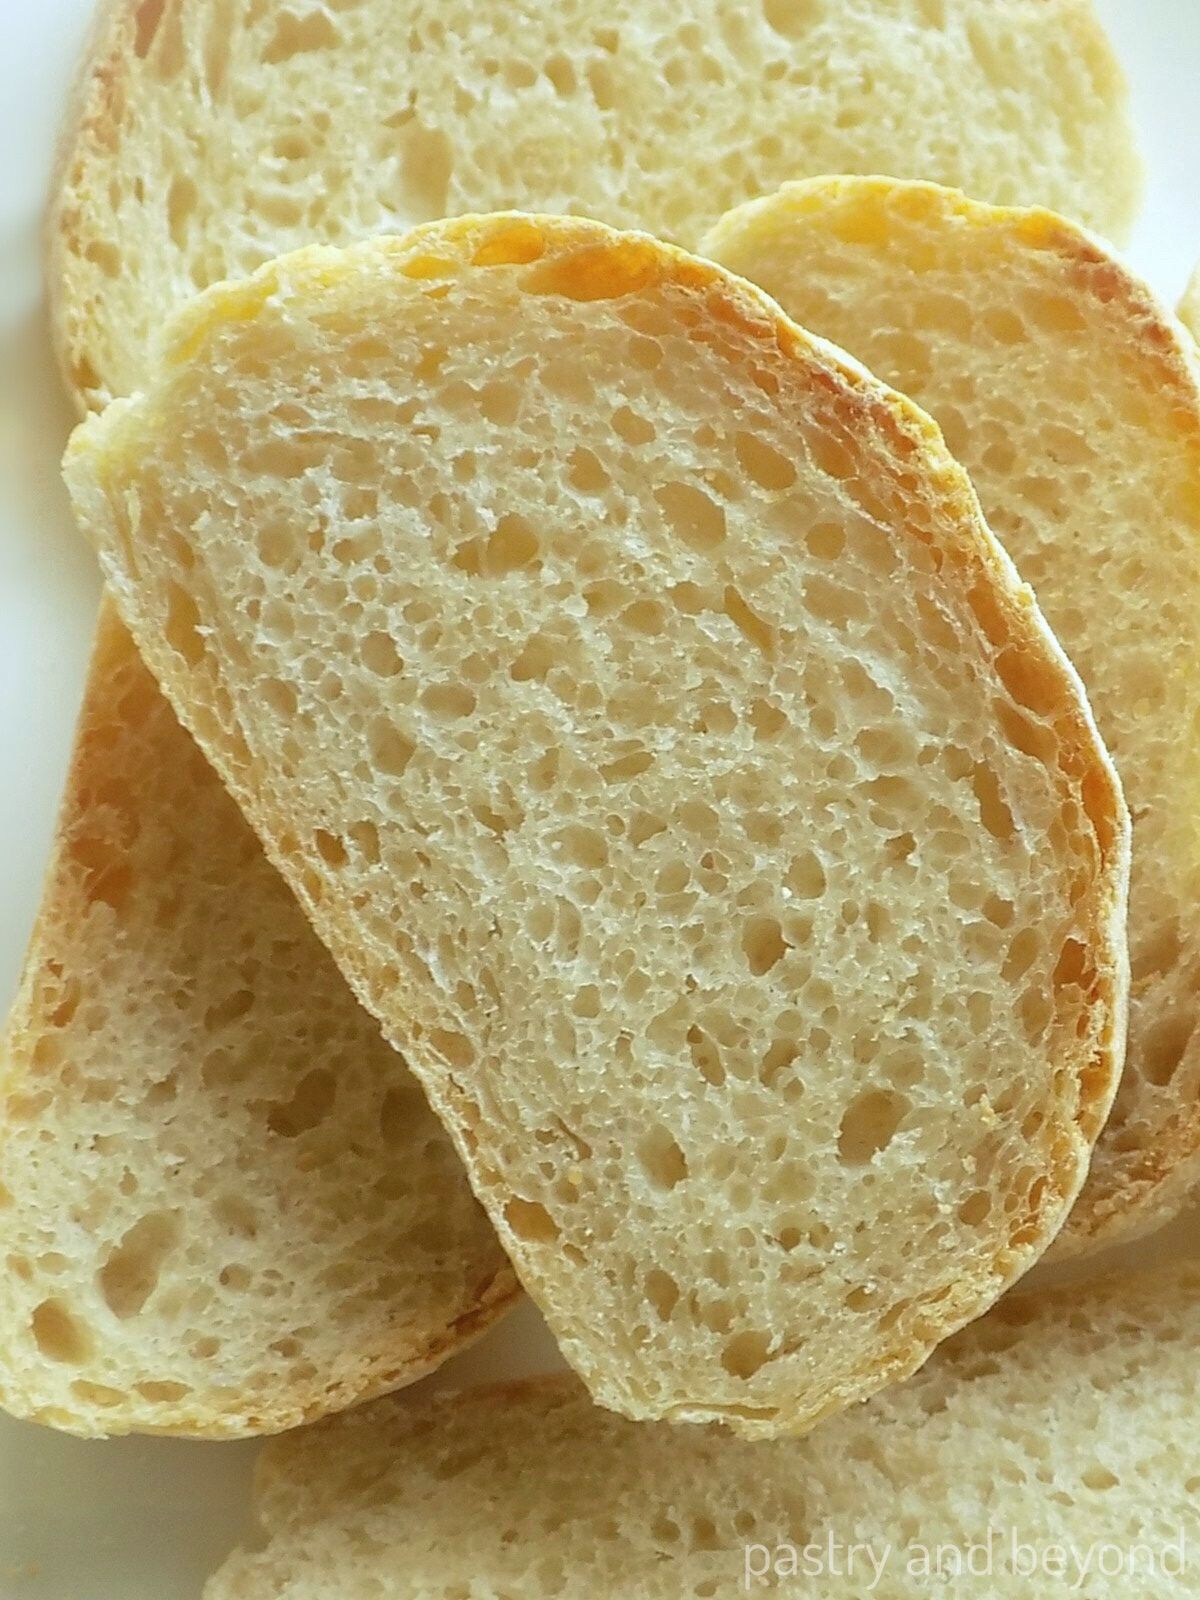
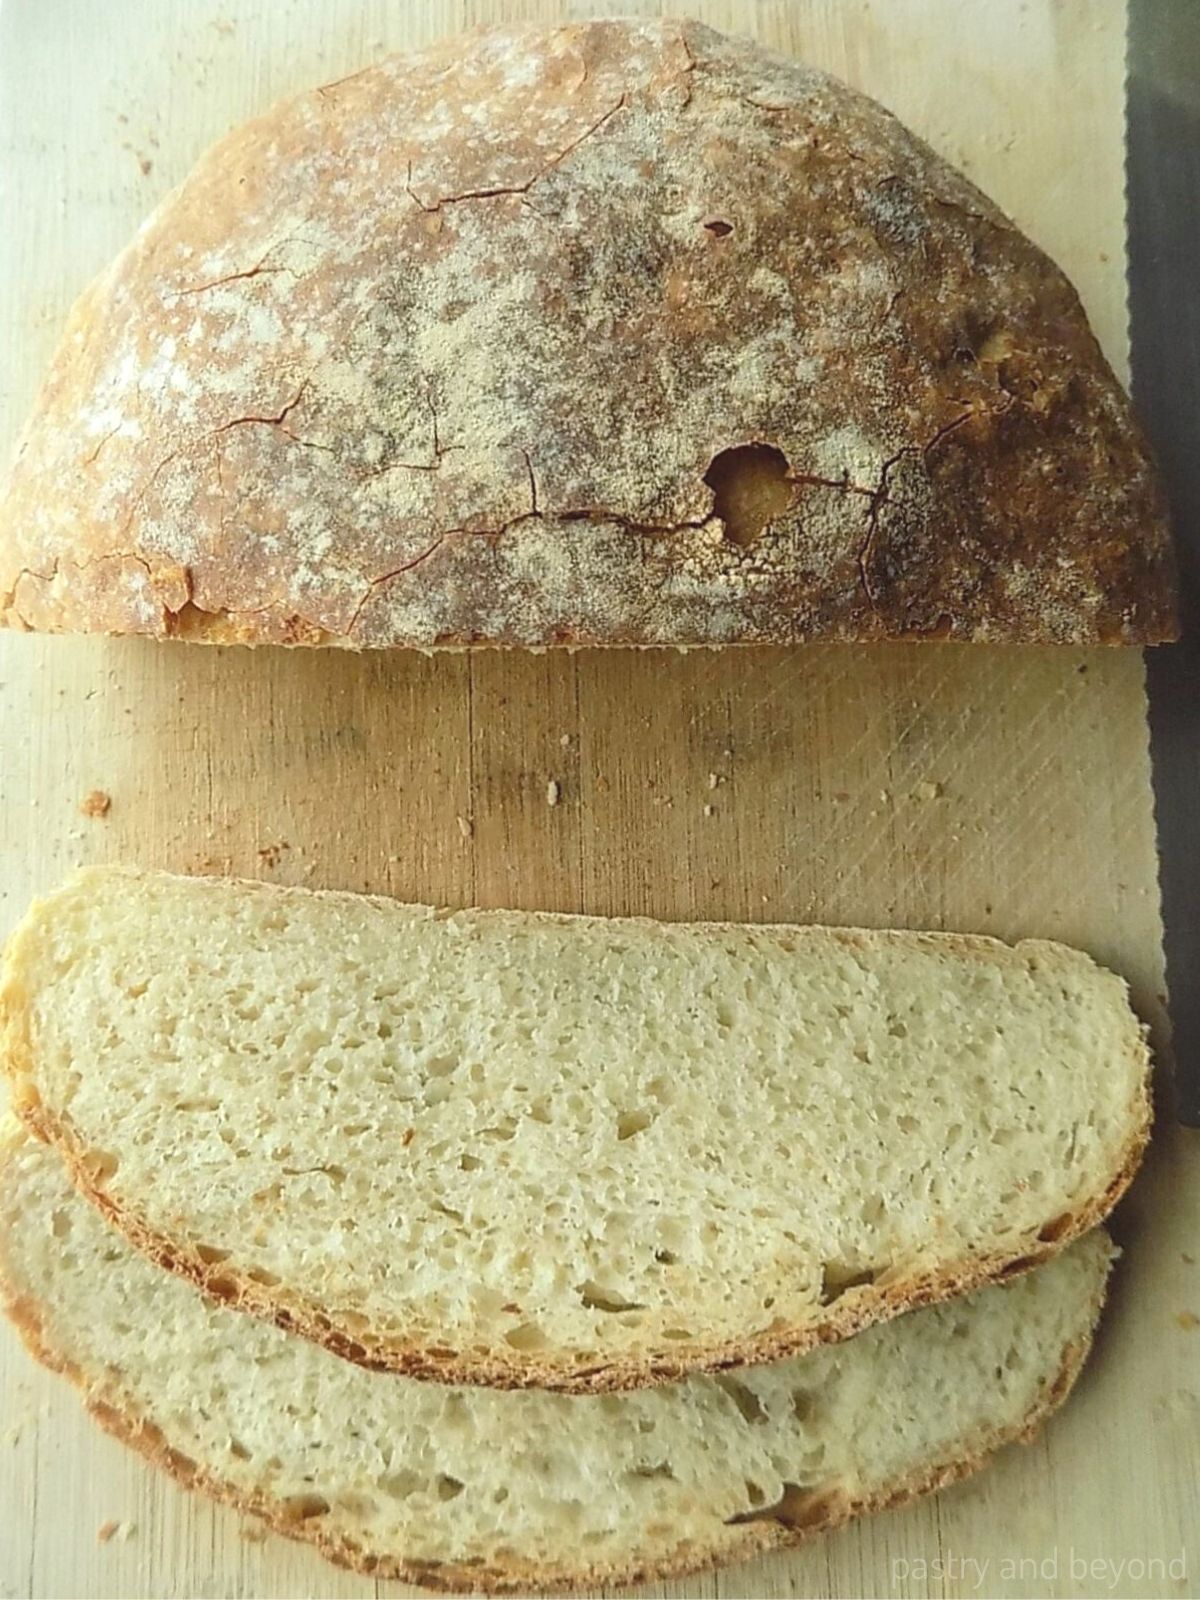
You can easily make no knead artisan bread without dutch oven. You need only 4 ingredients. This recipe makes 2 long loaves or 1 large(or 2 medium) round loaf and they taste just like bakery-style!
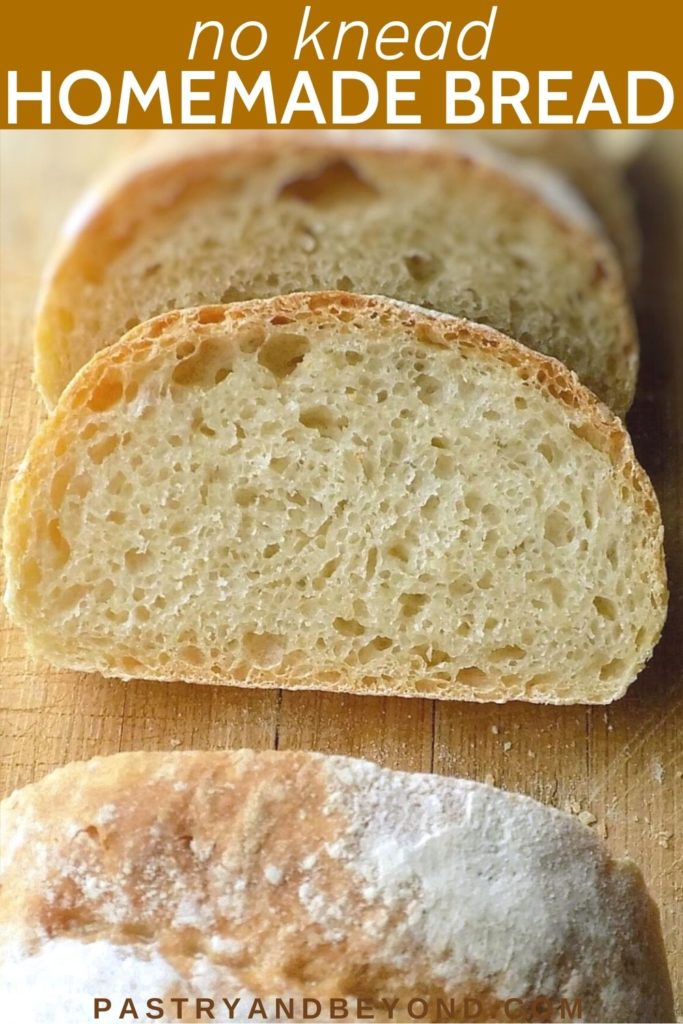
Today I share my no knead white bread. If you don’t have a dutch oven don’t worry because you don’t need it to make this no mixer homemade bread. Yes! This is a no knead, no dutch oven homemade bread without mixer.
This white bread is as delicious and easy as my no knead whole wheat bread and soft dinner rolls. If you are looking for a no knead pizza dough, you should try my delicious pizza dough recipe by hand.
Previously I’ve shared my bread recipes using fresh yeast with instant yeast substitutions. I always prefer using it as it has no additives. Today I share my recipe with instant yeast and give the fresh yeast alternatives. If you may not find fresh yeast easily, you can still make this delicious bread using instant yeast and below I show you how.
Why You Should Try This Recipe
In my no knead whole wheat bread I’ve written that you shouldn’t be intimidated by yeast. I repeat it again. It is as simple as making cookies but your active time is less.
Whether you use fresh yeast or instant yeast, literally you will spend almost 5 active minutes while making this bread; mixing 4 ingredients and making a ball which takes almost 1-2 minutes, knocking back the dough and giving the shape which takes 1-2 minutes. Making slashes and tiding up the dough if needed (more on that below)takes only 1 minute.
As this is a no knead bread, you won’t need any extra work. This recipe is as simple as it sounds. With little effort, you’ll come up with bakery style bread.
If this is your first time making bread, this is a good start. Below I’ll be sharing the stages of bread making step by step just like my other bread recipes.
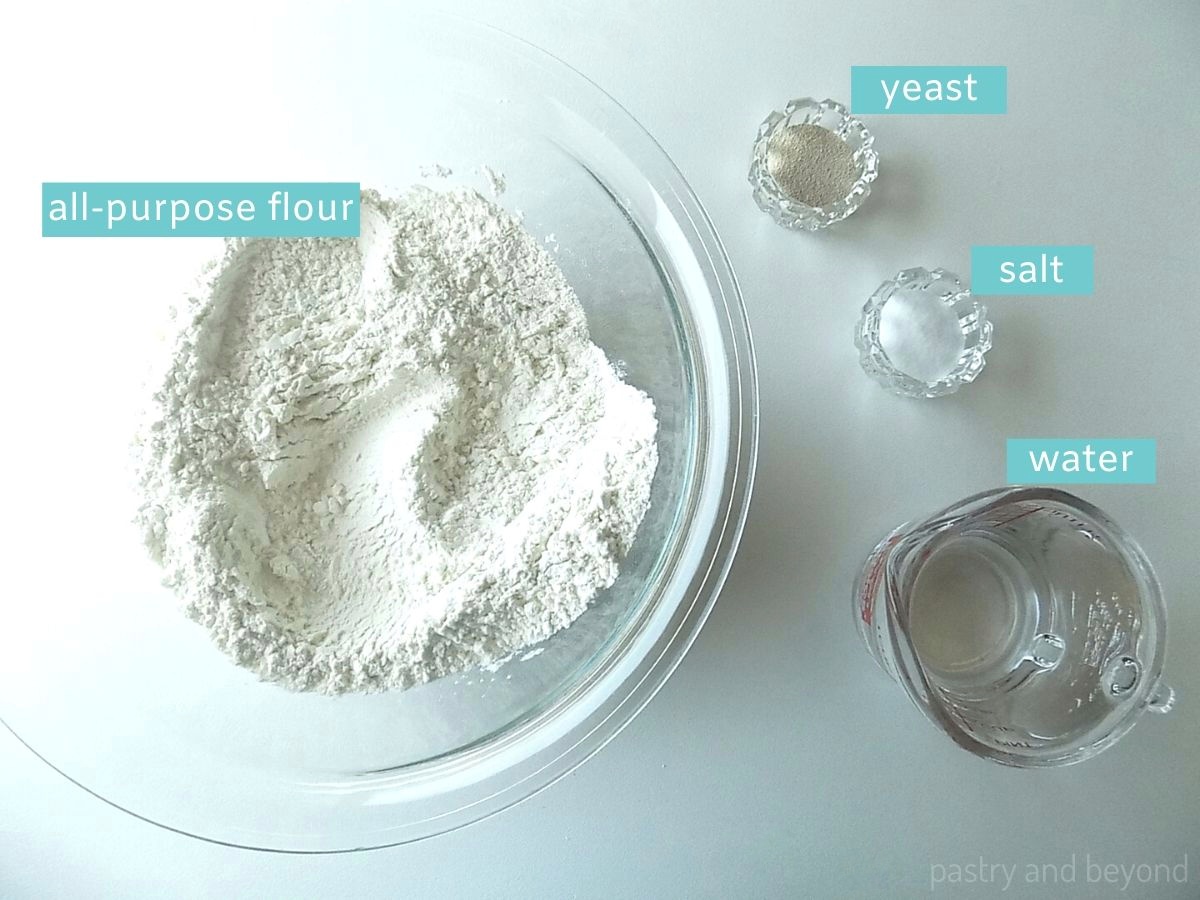
White Bread Ingredients
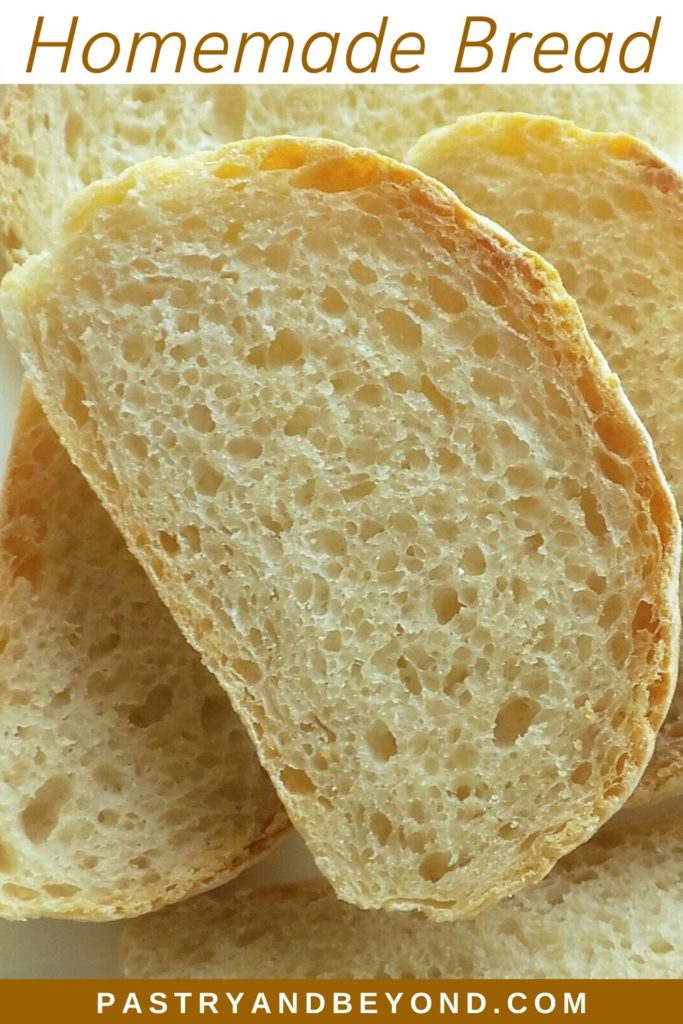
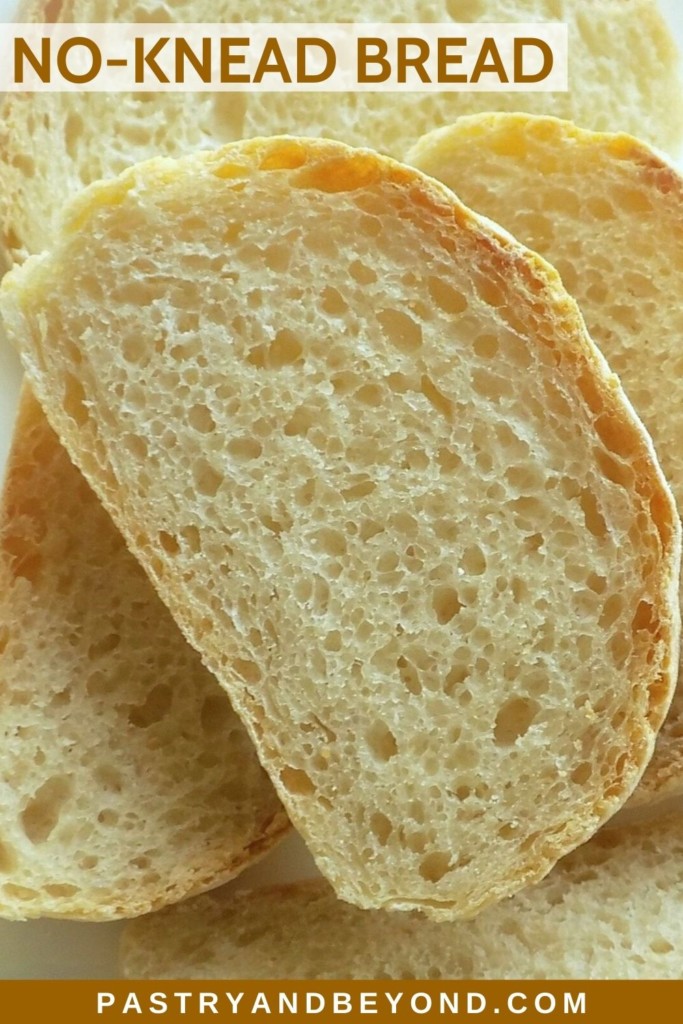
- Flour-I use all-purpose flour and still end up chewy bread.
- Water-I use warm water to activate the yeast. If you are not sure how warm the water should be, simply mix ⅓ boiling water with ⅔ room temperature water. If you use too hot, it will kill the yeast and the dough won’t rise.
- Salt-I use table salt. Salt both controls the activation of the yeast and adds flavor.
- Yeast-In this recipe I use instant just in case if this is what you can find. If you are like me and prefer fresh yeast in general, you’ll find the conversion and how to use it in the recipe card below. You can also check my no knead whole wheat bread post that shows how to use it with step by step photos.
How to Make No Knead Bread
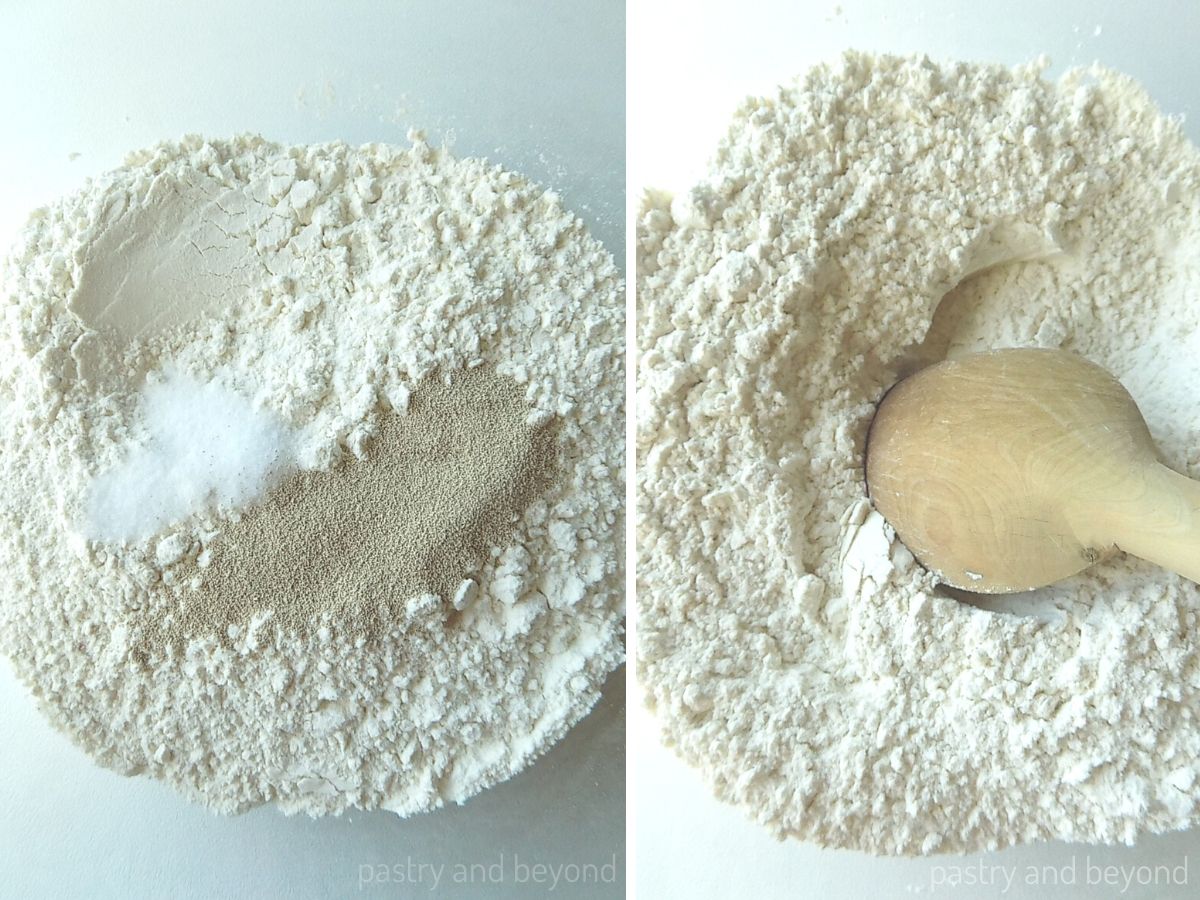
Mixing:
First mix the flour, salt and instant yeast in a large mixing bowl using a wooden spoon or a spatula.
(If you are using fresh yeast, first you should dissolve the fresh yeast with ⅓ cup of warm water in another small bowl and then you can add it to the flour-salt mixture)
Next, add the water and mix with a wooden spoon or spatula. Make sure to scrape down the sides and bottom of the bowl with your spoon/spatula. As you do this, the flour from the bottom will come to the top so don’t add extra flour. This step should take less than a minute.
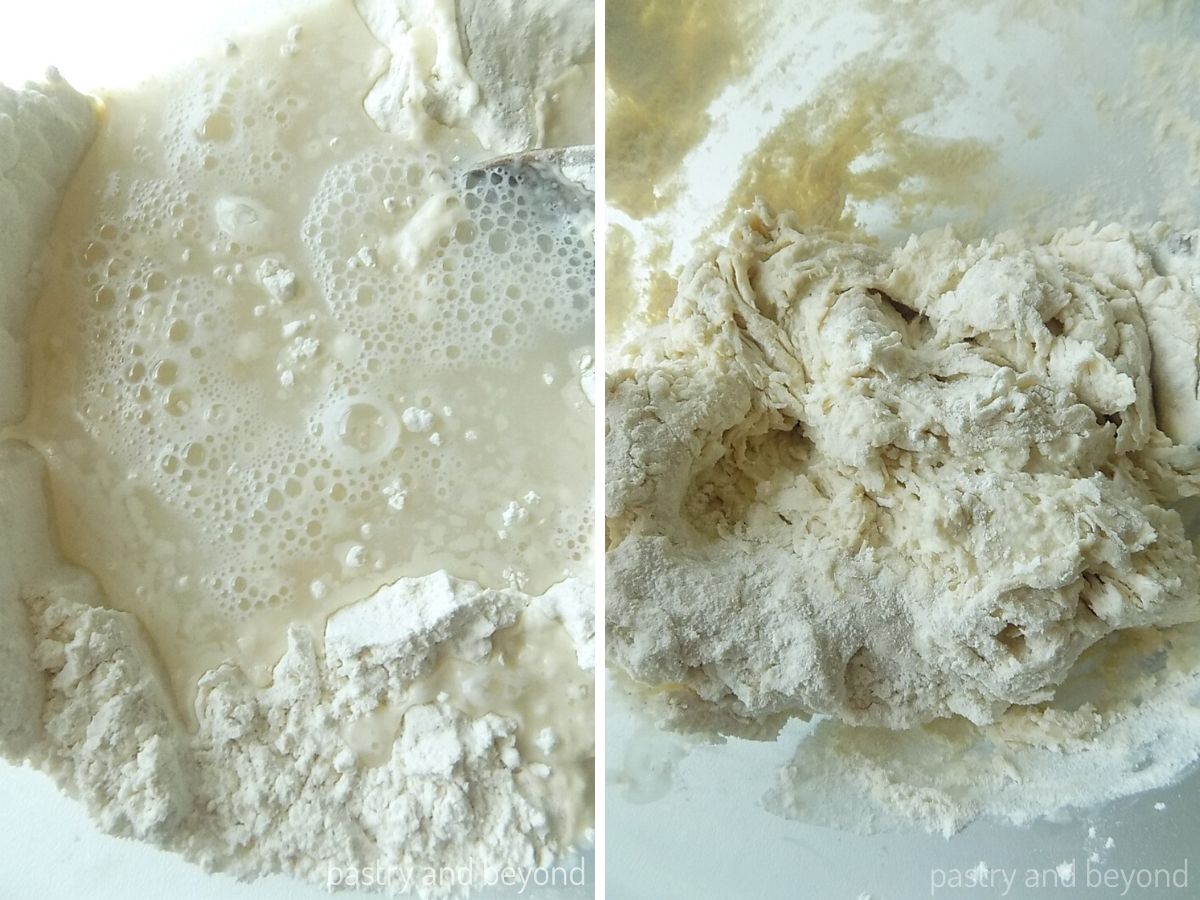
Rising
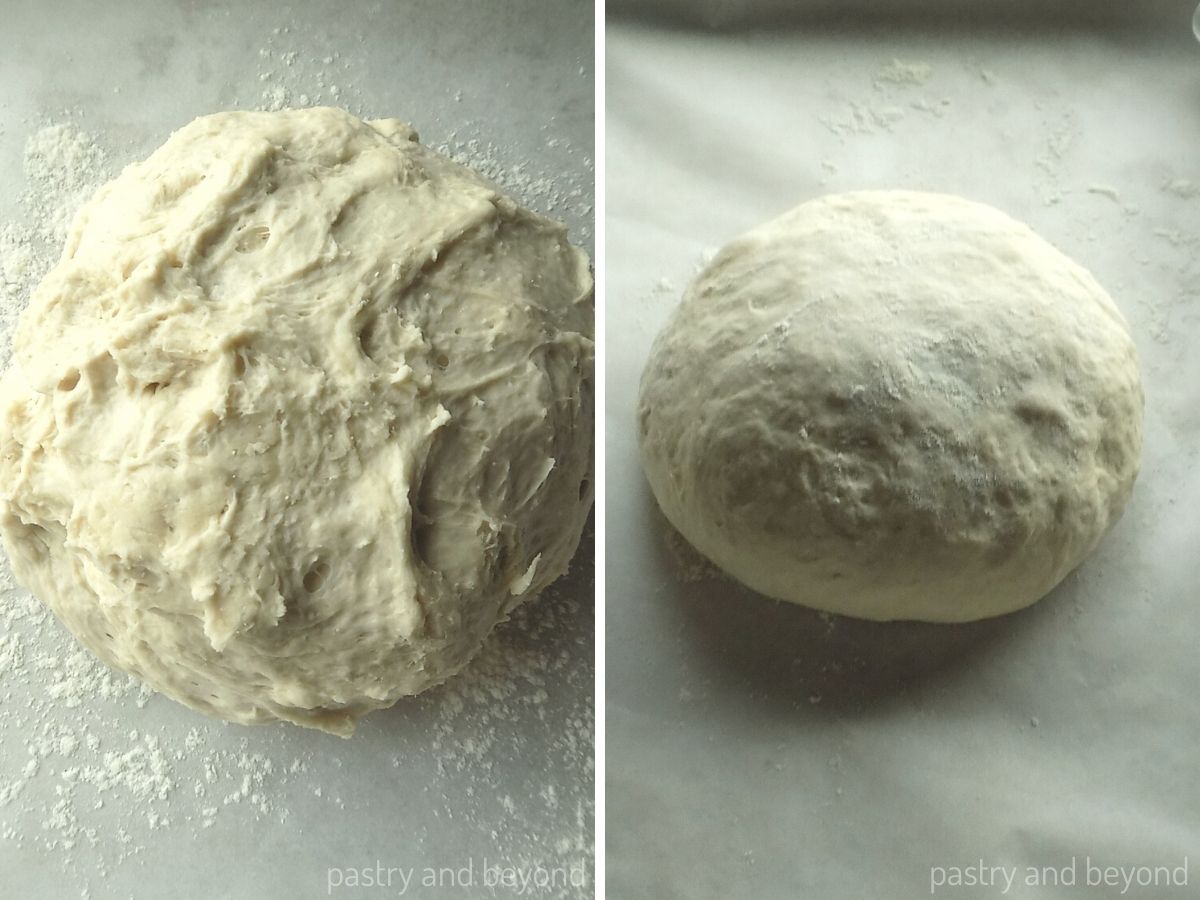
Once you mix thoroughly, you would end up with a sticky but easily workable dough. Instead of adding flour to the dough, flour your hands and make a ball to let the dough rise. The ball you make doesn’t have to be perfect.
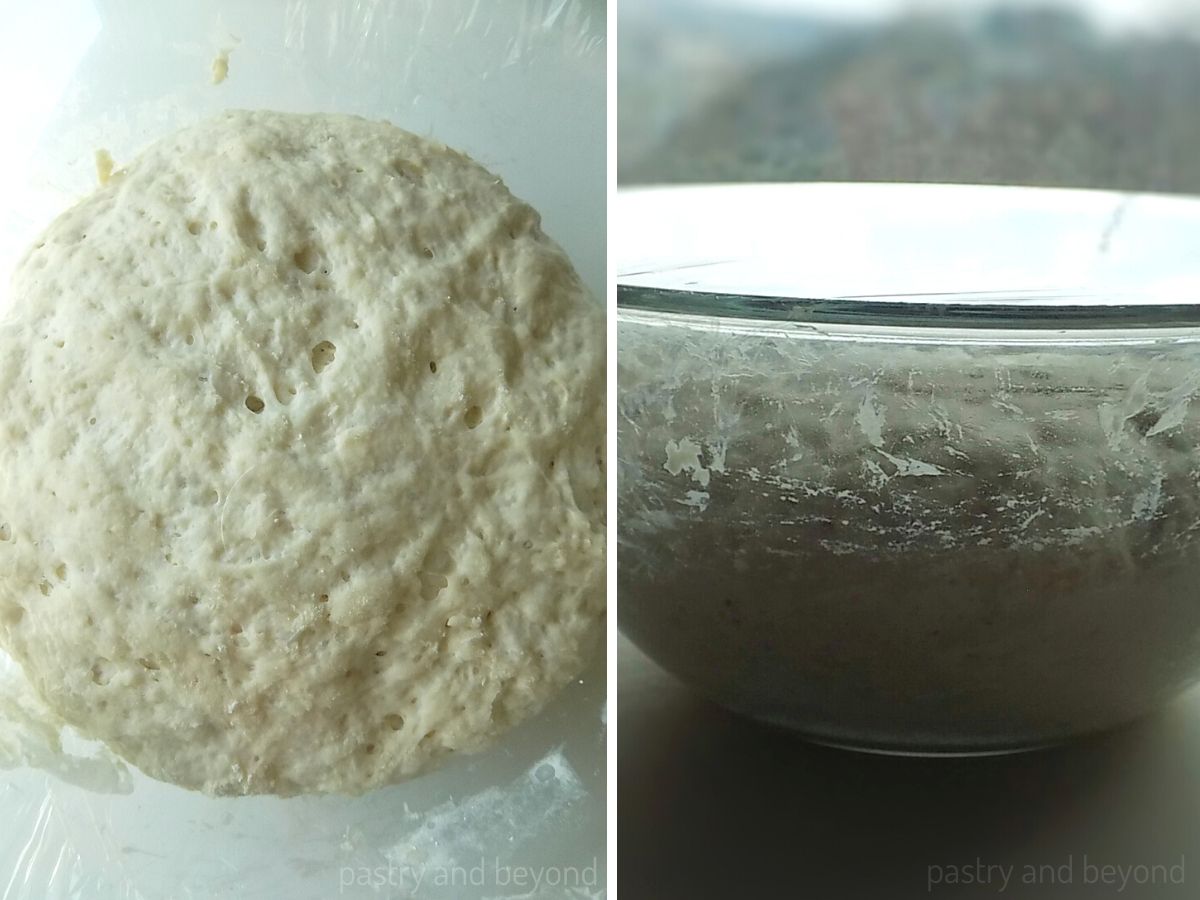
Sprinkle flour into the bowl so the ball you make doesn’t stick to the bottom. Place the dough into the bowl. Sprinkle flour on top so it doesn’t stick to the plastic film. Then cover the bowl with plastic film and let it sit until it doubles and has bubbles on top.
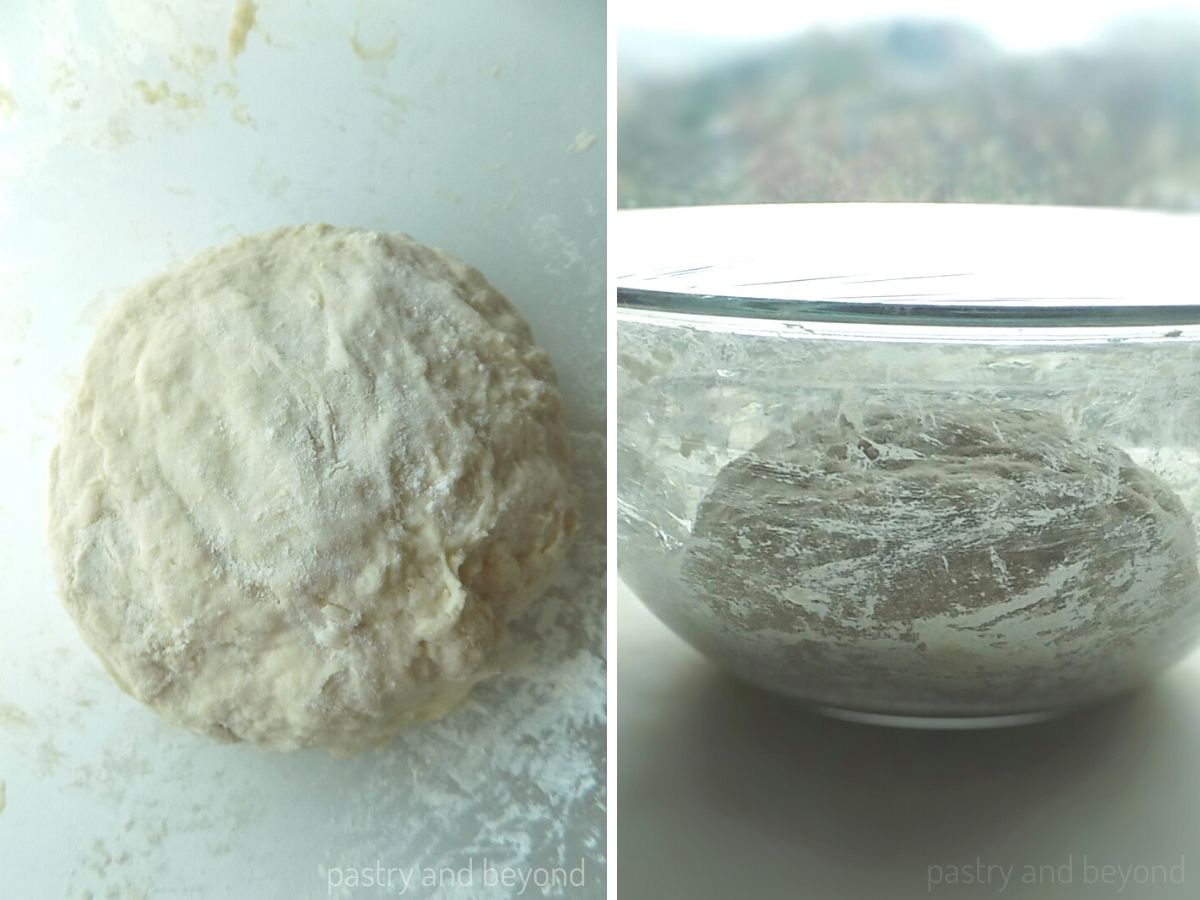
In my case, it takes 1 hour and 15 minutes at 79-80° F(26-27 °C) to rise.
Knocking Back (removing the gas bubbles that formed during rising):
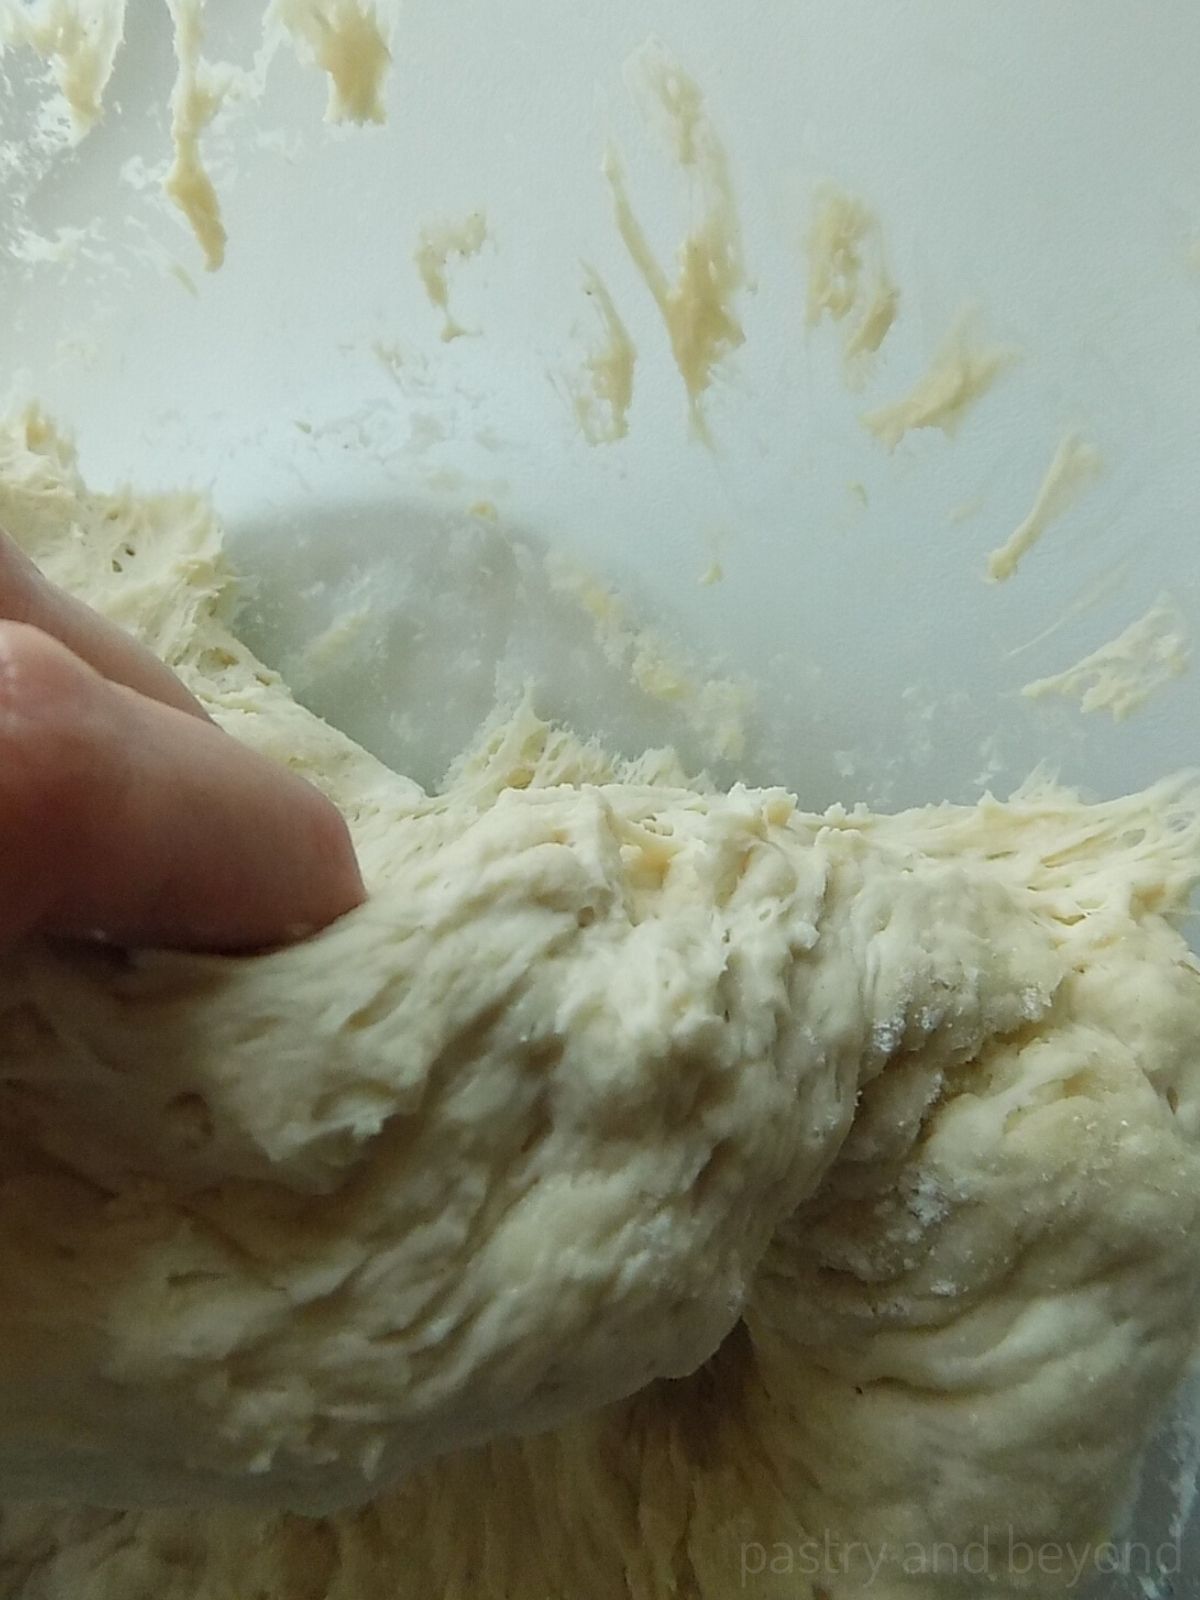
When the dough doubles in size, sprinkle flour over the dough so it won’t stick to your hand while deflating the dough with your knuckle.
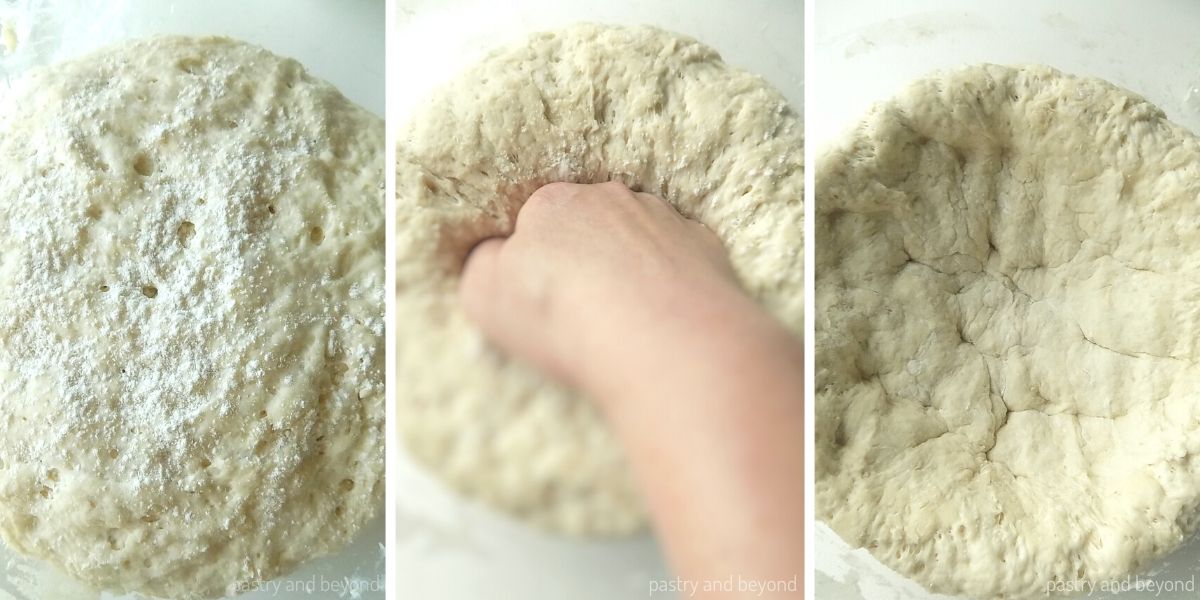
The dough will be sticky while you are leaving the dough from the bowl. This is how the consistency of the dough should be. You can flour your hands to work easily. You don’t need to add flour to the dough.
Giving the Shape and Proofing(the 2nd Rise)
Cover a baking sheet with parchment paper.
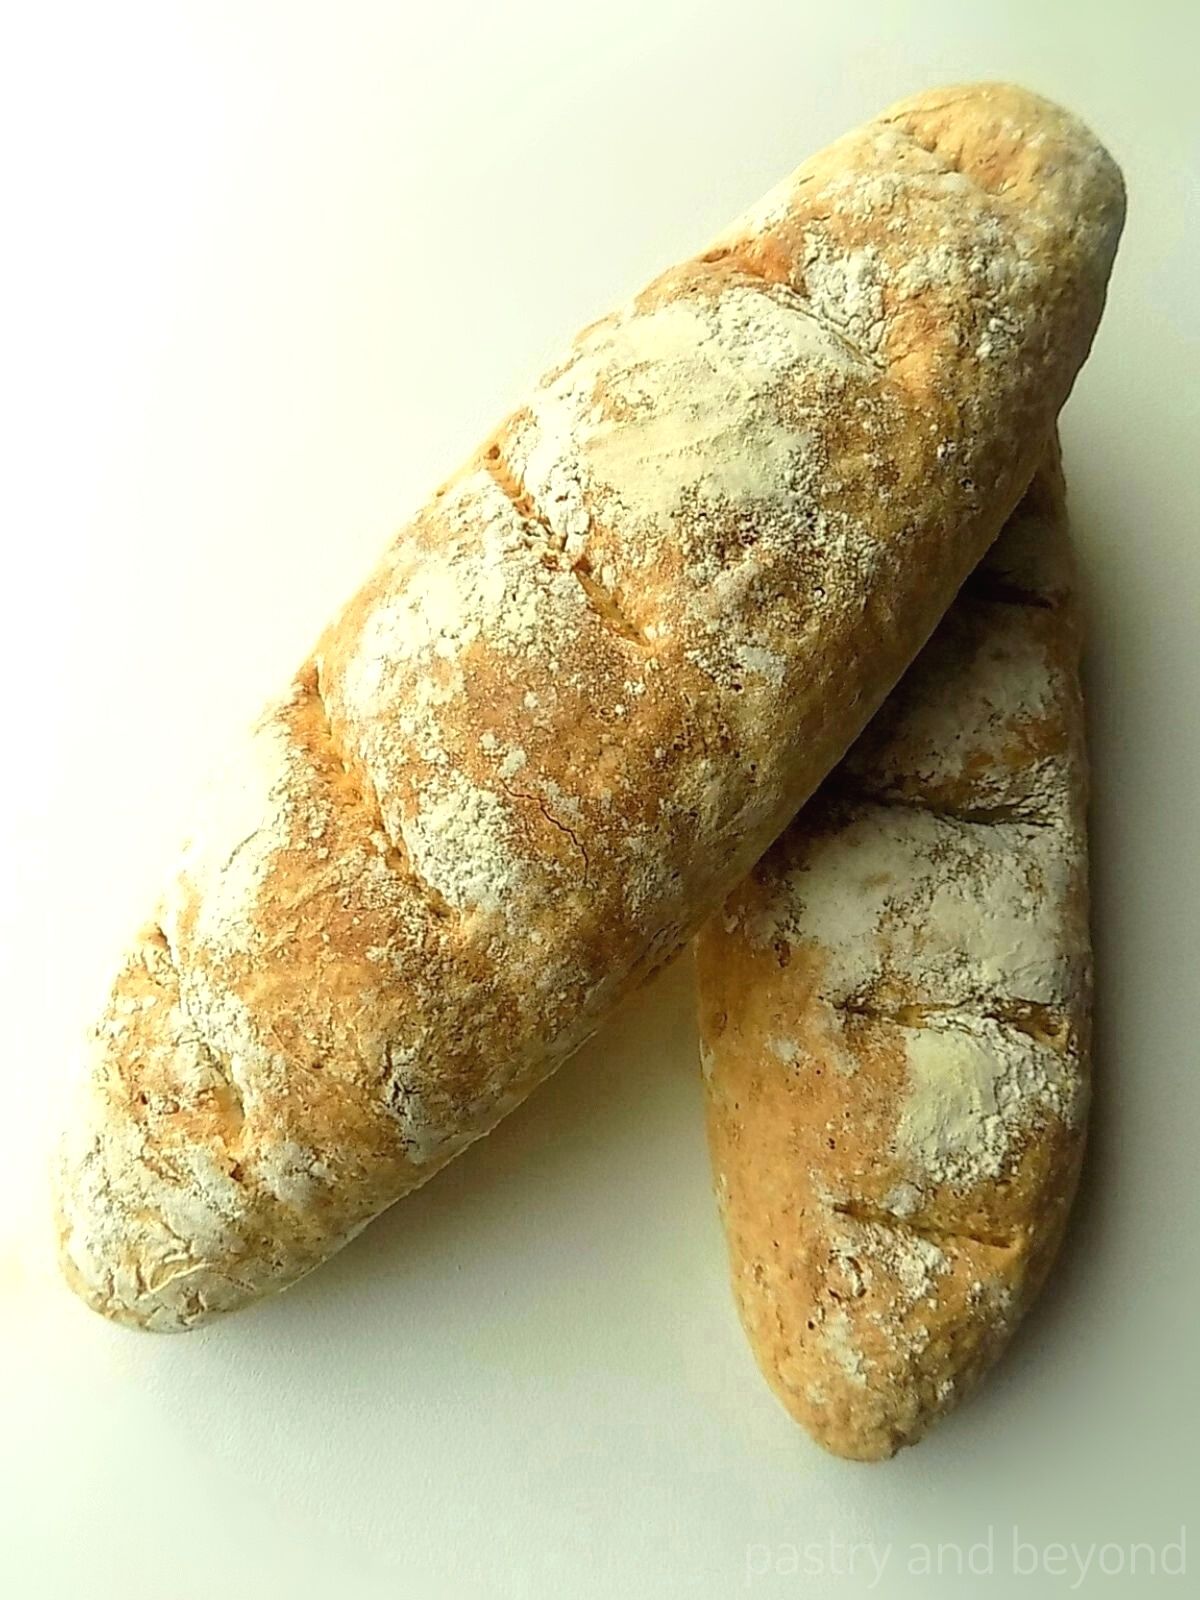
You can either make 2 long loaves or 1 large (or 2 small) round loaves.
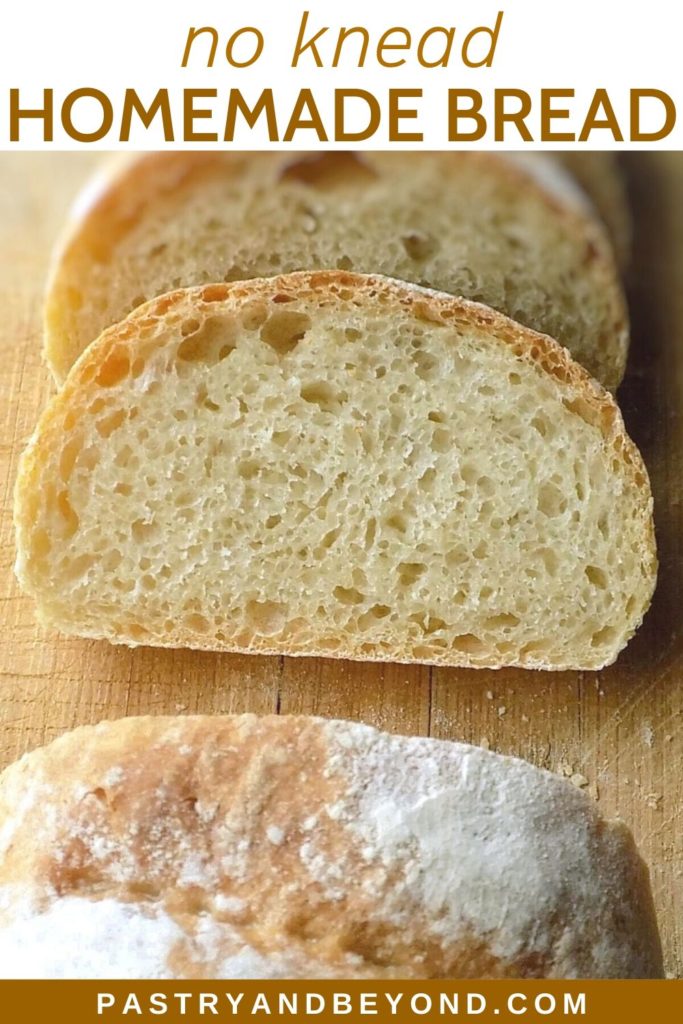
To make 2 long loaves:
Place the dough on the lightly floured parchment paper and gently press with your hand to make almost a 4.7*8 inch (12*21 cm)rectangle. Then cut in half with a pastry scraper or a sharp knife.
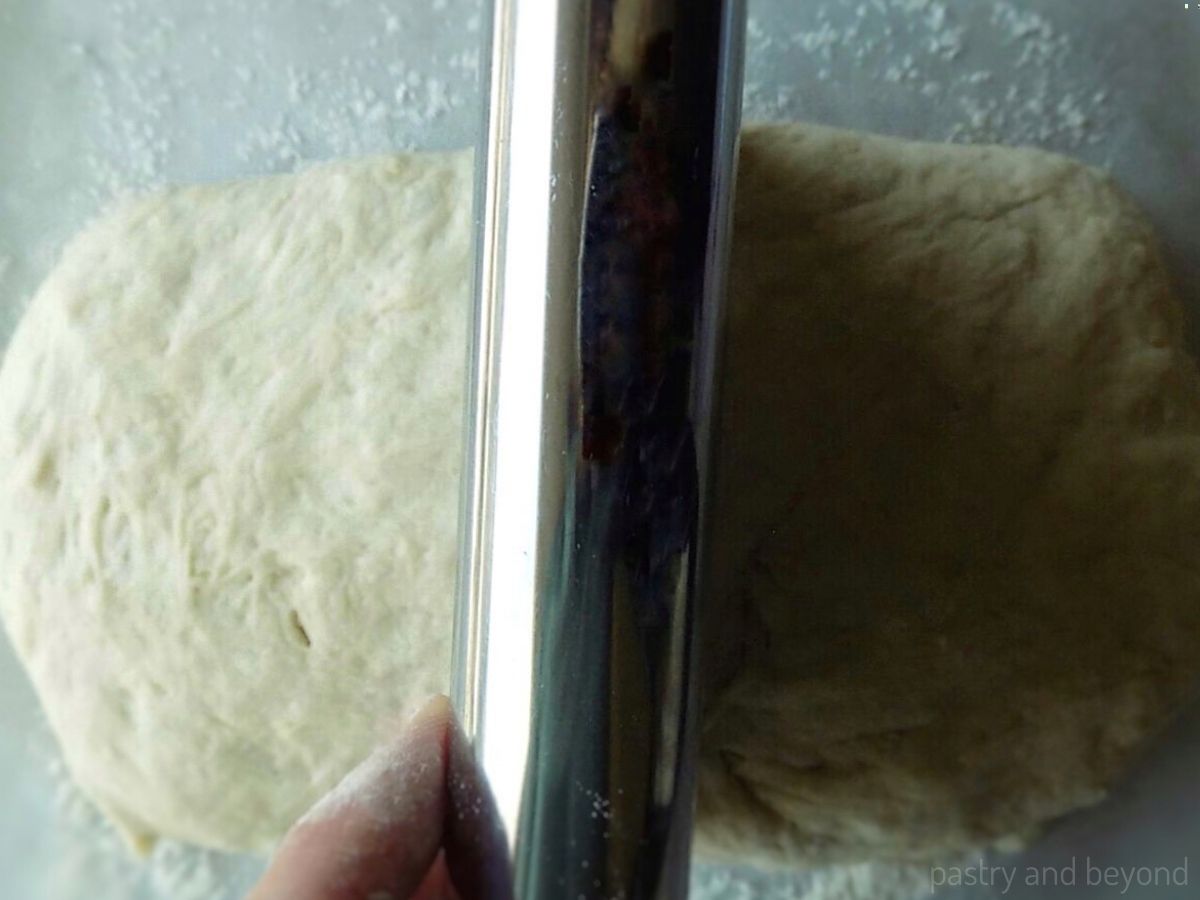
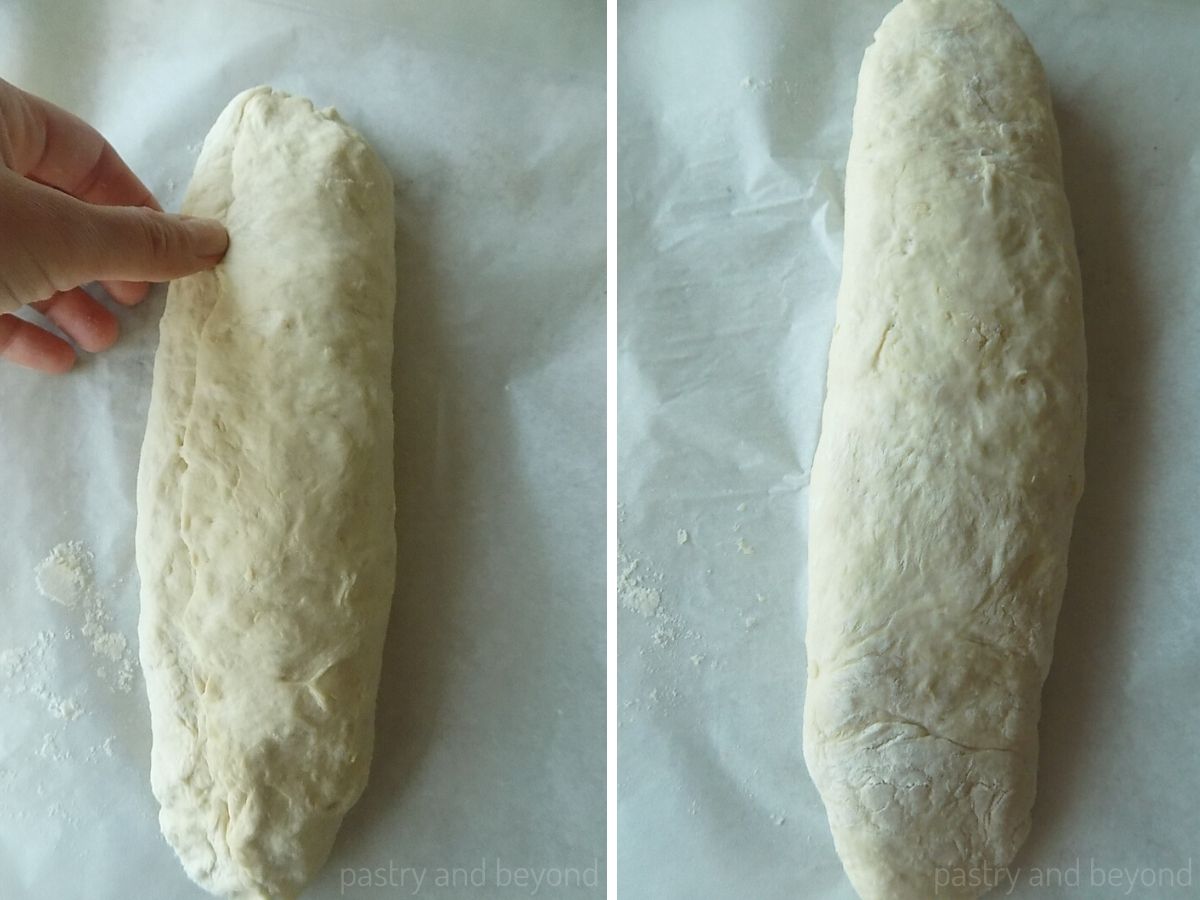
Gently pressing to each half, form them into rectangles. Next, form each rectangle into a loaf; fold one of the long sides to the middle. Then fold the other side over the folded one.

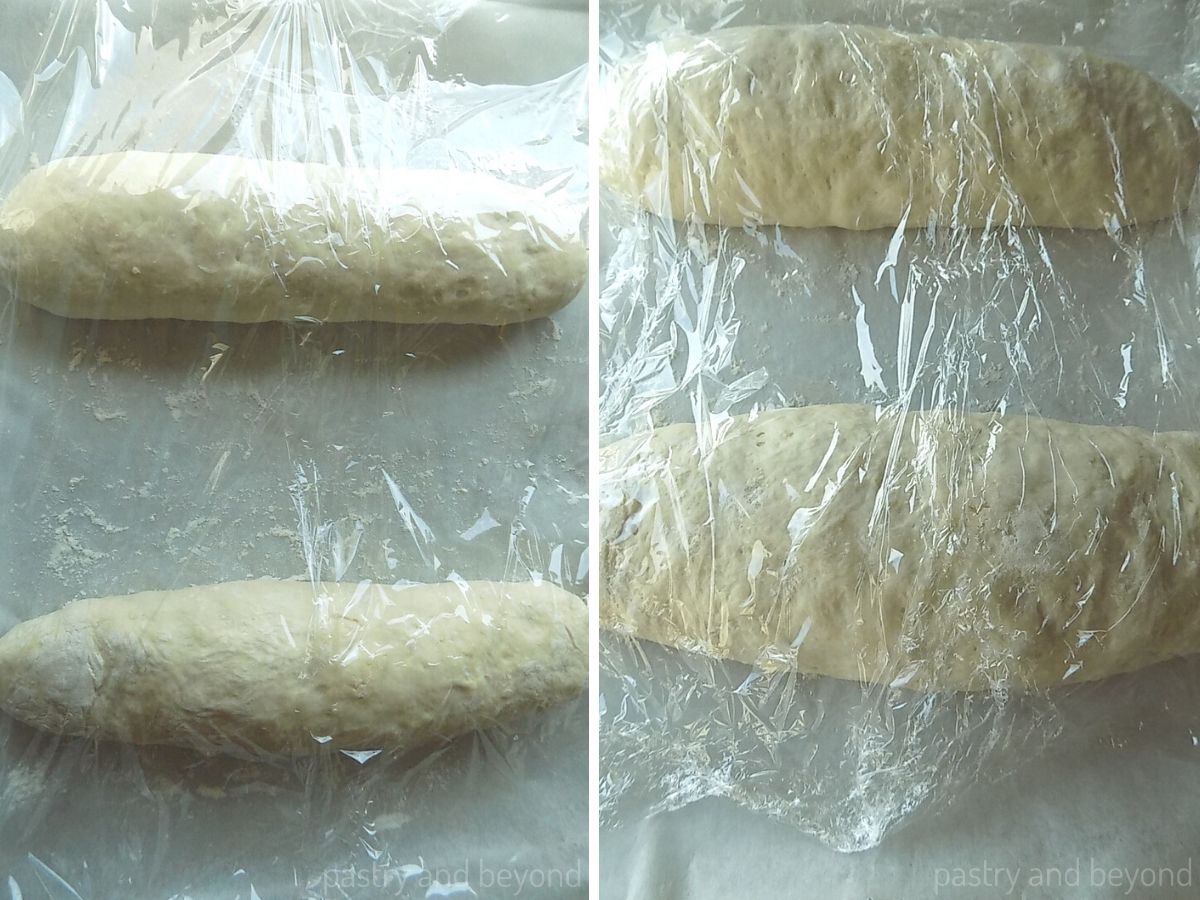
Next, seam the edges with your fingers and reverse the loaf.
Then sprinkle flour on top and loosely cover with plastic film and let it rise for 40 minutes.
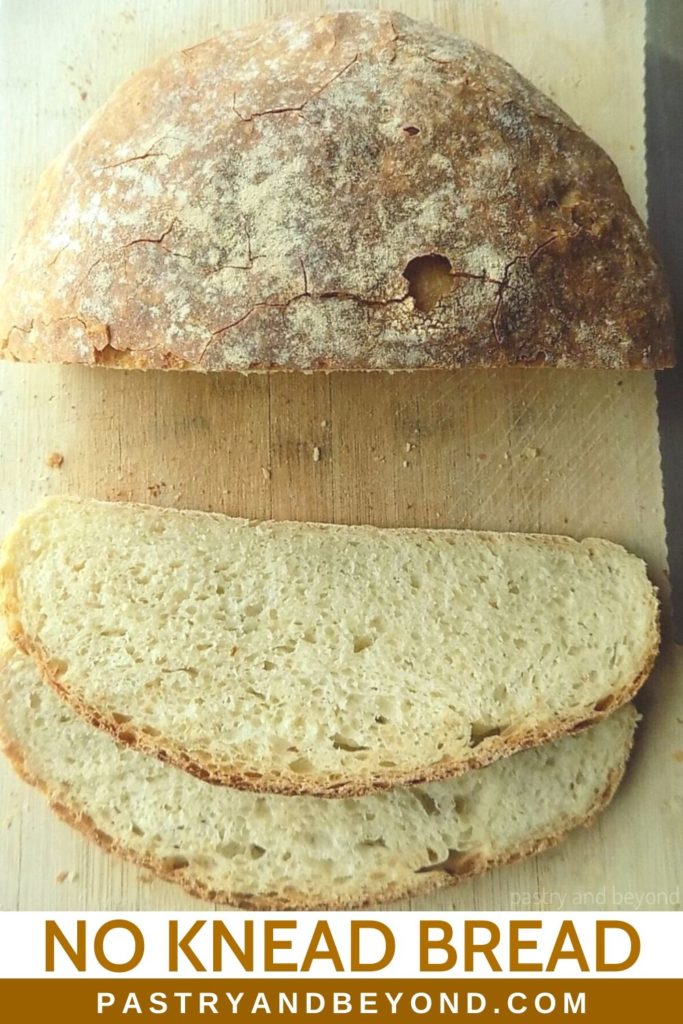
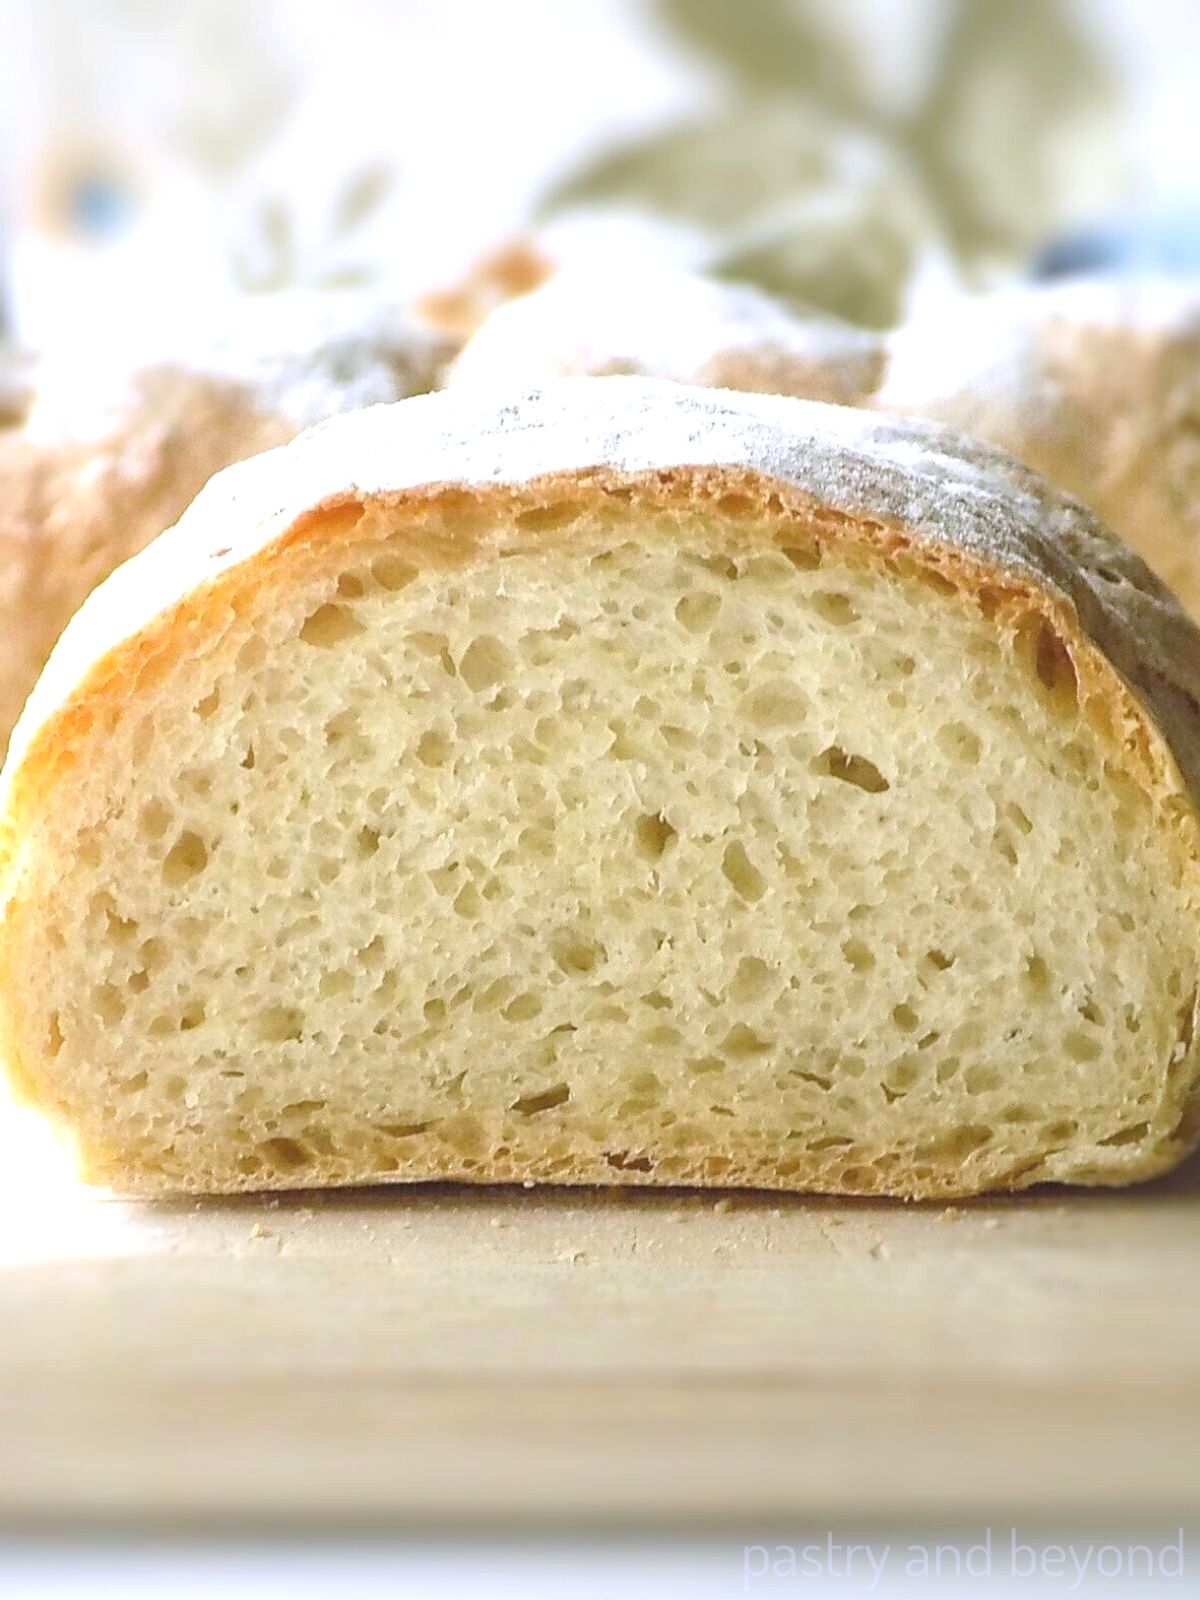
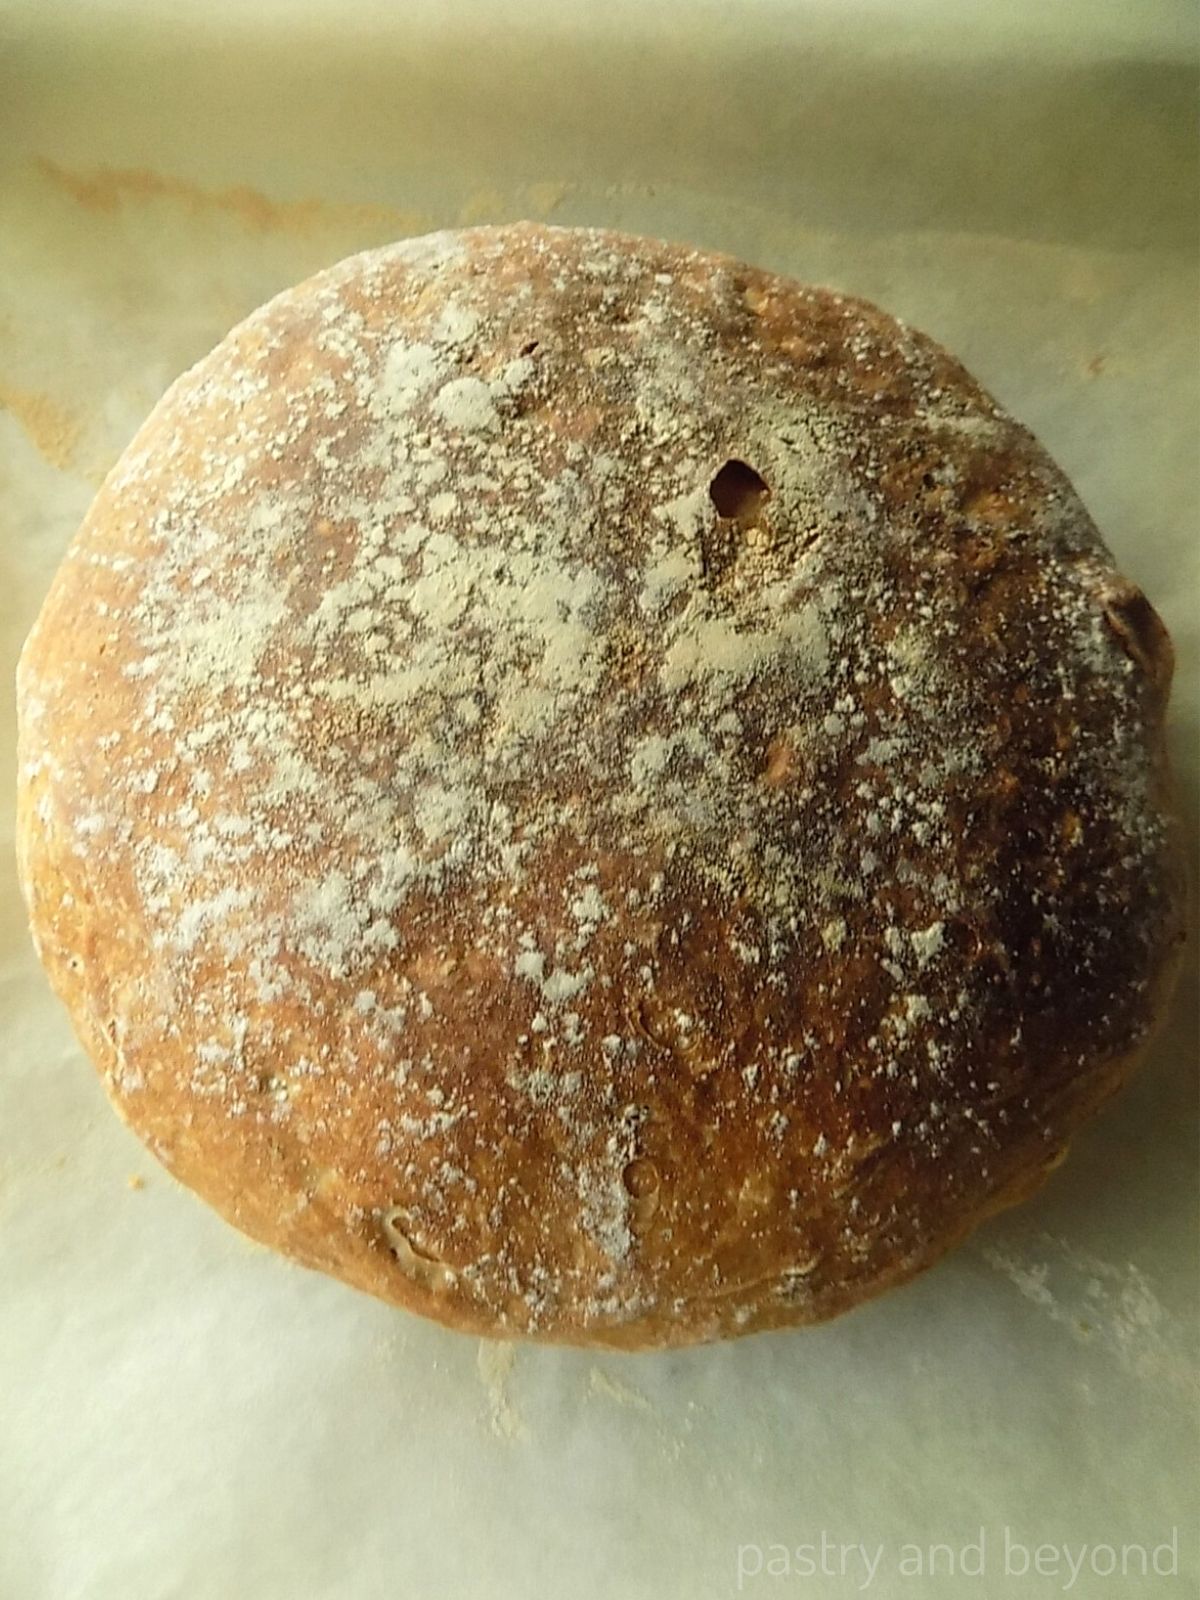
To make a large round loaf:
Place the dough onto floured parchment paper. Flour your hands and fold the dough over itself a couple of times until you have a smooth dough. Then reverse the dough and tuck the edges towards the middle to make a smooth round dough.
If you want to make 2 round loaves, simply cut the dough in half after you remove from the bowl and then turn them into 2 balls.
Then cover the dough with plastic film, sprinkle flour on top so the plastic film doesn’t stick and let it rise for almost 45 minutes.

Baking
Preheat the oven in the middle of the rising process.
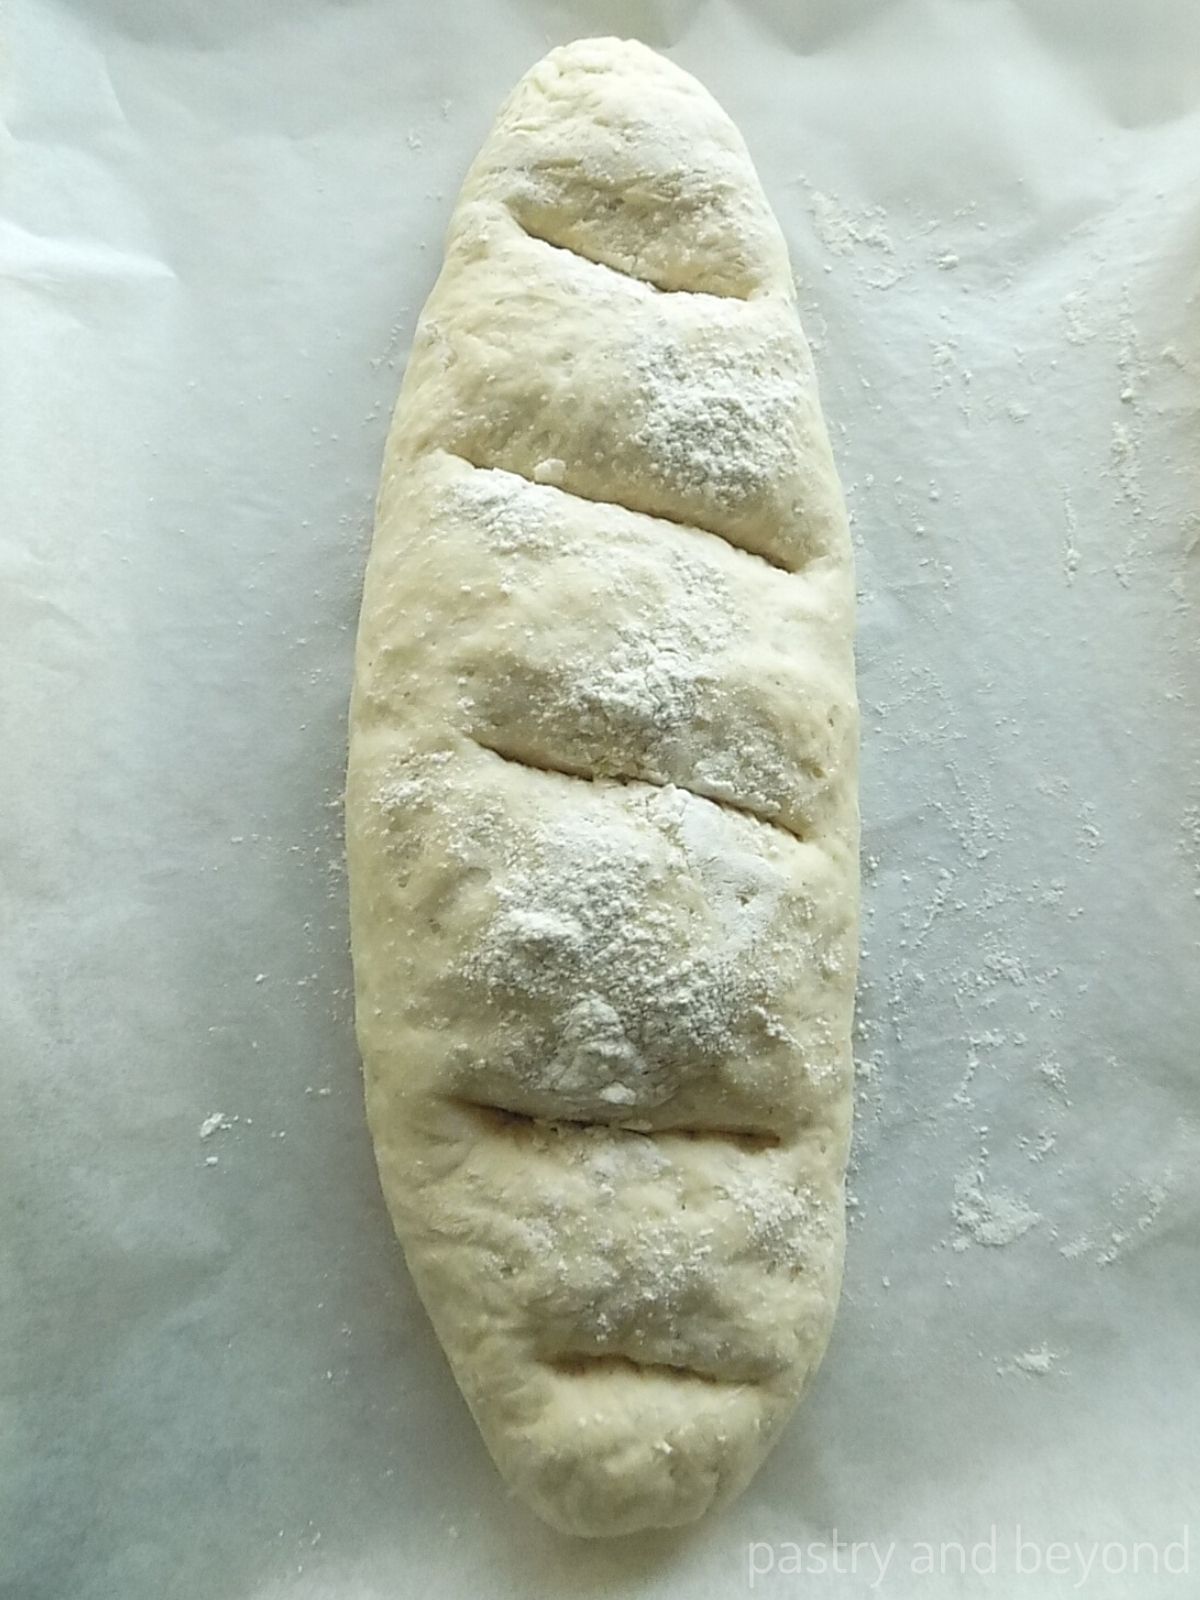
For the long loaves: After 45 minutes when almost doubled in size, make 3-5 diagonal slashes with a sharp knife or a bread lame. The loaf may lose it puff a little once you make the slashes or even after the second rise. Using your hands, gently narrow them out from the two sides as much as you can.
For the round loaf: Simply remove the plastic film and sprinkle flour on top.
Fill a metal pan with almost 3 cups of hot water to create steam if you want a crusty bread.
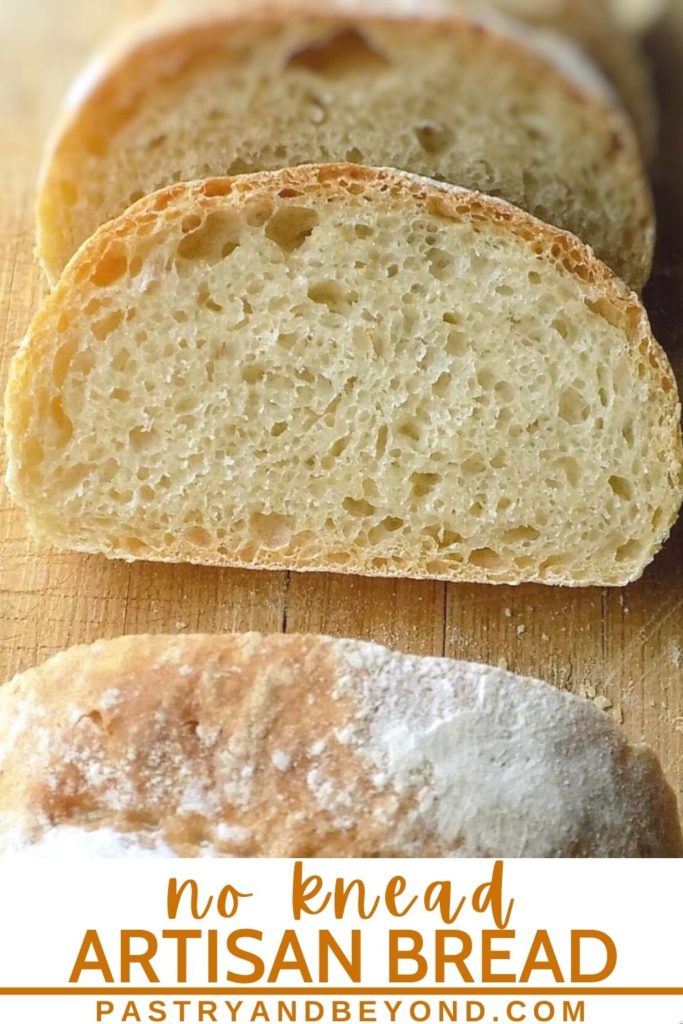
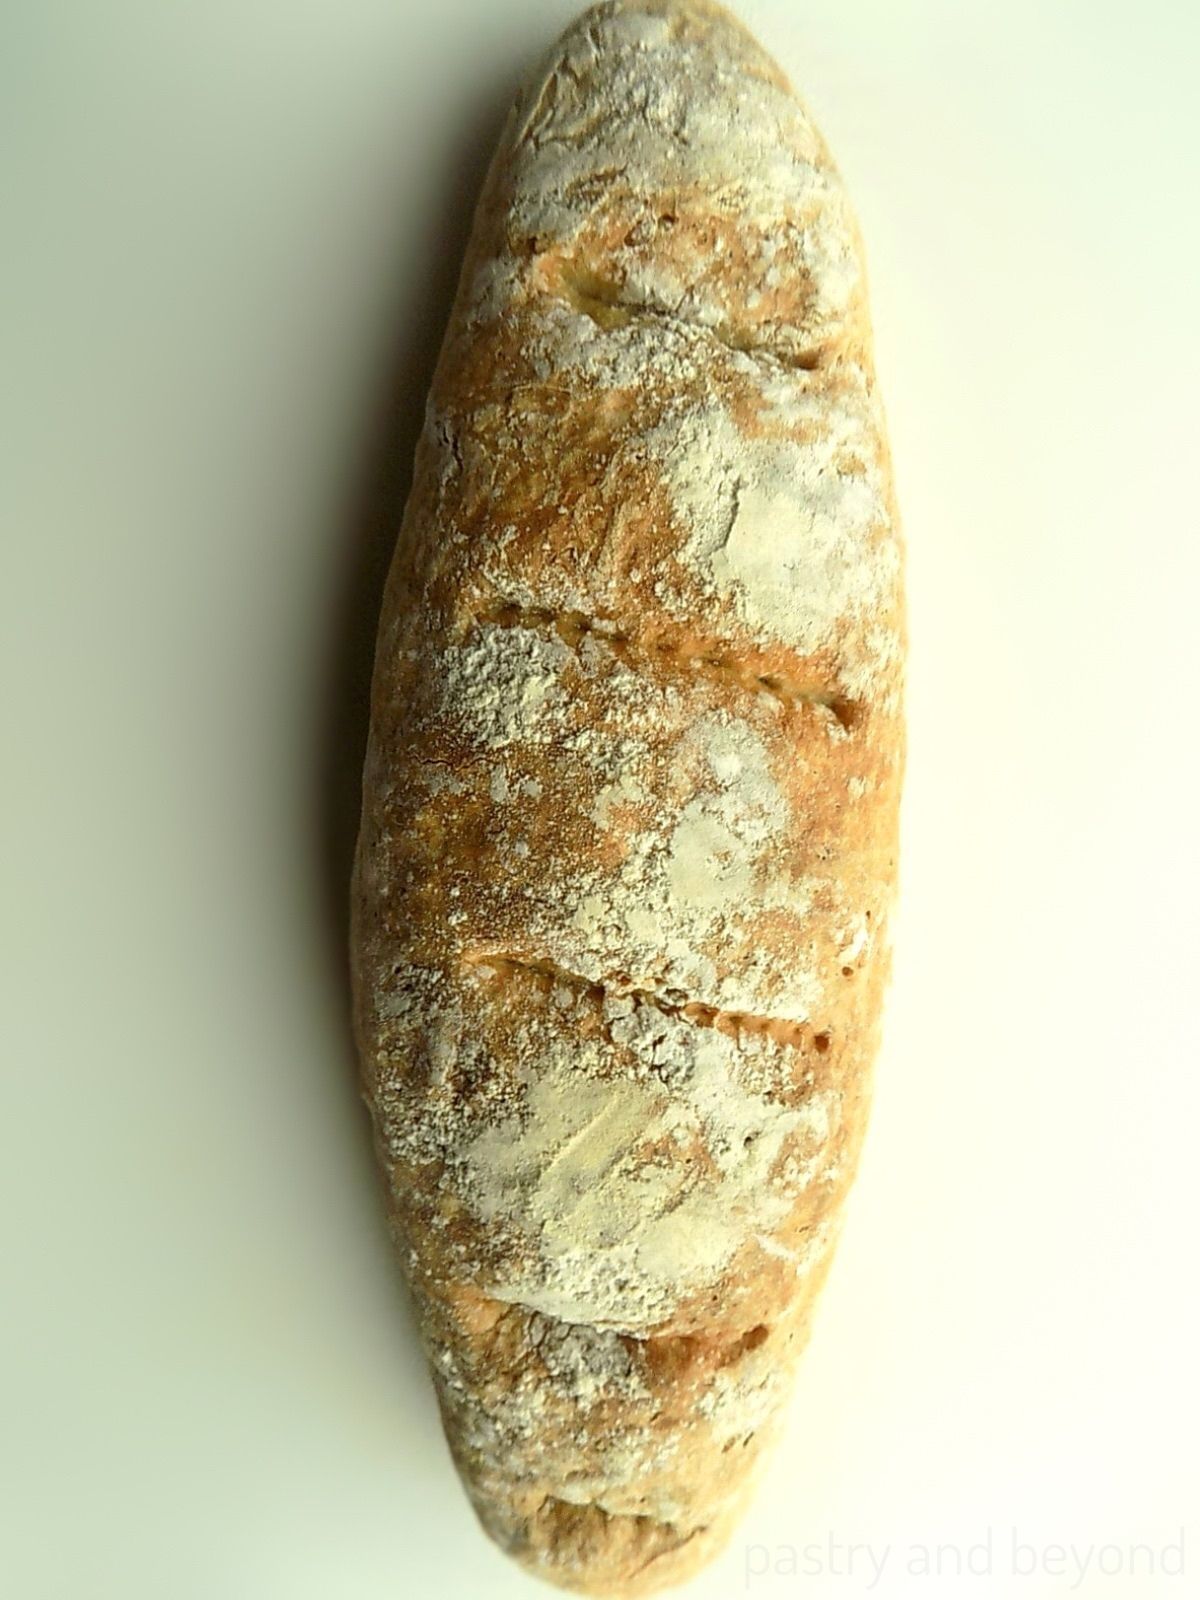
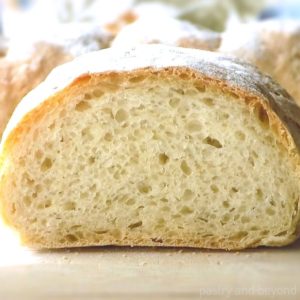
Bake for 40 minutes or until the crust is golden brown and there is a hollow sound when you tap the back for the long loaves or almost 50 minutes for the big round loaf. Let them cool for 20 minutes before slicing with a serrated knife.
Either you make as 2 long loaves or a round loaf, enjoy your no knead bread without dutch oven!
How To Store
You can store this totally cooled and well-wrapped bread at room temperature up to 3 days or in the freezer for up to 3 months.
Tips:
- You need to use warm water. You can simply boil ⅓ of the water amount and add ⅔ of the room temperature water to make warm water. If you use hot water it will kill the yeast.
- While working with the dough don’t add any excess flour. This supposed to be a sticky but workable dough. Flour your hands as needed to work easily. This way you can control the use of the flour.
You can also try my quick breads!
I love hearing from you! If you try my No-Knead Bread recipe or my other recipes please leave a comment and give a star rating!
No Knead Bread without Dutch Oven
Ingredients
- 480 grams (3 cups and 6 tablespoons) all-purpose flour, dip and sweep
- 6 grams (2 teaspoons) instant yeast*
- 9 grams (1 and ½ teaspoons) salt
- 320 grams/ml (1 cup and ⅓ cup) water, warm**
Instructions
- Place the flour, salt and instant yeast in a large mixing bowl and mix with a wooden spoon or a spatula. (If you are using fresh yeast, see the notes section below.)
- Add the water and mix with a wooden spoon or spatula. Scrape down the sides and bottom of the bowl with your spoon/spatula so the flour from the bottom will come to the top. The flour should be enough so don't add extra flour.
- After you mix the dough with a spoon thoroughly, the dough will be sticky but easily workable. Don't add flour over the dough but flour your hands to make a ball. The ball doesn't have to be perfect. Sprinkle flour into the bowl so the ball you make doesn’t stick to the bottom. Place the dough into the bowl. Sprinkle flour on top of the dough so it doesn’t stick to the plastic film. Cover the bowl with plastic film and let it sit until it doubles and has bubbles on top. It takes 1 hour and 15 minutes at 79-80° F(26-27 °C) to rise.
- Once the dough doubles in size, sprinkle flour over the dough. This way the dough won't stick to your knuckle. Using your knuckle, deflate the dough to remove the gas bubbles that formed during rising.
- Cover baking sheet with parchment paper and set aside.
- Flour your hands and remove the dough from the bowl. The dough will be sticky, this is how it is just supposed to be. So don't attempt to add flour to the dough.
- To make two long loaves: Place the dough on the parchment paper covered baking sheet and press with your hand to make almost a 4.7*8 inch (12*21 cm)rectangle. Then cut the rectangle in half with a pastry scraper or a sharp knife. By gently pressing, make rectangles out of each dough. Form each rectangle into a loaf by folding one of the long sides to the middle. Then fold the other sides over the folded one. Seam the edges with your fingers and reverse the loaf(you can check step by step pictures in the post). Sprinkle flour on top and loosely cover with plastic film and let it rise for 40 minutes.To make a big round loaf: Place the dough onto floured parchment paper. Flour your hands and fold the dough over itself a couple of times until you have a smooth dough. Tuck the edges of the dough towards the middle to make a smooth round dough. If you want to make 2 round loaves, simply cut the dough in half after you remove from the bowl and then turn them into 2 balls. Cover the dough with plastic film, sprinkle flour on top so the plastic film doesn’t stick and let it rise for almost 45-50 minutes.
- Preheat the oven to 400°F(205°C)in the middle of the rising process. For the long loaves: After 40-45 minutes when almost doubled in size, make 3-5 diagonal slashes with a sharp knife or a bread lame. The loaf may lose its puff a little once you make the slashes or even after the second rise. Using your hands, gently narrow them out from the two sides as much as you can.For the round loaf: Remove the plastic film once after 45-50 minutes almost doubled.
- If you want to make a crusty bread fill a metal pan (I use 9*11inch -23*28cm) with almost 3 cups of hot water to create steam and place on the bottom rack of the oven. Place the loaves in the oven. Bake for 40 minutes or until the crust is golden brown, there is a hollow sound when you tap the back for the long loaves and almost 50 minutes for the large round loaf. After you remove from the oven, let them cool on the baking sheet for 20 minutes.
Notes
Nutrition
.
Nil
This bread is sooo delicious and crusty…I did not even have to put the water in the oven as you described, still it came out with a wonderful crusty outside. The ingredients are very few and easy to have readily at home and you really just have to mix them, that’s all!
It just came out of oven now and still warm. So I put a little butter on first slice just to taste and I already finished the 3rd slice. Somebody stop me!!
Meymi
Hi Nil, I am so happy that you enjoyed this no-knead bread as much as I do. I totally relate to your last sentence. 🙂
Kate
This was my very first loaf of bread. I made the big, round loaf and it turned out perfectly! I can’t recommend this enough for first-time bread bakers. I’m so encouraged to try again with the different styles, and try other recipes in the future. Thank you, this recipe has sparked a new life-long interest for me.
Meymi
Hi Kate, I am so happy my recipe has sparked a new life-long interest for you. This means a lot to me. I believe you’ll make delicious recipes with your enthusiasm. Thank you so much for your comment!
Amanda
Thank you !!!! My first time making bread and it was so easy with your simple and few ingredients and turned out perfect. I’m so happy and surprised with how quick and easy it was to make such good bread. My whole family loves it
Meymi
Hi Amanda, I’m so glad you tried my recipe and that you and your family loved it so much. Thank you for your comment!
Cece
This is the easiest bread recipe I have ever used! I was out of instant yeast so I used regular yeast, adding 1/2 teaspoon more. I also added a very little amount of sugar (just my preference). I made one round loaf. No steaming needed, this has the perfect crust, in my opinion. This would be a great recipe for new bread makers. Thank you for my new “go to” recipe when I need an easy, delicious loaf of bread!
Meymi
Hi Cece, I am so happy to hear that you loved this recipe so much! Thank you for your comment!
SL
Made this on a whim today with King Arthur APF. I’ve tried making bread a couple of times many years ago but it never stuck. This was incredibly easy and resulted in a beautiful, delicious loaf that my family inhaled. My 10yo and I have already begun making a second loaf. Thank you!
Meymi
I’m so happy that you all loved this recipe so much! Making bread with kids is always fun:) Thank you for your comment!
Donna
This is my absolute favorite go-to bread recipe! I’m looking at a cranberry-nut artisan loaf and wondering if it would work the same way . I don’t like having to deal with a heavy dutch oven. Have you tried anything like that?
Meymi
Hi Donna, I’m so glad you love this recipe so much. I believe it’ll work with cranberry-nut. If you try, I’d love to hear from you.
Chris
I would like to make the two long loaves but there is one instruction I don’t understand : “Using your hands, gently narrow them out from the two sides as much as you can.” Could you clarify what this means? Thanks.
Meymi
Hi Chris, After you make the slashes or after the second rise, the dough may flatten out a little bit. So before baking, using your hands, gently narrow each dough out from two sides. I hope this helps.