You can learn how to make a tart crust and make delicious pastries with this simple recipe! With its melt-in-mouth texture and slightly crunchy sides, this basic recipe should be a keeper for sure.
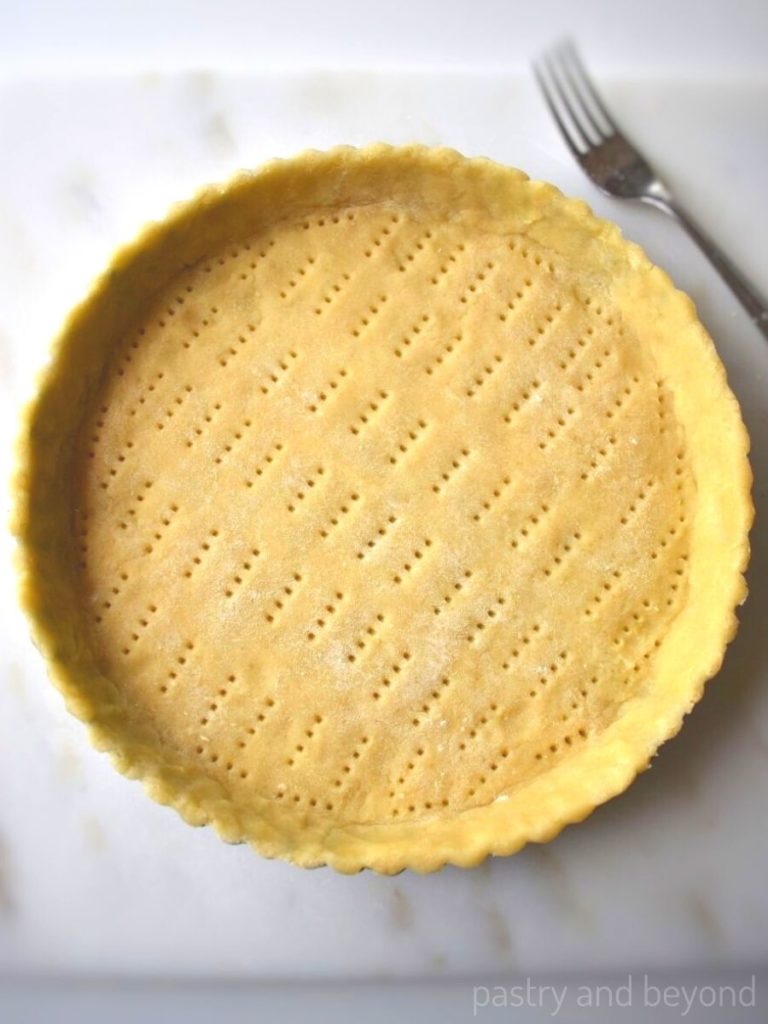
Today I am sharing my favorite tart base recipe. They are perfect with any filling from my French pastry cream, homemade lemon curd to chocolate ganache. I make the crust and after it cools, I pour the fillings.
You can also make this dough and bake it with a filling just like my easy apple tart recipe, unlike my strawberry custard tart. This recipe works well in each option.
Once you make it and see how delicious and easy this recipe is, I am sure you’ll want to use it over and over again.
Is tart dough same as pie dough?
No, they are very different. Tart dough is more like cookie dough with melt-in-mouth and a crunchy texture on the sides whereas pie dough is flaky with layers.
Ingredients you’ll need
You can find the exact quantities at the bottom of my post, in the recipe card.
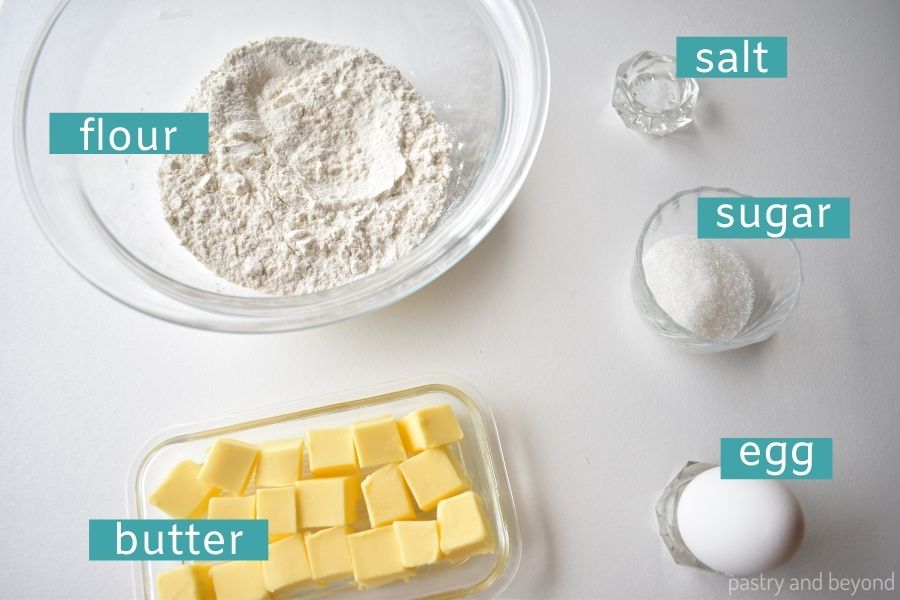
- Flour– I use all purpose flour, it creates structure.
- Butter– unsalted butter gives its delicious flavor. I use cold butter so when I work with the dough it doesn’t melt.
- Egg– makes the tart crust richer and binds the ingredients.
- Sugar– I use 2 tablespoons of sugar which is enough to make this crust sweet enough. I can even eat it as a cookie. If you want to use more, sure you can. It is better to give your decision according to the filling you are planning to use.
- Salt-gives flavor but if you don’t use salt, you can eliminate it, your tart crust will still be delicious.
Below I’ll show you how to make tart dough both by hand and with a food processor. Then I’ll continue with how to roll out the dough and how to bake.
As I’ll refer to this recipe many times as a base, I want to share the options while making the crust.
How to make tart crust step by step
Tart dough by hand
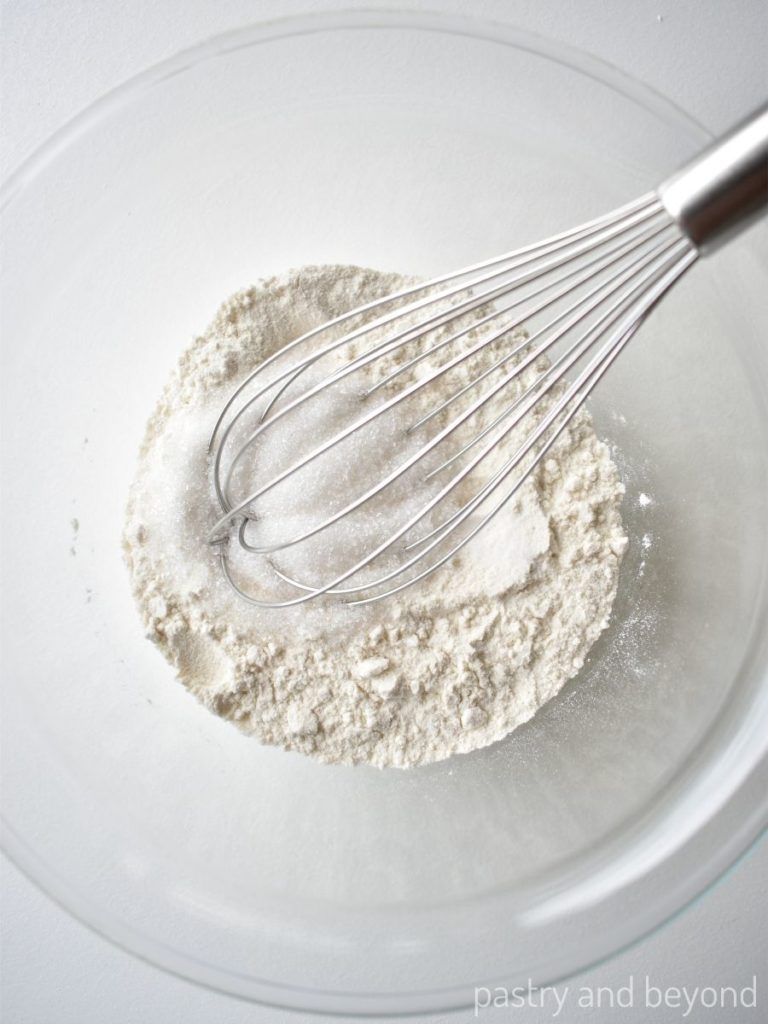
First I place the flour, salt and granulated sugar into a medium bowl and then stir with a whisk. If you don’t use salt, you can simply skip it.
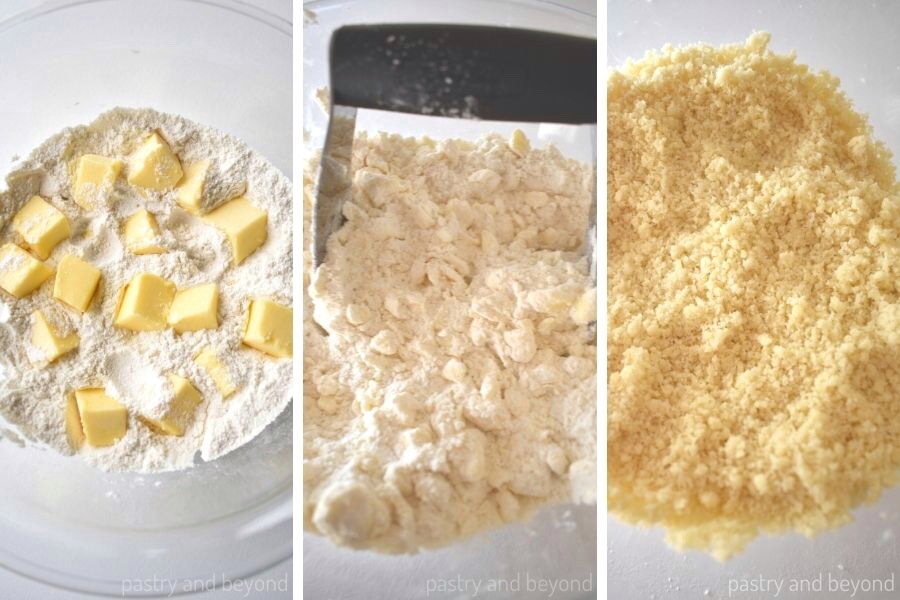
Next, I add the cubed butter and cut into flour mixture with a pastry cutter. You can use a fork or make it with your fingertips. There are many times I make it with my fingertips or a fork. So that’s totally fine if you don’t have a pastry cutter. In either case, you have to make sure that the butter is cold.
Next, I make a well in the middle of the flour mixture and add the egg. I gently stir the egg with a fork/spoon and then take the flour mixture from the sides to incorporate.
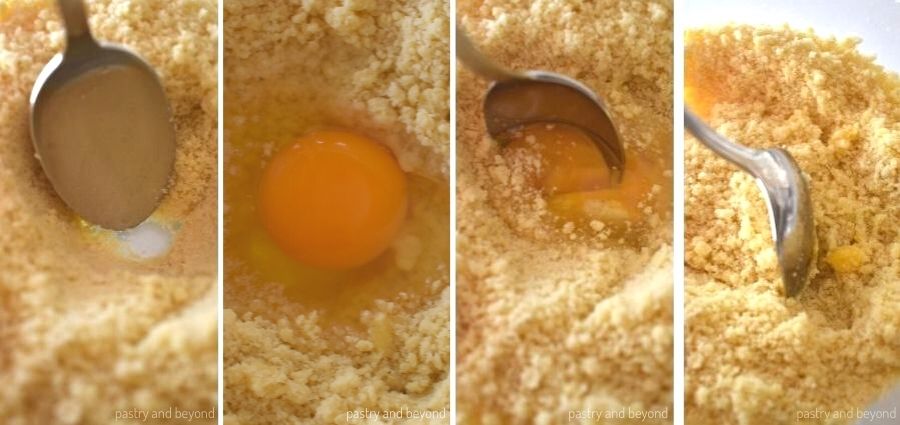
I stop when the mixture forms clusters. You shouldn’t work with the dough too much, if you do it will shrink once baked.
When I see the clusters, I bring the dough together with my hands and make a ball. Then I put it onto a plastic film, gently press with my fingers to make a disc and keep in the fridge/freezer to let the dough rest.
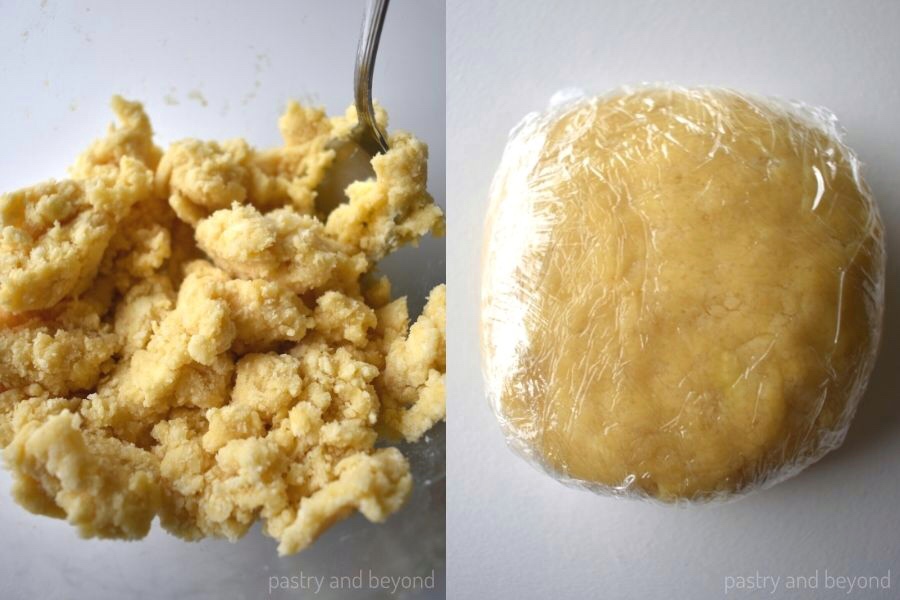
You should keep the dough at least for one hour in the fridge or for 15 minutes in the freezer so the gluten(flour protein) will relax. This way you can easily roll out the dough and it doesn’t shrink too much once baked.
Tart dough with a food processor
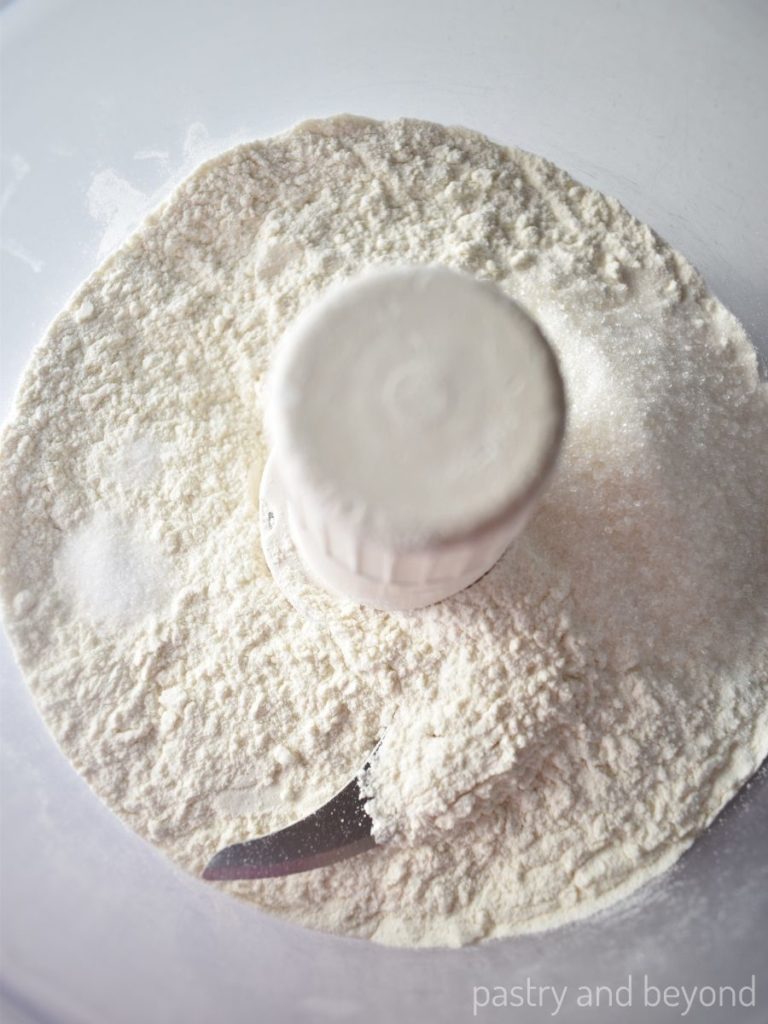
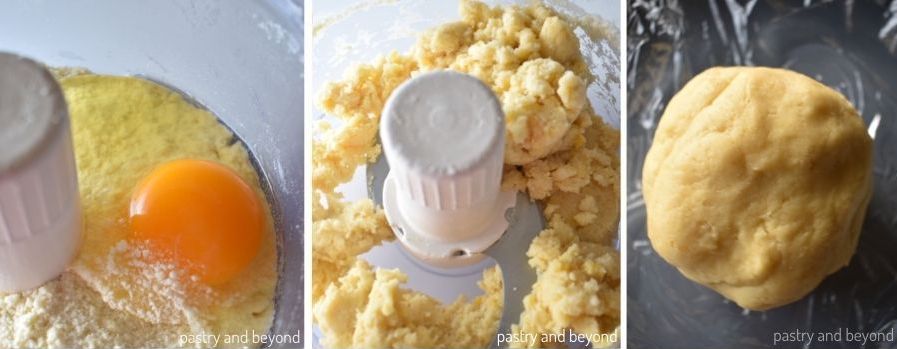
First I place the flour, salt, sugar into a food processor and process for almost 5 seconds.
Then I add the cubed butter and pulse for almost 20 times until it resembles fine breadcrumbs.
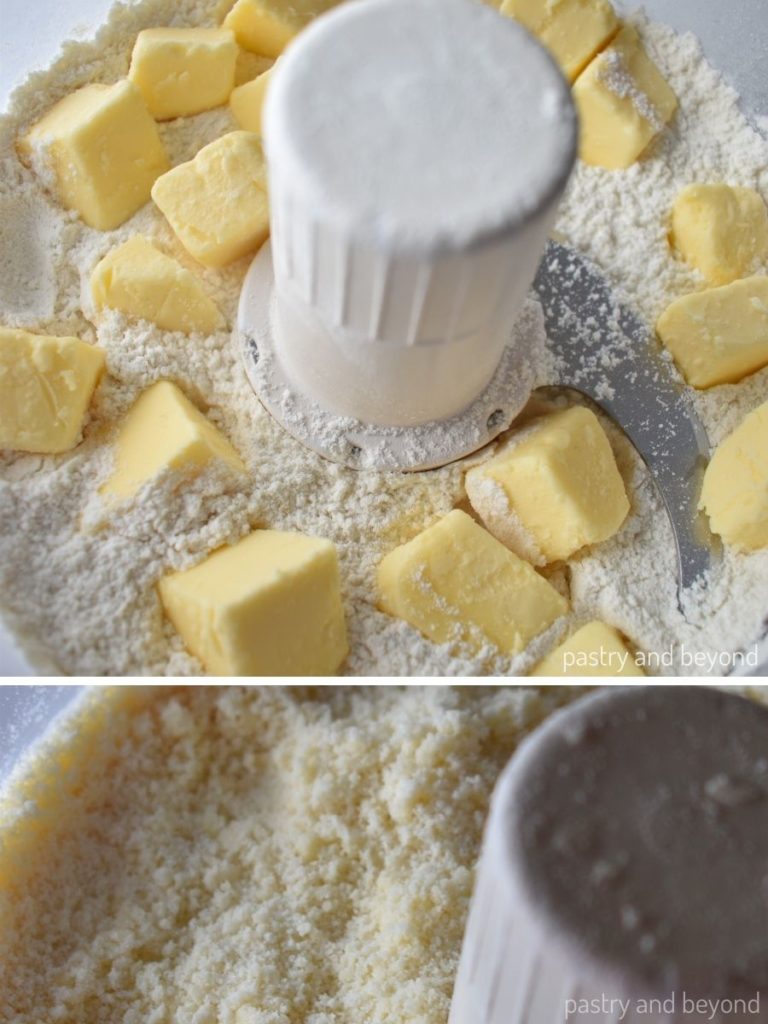
Finally, I add the egg and pulse for almost just 10 seconds until the mixture forms clusters.
Again I don’t overwork the dough. When it forms clusters, I bring the dough together with my hands and make a ball. Then, I place the dough on a plastic film, gently press with my fingers to make a disc and cover with plastic film. In order to let gluten rest, I keep the dough in the fridge for at least 1 hour or in the freezer for 15 minutes before rolling out.
Rolling out the dough
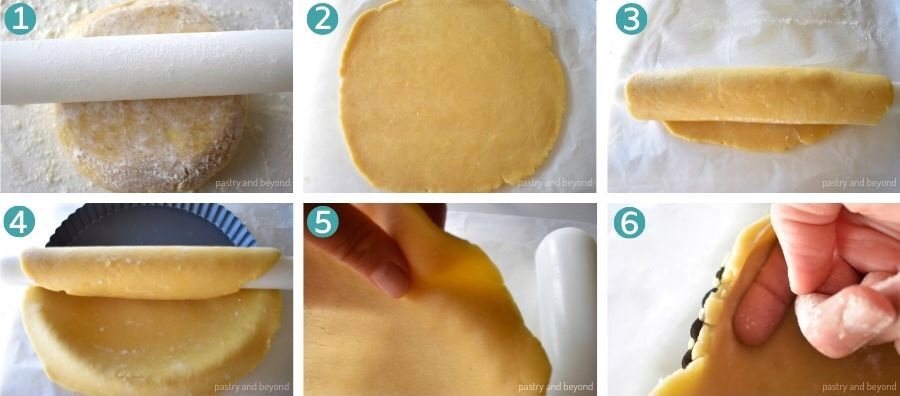
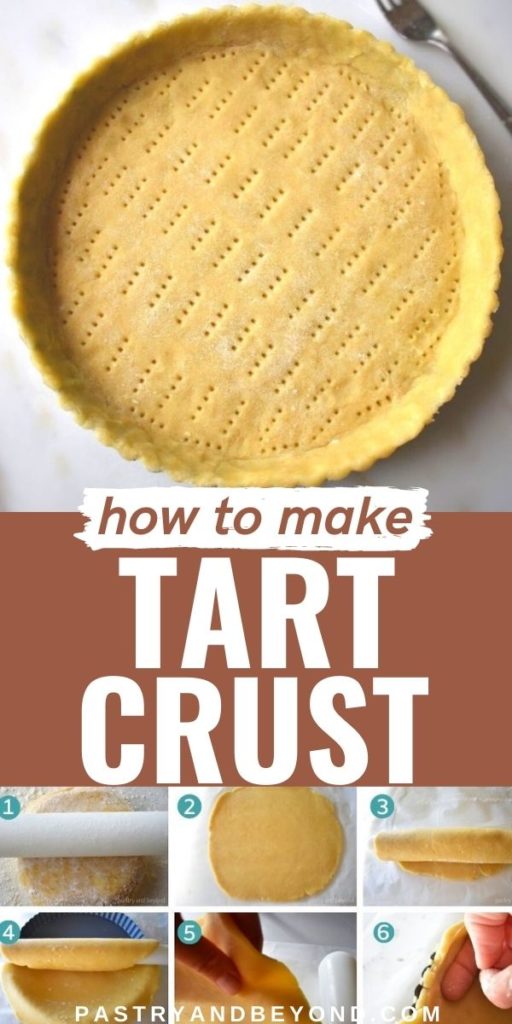
Below you can find a collage with photo numbers so you can follow along.
First I flour the work surface, the top of the dough and the rolling pin (photo 1), so the dough won’t stick to the surface and to the rolling pin. When I roll out the dough, I give a quarter turn so the dough won’t stick to the surface as I continue rolling. I like working on parchment paper as it mostly eliminates the sticking while rolling out the dough.
Next, I roll the dough into an almost 11 inch (28 cm) circle (photo 2). You can roll ⅛ inch(3mm) to ⅕ inch(5mm) thick.
Then I lightly flour the dough and the rolling pin and loosely roll the dough around it and gently unroll it into the 9 inch (23cm) removable bottom pan. I brush away the excess flour (photos 3-4).
Alternatively, you can slide your hands below the dough and remove it from the workspace and place into the pan; for either step, the workspace should be floured well from the beginning so the dough won’t stick.
Now it is time to properly place the dough into the pan. After I unroll the dough into the pan, I don’t press to the middle. This way I avoid stretching the dough. If I do so, the crust will shrink as it bakes. Instead, first I gently lift up the dough that is hanging from the sides and gently press it to the sides with my fingers(photos 5-6).
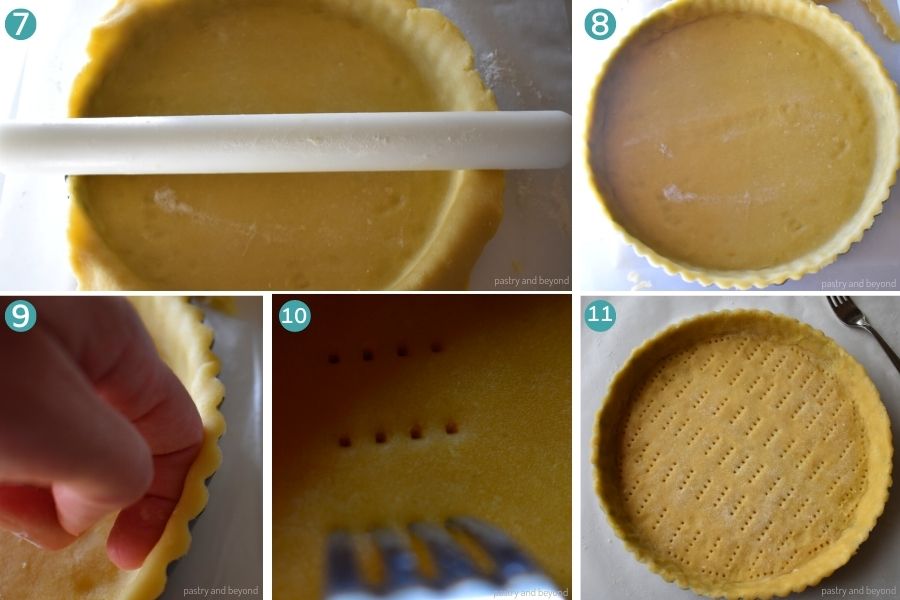
Then I go through from the top of the pan with a rolling pin to trim the excess dough (photo 7-8). You can also trim the excess dough with a sharp knife.
If the dough breaks while placing it into the pan, don’t worry because this dough is very forgiving. If this happens, gently press it back together.
If you find some parts that need more dough, you can use the excess dough that you trimmed. The excess dough should be sticky(don’t add any flour) so it can easily stick to the other dough and bake properly. As you’ll fill the crust, nobody will see the patches, so don’t worry how it looks.
Although we let the dough in the fridge/freezer rest, it will still shrink a little bit from the sides and the top.
I like to gently press the sides with my finger so that the dough will go over the pan ⅛ inch (3mm) or so (photo 9). This way the sides won’t stay low once baked.
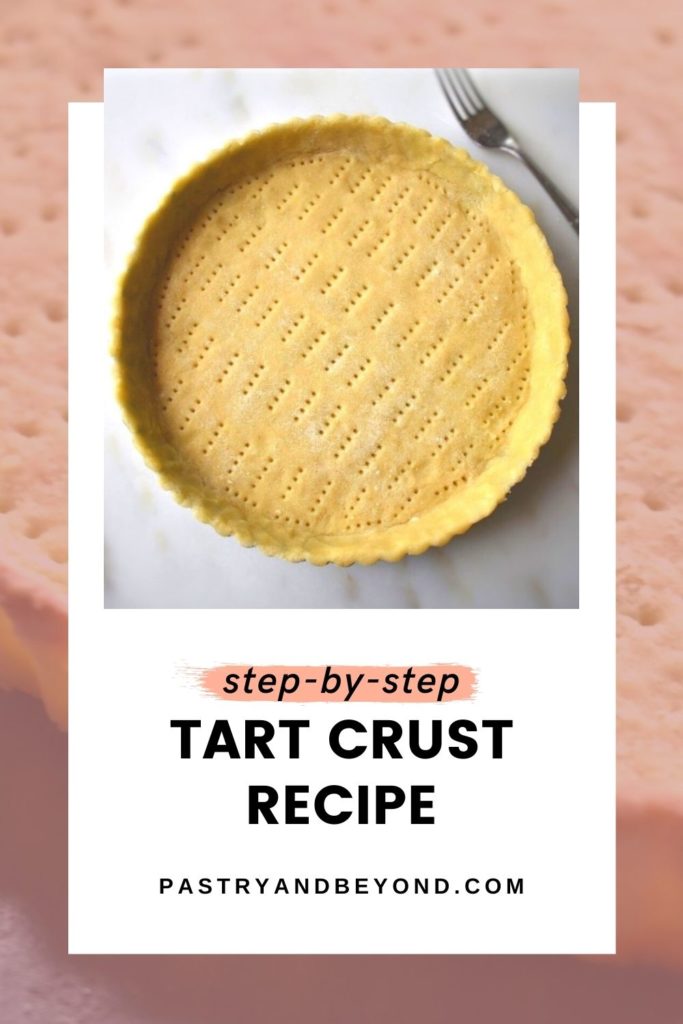
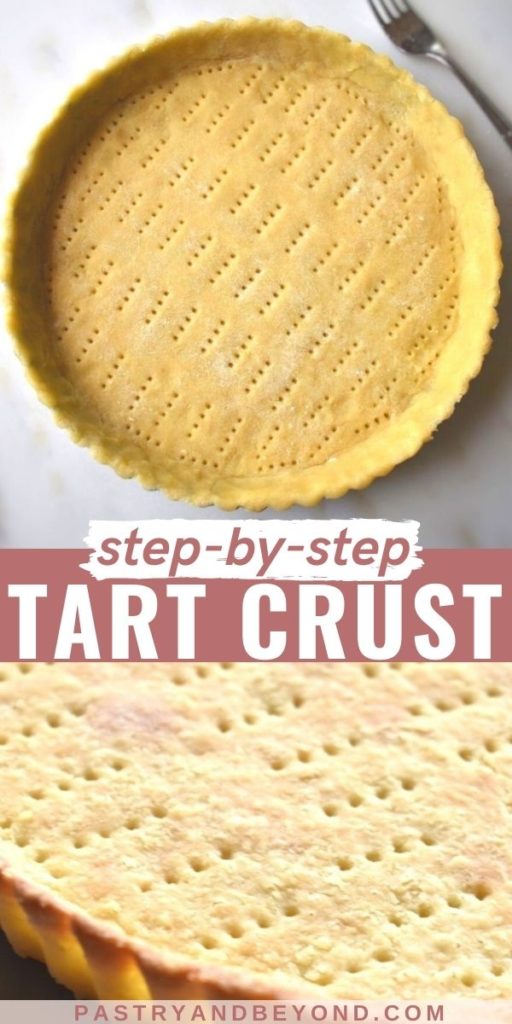
Finally, I prick the bottom of the dough with a fork (photos 10-11) so it won’t puff once baked. If you fully or partially bake the crust without a filling, you need to make these steps.
You don’t need to prick the dough or press to the sides to let it go over the pan if you are baking the crust with a filling as the crust won’t puff or the sides won’t shrink. So those steps depend on the recipe.
Here is an example of how this little trick of pressing to the sides paid off; the sides are not lower than the pan.
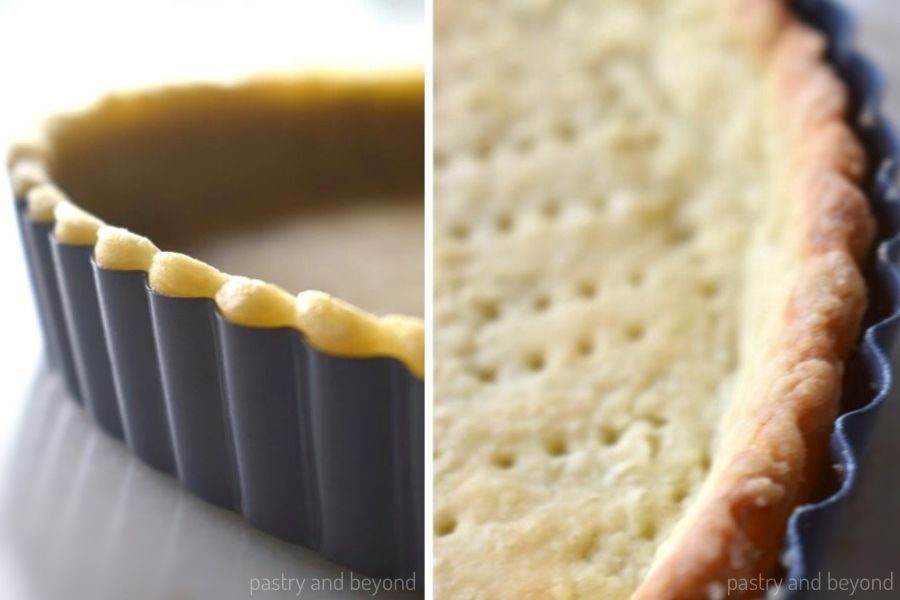
Before baking, I keep the dough in the freezer for 40 minutes. This eliminates puffing and reduces shrinking. I put the pan into the oven straight from the freezer.
You don’t need to bake this crust with pie weights/beans/rice to weigh down the bottom, as long as you make and bake the crust as I explain in this post because it doesn’t puff and shrink more than when it is baked with pie weights. Please keep in mind that I am not using a glass baking pan.
Baking the crust
During the last 10 minutes, I preheat the oven to 390°F(200°C). At the end of 40 minutes, I place the pan into a baking sheet and bake at that temperature for 10 minutes, then reduce the heat to 350°F(177°C) and bake for 15 more minutes until it is golden brown at the edges and lightly golden brown on the bottom.
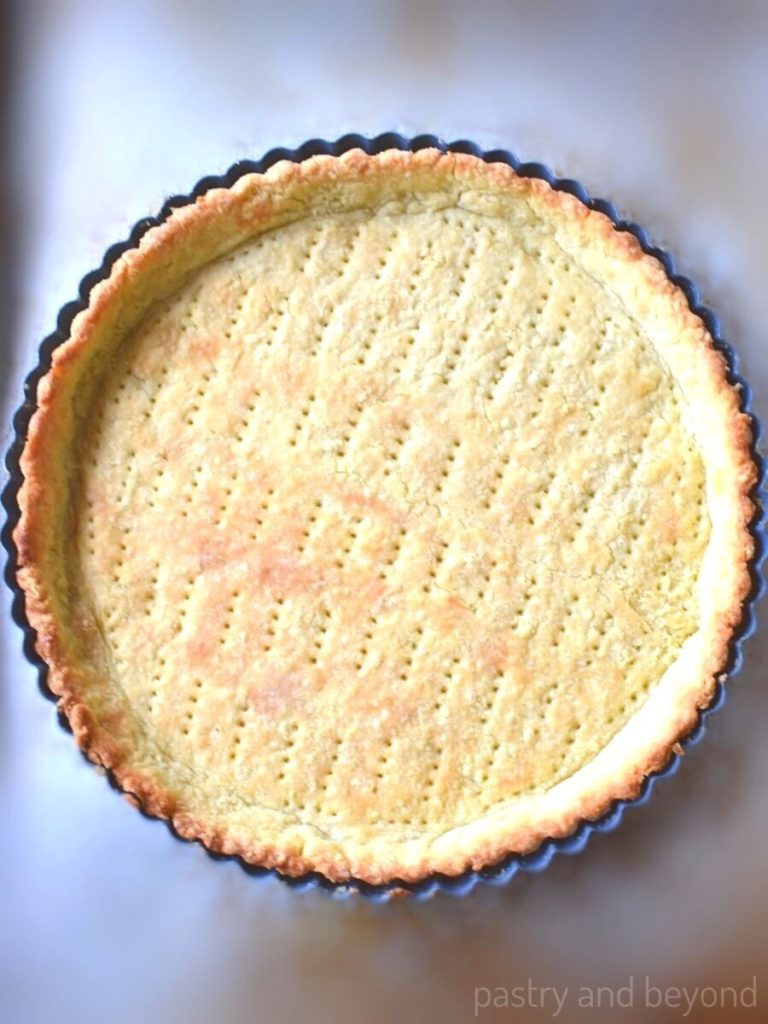
It is very easy to remove this buttery crust from a nonstick pan.
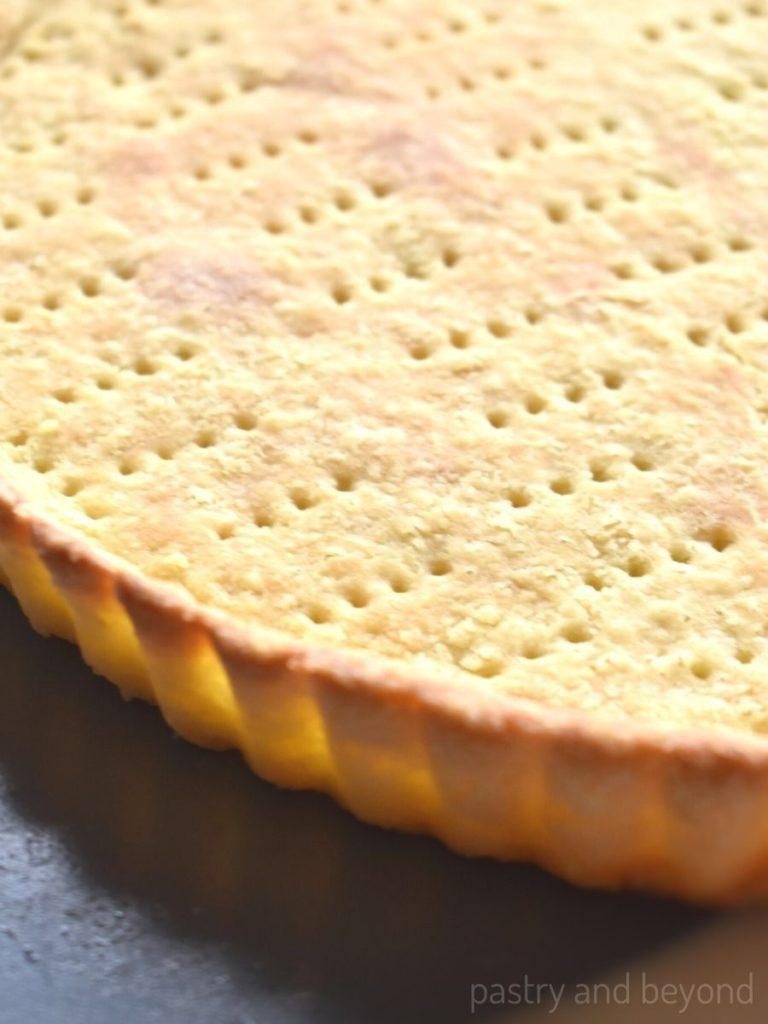
I hope you find this post helpful and enjoy this tart crust as much as I do!
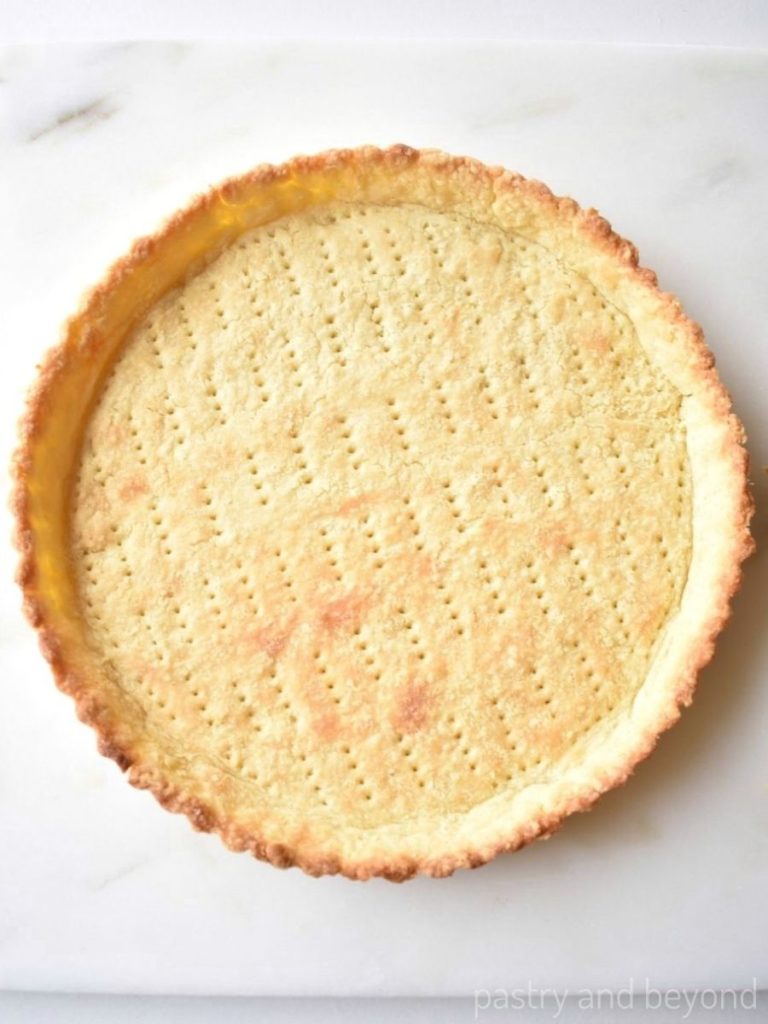
Using all the tips in this post, you can make my delicious chocolate ganache tart.
Summary of the tips from the post
- You shouldn’t overwork the dough and let it rest in the fridge/freezer before rolling out the dough so the gluten(the flour protein) will relax. Otherwise, the dough will shrink more. Also if you make the sides go almost 3mm above the pan, it will be almost as same as the pan’s height once it bakes(you don’t need to do this step if you bake the crust with a filling). You should also keep the unbaked tart crust in the freezer for almost 40 minutes so it can keep its shape as it bakes.
- If you completely or partially bake the crust without a filling, you should prick the bottom of the crust with a fork so it won’t puff.
Frequently asked questions
If you bake a tart and want to keep it in the fridge for a couple of days, the filling may soften the crust. In order to avoid this, you can cover the cooled crust with melted chocolate using a pastry brush. This will make a barrier between the filling and the crust. This will also make your dessert extra delicious. You can see me doing this step in my fruit cookie cups.
Alternatively, you can remove your crust from the oven, wait for a couple of minutes so it will be warm and cover the crust with egg white using a pastry brush. Then put it into the oven and let it dry for a couple of minutes. This will also work as a barrier.
If you overwork the dough you may experience it. But there is a solution! When you cover the pan with the dough, there will be some leftover dough that you trimmed from the sides. If it tears, simply cover the baked crust with a very thin layer of leftover dough. This leftover dough should be sticky as it should stick to the crust. You can press the dough between your fingers to thin it out and then gently place it over the torn part. Keep in the oven for a few minutes until it completely bakes.
Yes. You can keep the well-wrapped dough in the fridge for up to a week and in the freezer for up to a month. You should let the dough thaw before using it.
You can keep the well-wrapped crust at room temperature for up to 3 days and in the fridge for up to a week.
I love hearing from you! If you try this recipe or my other recipes please leave a comment and give a star rating!
Tart Crust Recipe
Ingredients
- 185 g (1 and ⅓ cup) all-purpose flour
- 30 g (2 tablespoons) granulated sugar
- ⅛ teaspoon salt, optional
- 115 g (½ cup) unsalted butter, cold
- 1 large egg
Instructions
Tart dough by hand
- Put the flour, granulated sugar and salt into a medium bowl, stir with a whisk.
- Add the cubed butter and cut into flour mixture either with a pastry cutter/fork or use your fingertips.
- Make a well in the middle of the flour mixture with a spoon and add the egg. Gently stir the egg with a spoon and take the flour mixture from the sides to incorporate. When it forms clusters, stop stirring and make a ball with your hands. Place the dough onto a plastic film and gently press to make a disc. Cover with plastic film and keep the dough in the fridge for 1 hour or in the freezer for almost 15 minutes to let the dough rest.
Tart dough with food processor
- Place the flour, salt, sugar into a food processor and process for almost 5 seconds until just combined.
- Add the cube butter and pulse for almost 20 times until it resembles fine breadcrumbs.
- Add in the egg and process for almost 10 seconds until it forms clusters. Bring the dough together with your hands and make a ball. Place the dough on a plastic film and gently press te dough to make a disc. Cover with plastic film and keep the dough in the fridge for 1 hour or in the freezer for almost 15 minutes to let the dough rest.
Rolling out the dough
- Flour the work surface, the top of the dough and the rolling pin to avoid sticking. When you roll out the dough, give a quarter turn so the dough won’t stick to the surface as you continue rolling. Working on parchment paper eliminates sticking considerably.
- Roll the dough into an almost 11 inches (28 cm) circle almost ⅛inch(3mm) to ⅕inch(5mm) thick. Place into a 9 inch (23cm) preferably nonstick removable bottom pan. If you are not using a non stick pan, butter and flour the pan before placing the dough.
Placing the dough in a tart pan
- Lightly flour the dough and the rolling pin. Loosely roll the dough around the rolling pin and gently unroll the dough into the pan and brush away the excess flour. Alternatively you can slide your hands under the dough and remove it from the workspace and place into the pan. For both alternatives, it is important to flour the workspace well from the beginning so the dough won't stick while you are working. If the dough gets warm in any of the steps, you can place it to the fridge to cool and then continue to work. If the dough breaks while placing it into the pan, you can gently press it back together.
- After you unroll the dough, start to work from the sides instead of the middle to avoid stretching the dough. If the dough stretches, it will shrink while baking. Gently lift up the dough that is hanging from the sides of the pan and gently press it to the sides with your fingers. Go through from the top of the pan with a rolling pin to trim the excess dough or trim the excess dough with a sharp knife.
- If you completely or partially bake the crust without a filling, gently press the sides with your finger so that the dough will go over the pan almost 0.12 inch (3mm). When the dough shrinks from the top, it will shrink to the place where it should be before. This way the sides won’t be low once baked. Also prick the bottom of the dough with a fork so the bottom won't puff while baking.
- Before baking, cover the pan with plastic film and keep in the freezer for 40 minutes so once you put it into the hot oven it will keep its shape, it won't puff and the shrinkage will be minimal.
Baking the crust
- Preheat the oven to 390°F(200°C) during the last 10 minutes of freezing the dough.
- Place the tart pan into a baking sheet and bake at 390°F(200°C) for 10 minutes and then lower the heat to 350°F(177°C) and bake for 15 minutes until the top edges are golden brown and the crust is lightly golden brown.


Leave a Reply