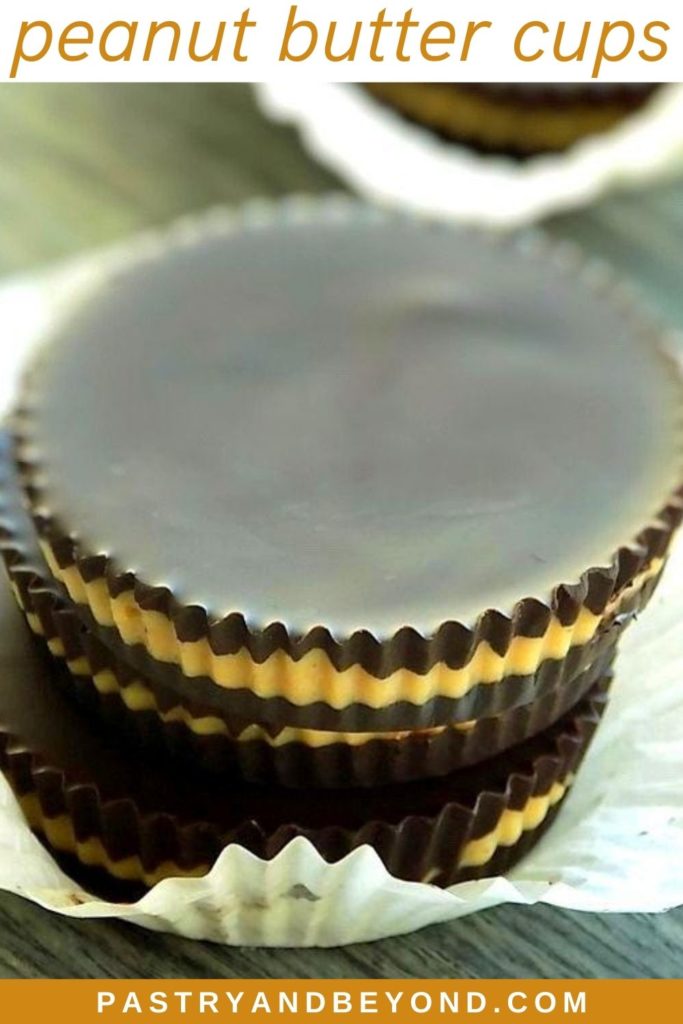
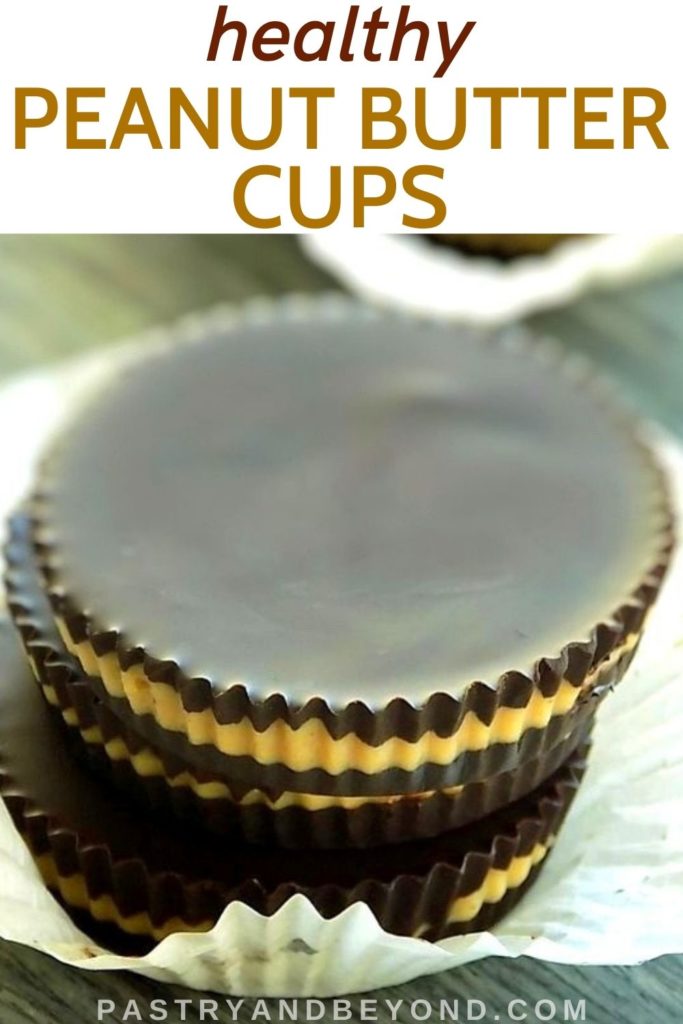
Wouldn’t you like to have a delicious healthy treat with only 3 ingredients? You can easily learn how to make these yummy dark chocolate peanut butter cups!

Today I am sharing my dark chocolate peanut butter cups recipe. Previously I shared my chocolate caramel cups, strawberry white chocolate cups and banana cups. In these three posts; first, I covered the cupcake liners with chocolate, then I put the fillings (caramel, strawberry, banana) inside the liners. Finally, I covered the top with chocolate again.
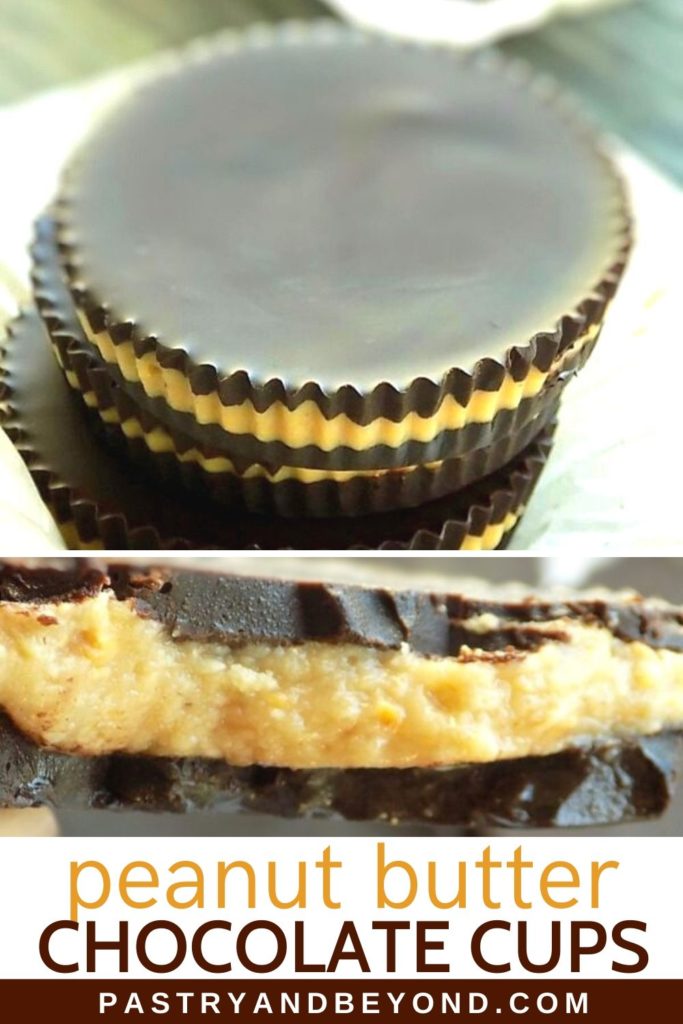
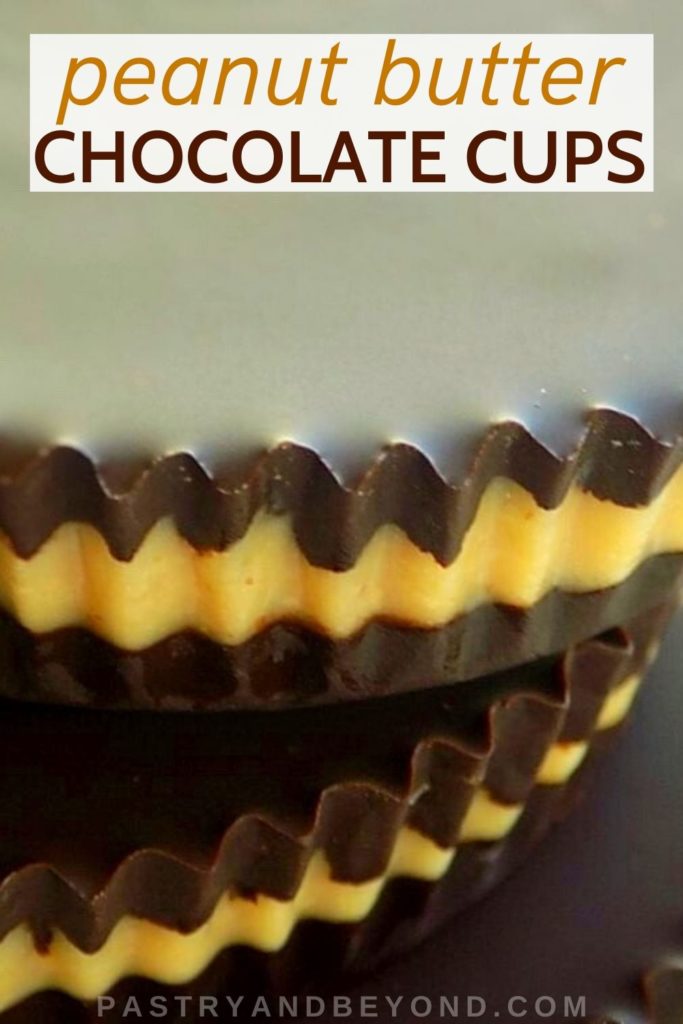
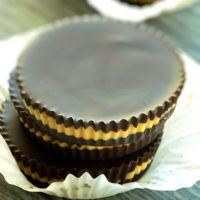
However in today’s post, I pour the chocolate into the liner and then pour the peanut butter and at last, I pour another chocolate layer. You see all the layers from outside, unlike my other chocolate cups.

I use only 3 healthy ingredients to make these peanut butter cups.
The Ingredients for Healthy Peanut Butter Cups
- Dark Chocolate-I use 80% cocoa in this recipe. If you are not a very dark chocolate person, definitely don’t use more than 70%. (My dark chocolate lover 11-year-old niece liked it a lot with 80%, this recipe can be a good healthy, sweet treat for kids.)
It is better to use dark chocolate with 70%-85% cocoa. Dark chocolate is nutritious, loaded with iron, magnesium, full of antioxidants. You can read more about the benefits of dark chocolate by clicking the link so you’ll know why you need to use a chocolate with high percent cocoa.
- Peanut Butter-I use my homemade peanut butter, you can make yours too with only peanuts, without additives or preservatives.
- Honey-I use to sweeten the peanut butter
Why You Should Make These Homemade Cups
Because these peanut butter cups are
- healthy
- easy to make
- delicious
- perfect to stop your sweet cravings.
How to Store Peanut Butter Cups
You can store these homemade peanut butter cups in an airtight container in the fridge up to a week or in the freezer up to a month.
If you want a creamier texture, let them stay at room temperature for a couple of minutes after you remove them from the fridge.
How to Make Dark Chocolate Peanut Butter Cups
If you prefer to make your own homemade peanut butter, you can refer to my how to make healthy peanut butter post. Basically, I toast the peanuts over medium heat without their skins and I process them while they are still hot. Even if you process peanuts without toasting, they’ll still turn into peanut butter.

First, place your cupcake silicone/ paper liners into the cupcake/muffin tin and set aside. (If you don’t have a muffin tin, you can still make these peanut butter cups with your cupcake liners.)

Then melt the chopped chocolate over a bain-marie. Place a saucepan that is large enough to hold a heat-proof bowl over med-high heat. When you put the bowl over the saucepan, the bowl shouldn’t touch the simmering water. You should fill the saucepan with 2 inches of (5 cm) water.
Once the water simmers, reduce the heat to medium heat, and put the bowl with chopped chocolate over the saucepan. Stir with a spatula from time to time so the chocolate can melt evenly.

Pour almost one tablespoon of melted chocolate into the cupcake liners. Let the chocolate set in the freezer for almost 10 minutes. (If you have made my other chocolate cups, you know that I used to keep them 15 minutes in the fridge but they were small cups with thin layers. However, we keep these cups in the freezer so they cool fast.)

While the chocolate layers are cooling, mix the peanut butter with honey. Adding 4 tablespoons of honey is enough for me. You can taste and add more honey if you like.

When the chocolate sets, pour 2 and ½ teaspoons of peanut butter over the melted chocolate and spread with your spoon through the edges. Gently press with your spoon while spreading so the peanut butter layer sticks to chocolate layer.

Then add 2 tablespoons of melted chocolate over the peanut butter just to cover the top.

Finally, cover the top with a plastic film and keep in the freezer for almost 15 minutes to let the chocolate set. If you won’t eat them immediately, keep in the fridge/freezer. Especially in very hot weather, you shouldn’t keep these cups at room temperature for a long time as they melt fast.

Enjoy!

Tips
- If you want to make your healthy peanut butter without additives and preservatives, preferably toast the peanuts without their skins at medium heat, and process them while still hot. Toasting enhances the peanut flavor and also processing while they are hot makes the processing easier. If you prefer not toasting, just process the peanuts without their skin.
- You should keep the peanut butter cups in the fridge/freezer. Especially in very hot weather, take it from the fridge when ready to eat as the chocolate melts very easily.
Other peanut recipes you may enjoy!
- 3 Ingredient Peanut Butter Oatmeal Balls
- Chocolate Peanut Butter Smoothie
- Frozen Banana Bites
- Peanut Butter Banana Overnight Oats
- Chocolate Peanut Clusters
- Healthy No Bake Peanut Butter Bars
Homemade Dark Chocolate Peanut Butter Cups
Equipment
- Cupcake liners, muffin tin(optional)
Ingredients
- 255 grams (9 ounces) dark chocolate 70-85% cocoa, roughly chopped
- 125 grams (½ cup) peanut butter*
- 42 grams (2 tablespoons) honey
Instructions
- Line cupcake liners into a cupcake/muffin tin. Set aside. If you don't have a tin, you can still make this recipe with your cupcake liners.
- Melt the chocolate over bain-marie: Place a saucepan that is large enough to hold a heat-proof bowl over med-high heat. When you put the bowl over the saucepan, it shouldn't touch the simmering water. You should fill the saucepan with 2 inches of (5 cm) water. Once the water simmers, reduce the heat to medium heat, and place the chopped chocolate into the bowl and put the bowl over the saucepan. Stir with a spatula from time to time so the chocolate can melt evenly.
- Place one tablespoon of melted chocolate into the liners and spread evenly with the back of a spoon. Let the chocolate set in the freezer for almost 10 minutes.
- While the chocolate sets, mix the peanut butter and honey with a spoon. Remove the cupcake tin from the freezer. Add 2 and ½ teaspoons of peanut butter and spread evenly with the back of a spoon through the edges. Slightly press while spreading so the peanut butter layer sticks to the chocolate layer.
- Pour 2 teaspoons of melted chocolate over the peanut butter layer, spread with the back of a spoon. Cover with a plastic film and keep in the freezer for almost 10 minutes to let the chocolate set.
- If you don’t eat them immediately, keep the peanut butter cups in the fridge. You can store the peanut butter cups in an airtight container in the fridge up to a week or in the freezer up to a month.
Leave a Reply