
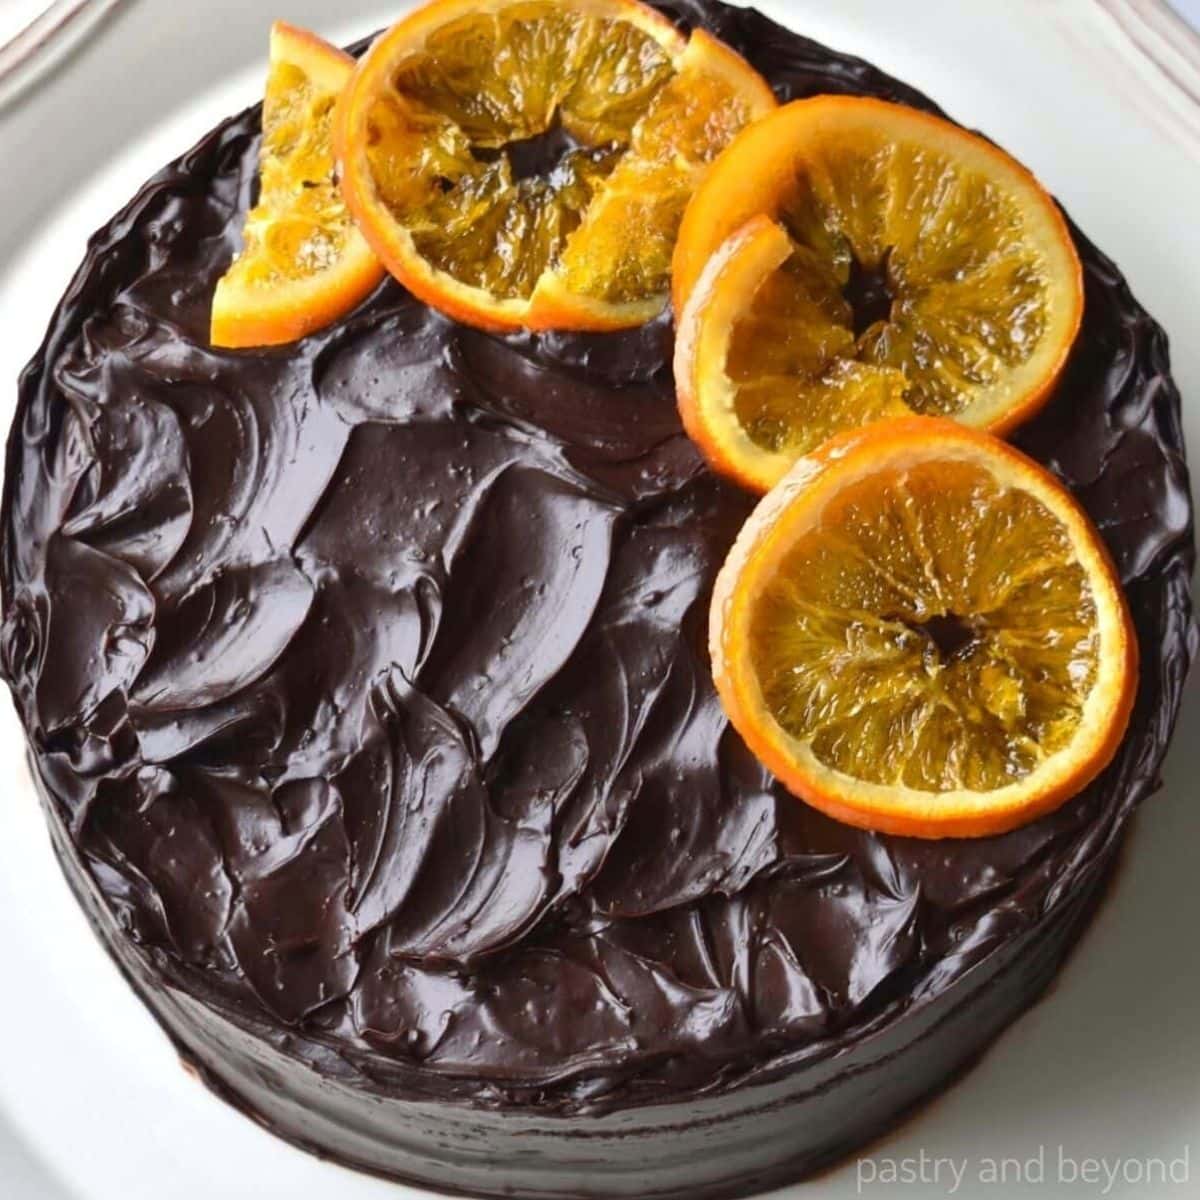
If you love chocolate orange desserts, then you’ll love this delicious yet easy chocolate orange cake. This soft and moist cake is filled and topped with chocolate orange ganache and decorated with candied oranges.
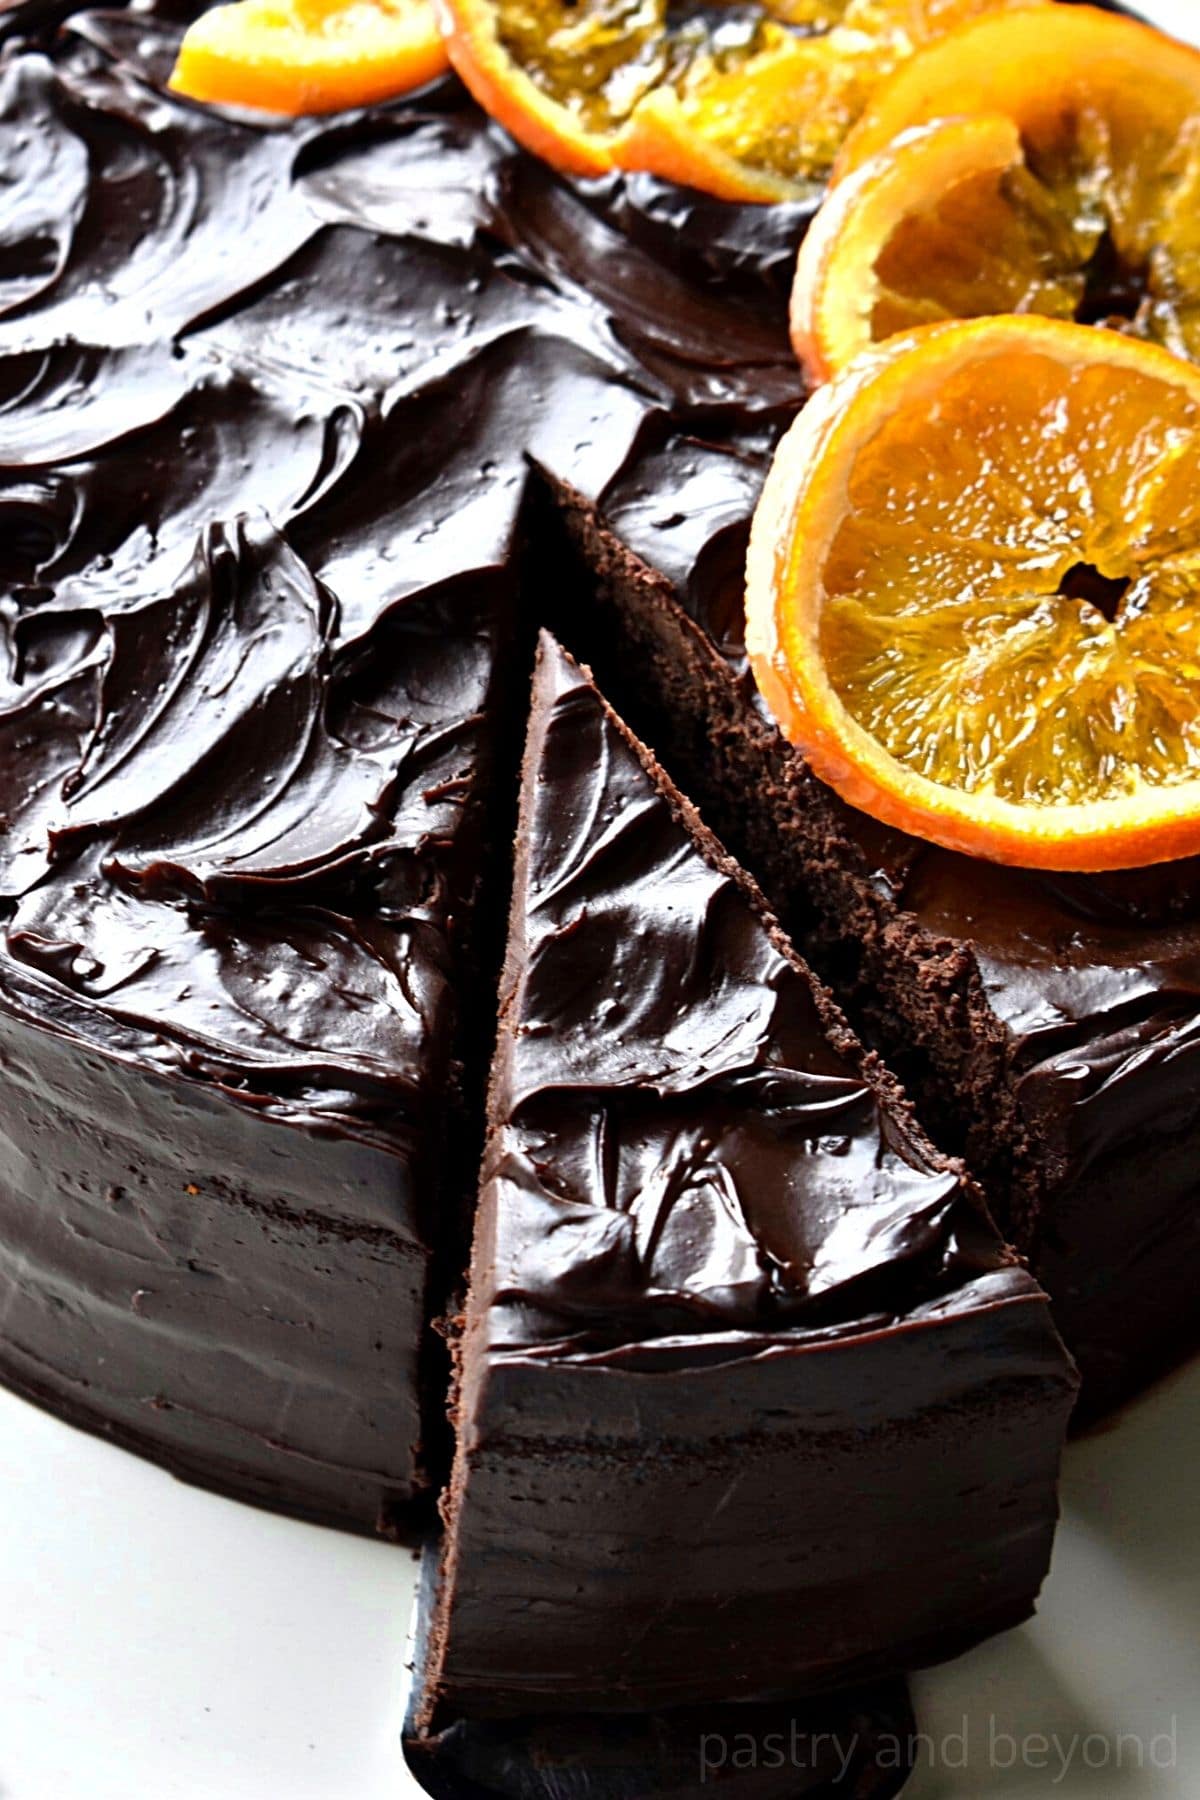
Today I share my orange chocolate cake with chocolate orange ganache. This cake is very rich with the ganache filling. Just a little slice will stop your sweet cravings.
The steps are similar to my chocolate loaf cake and just like my popular recipe, you don’t need a mixer. It takes almost 15 minutes to prepare the cake batter.
Ingredients you’ll need
You can find the exact quantities at the bottom of my post, in the recipe card.
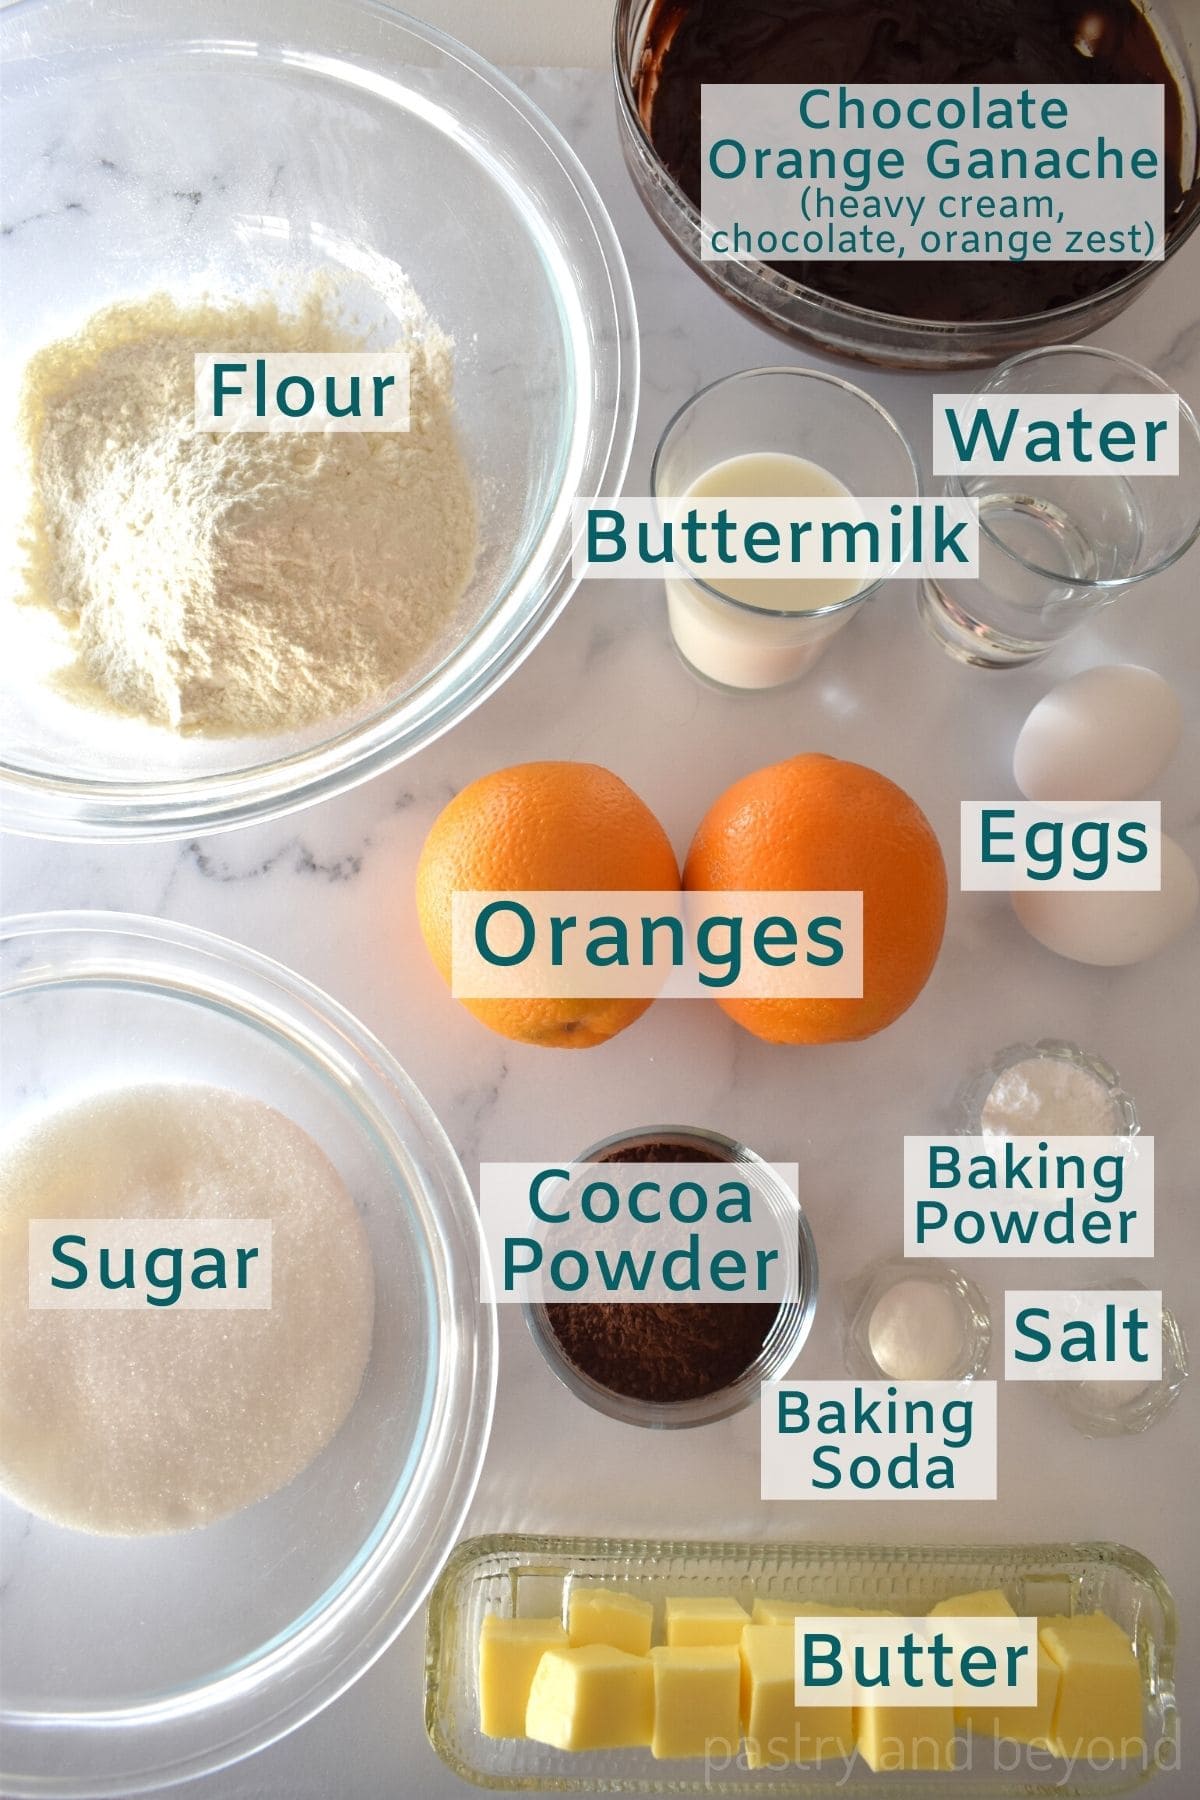
- Flour-I use all purpose flour that gives structure to the cake.
- Cocoa powder-I use Dutch-processed cocoa.
- Baking powder and baking soda-They work as leaveners.
- Salt-It brings the flavors out but it is optional. If you don’t want to consume salt, you can leave it out, this cake will still taste amazing.
- Orange-I use the zest and fresh orange juice for the cake and zest of orange to make orange ganache. We never zest the white pith of the orange as it has a bitter taste. You should only zest the peel without going deep. 2 large oranges will be enough for both the cake batter and the ganache.
- Sugar-I use granulated sugar.
- Eggs-They give structure as well.
- Buttermilk-It makes this cake very moist. Even if you don’t have buttermilk, you can mix whole milk with lemon juice to make one. Buttermilk really makes a difference. You can find the detailed information in the recipe card.
- Butter-I use unsalted melted butter. You can use a mixture of olive oil and butter for extra moisture. I tried it both ways and I like this cake most when I use all butter.
- Water-It should be hot water.
- Chocolate-I use it to make ganache.
- Heavy Cream-Again I use it to make ganache.
Step by step instructions
Before I start the cake recipe, I grease the bottom and sides of two 8-inch round cake pans and line the bottom with same-size parchment paper rounds and set aside the pans.
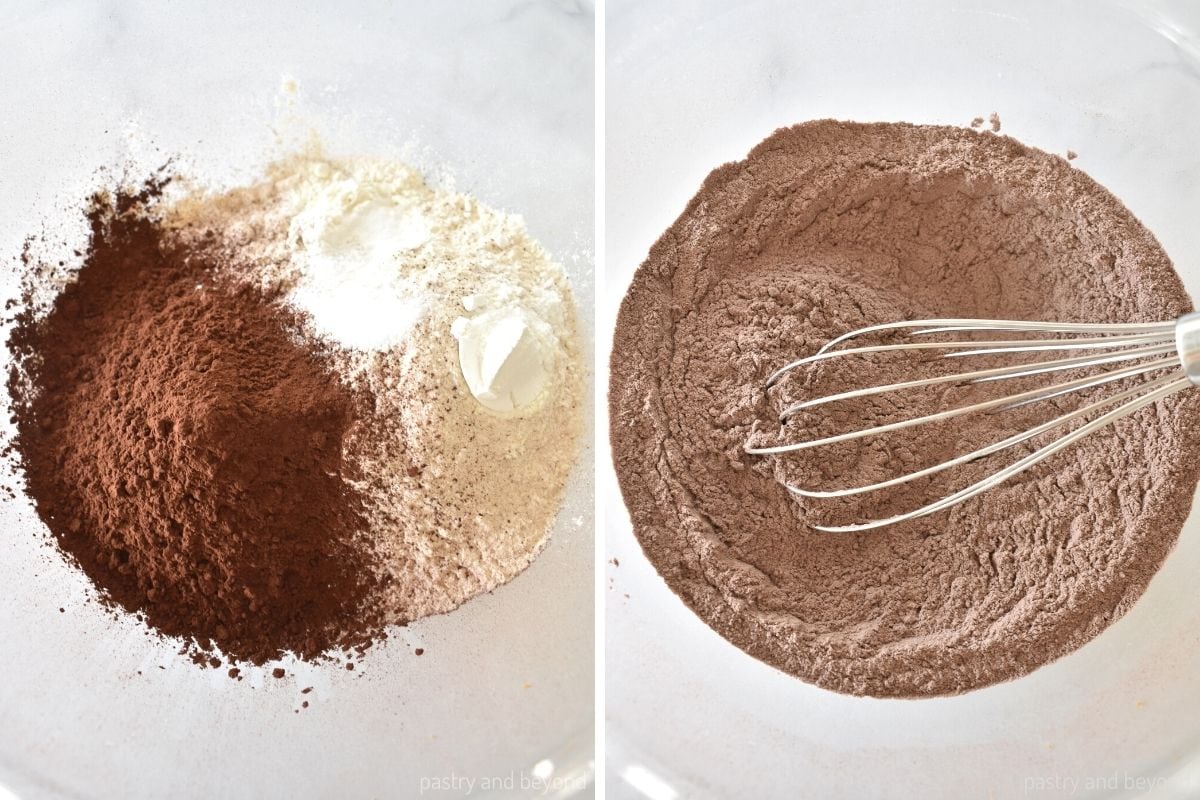
I place the flour, cocoa powder, baking powder, baking soda and salt in a large bowl and stir.
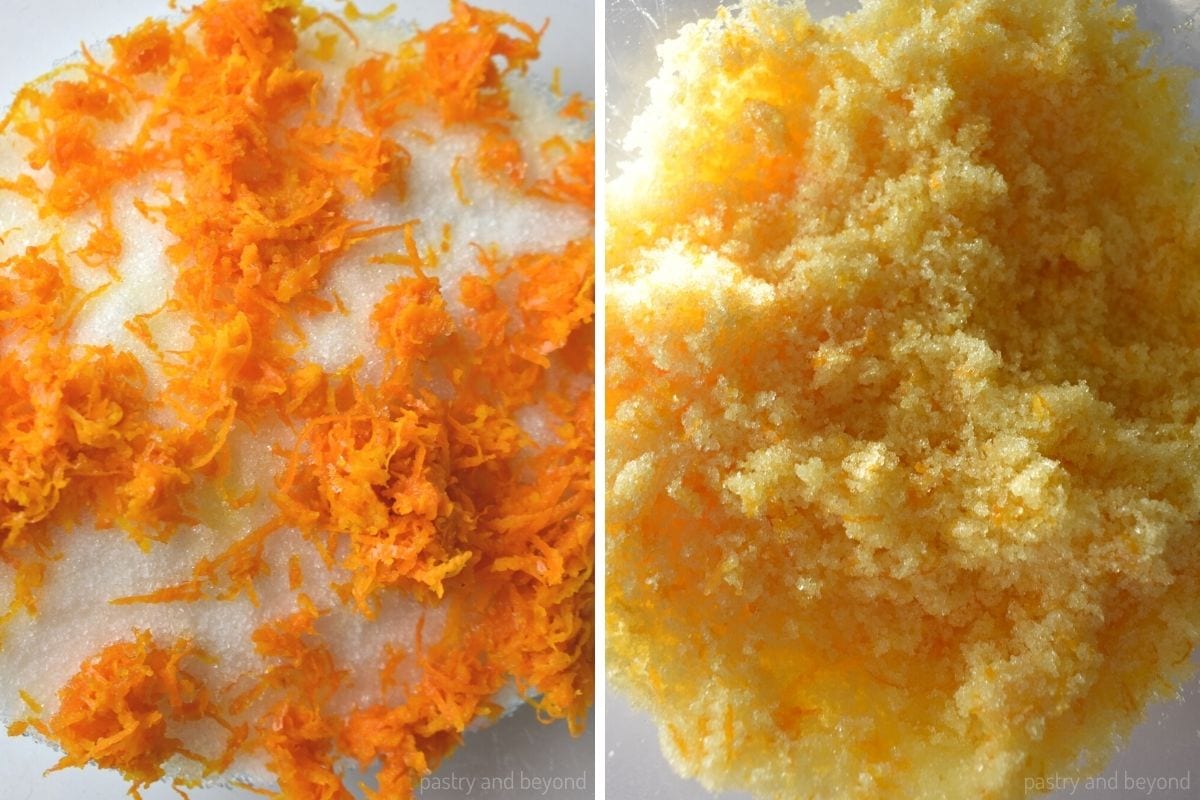
Then I combine the orange zest and sugar in a medium bowl to bring the orange flavor out. You can either rub with your fingers or stir with a fork.
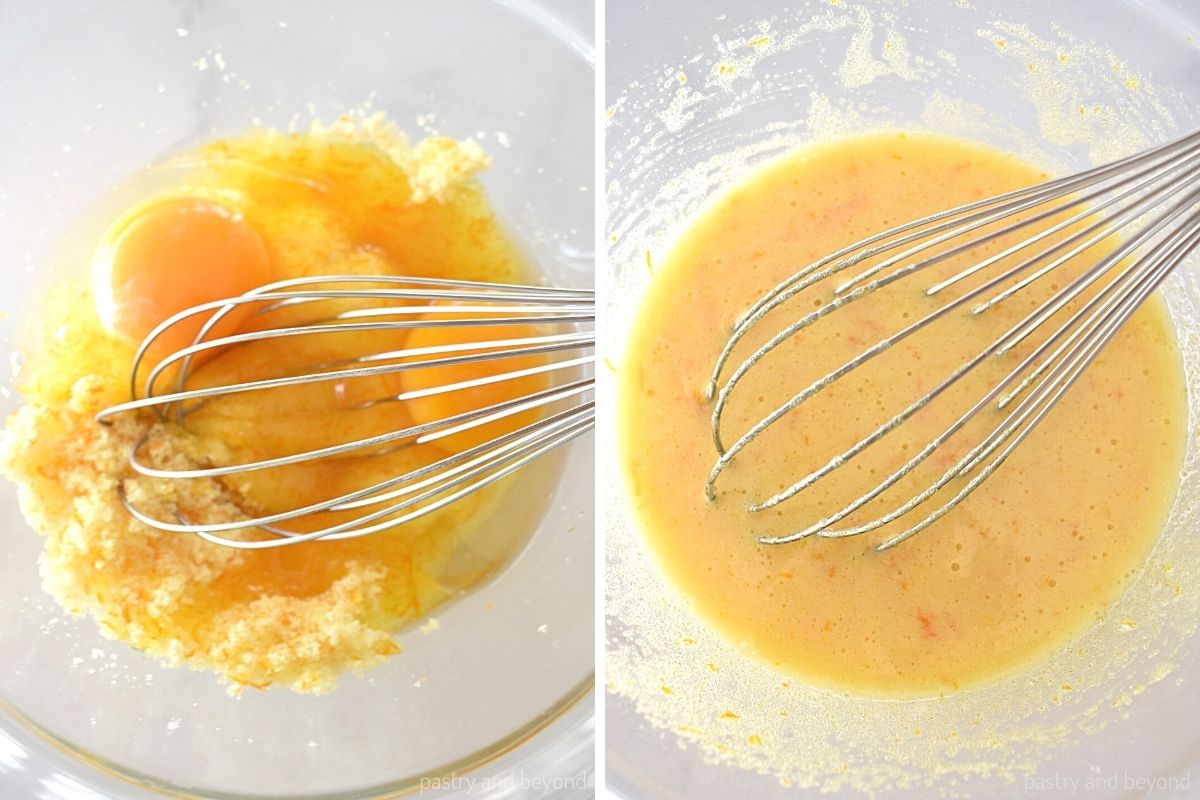
I add the eggs and stir until combined.
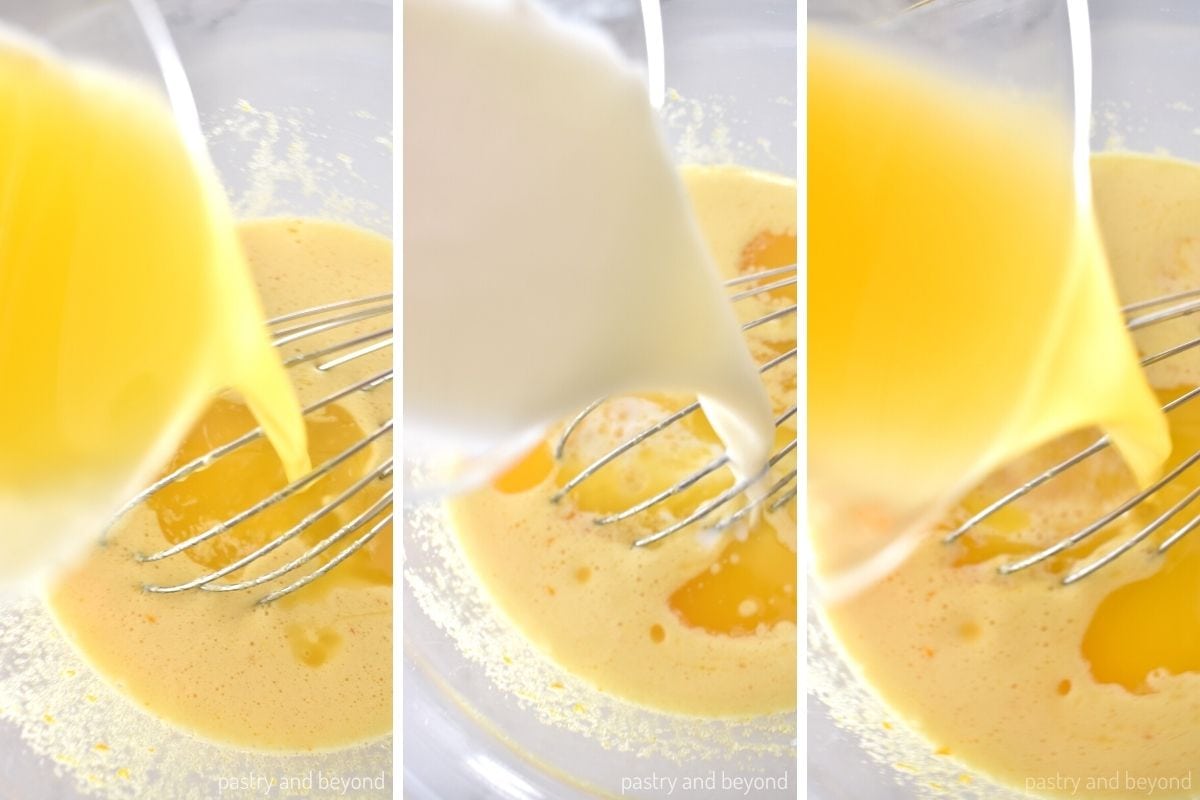
Next, I whisk in the melted butter, buttermilk and orange juice.
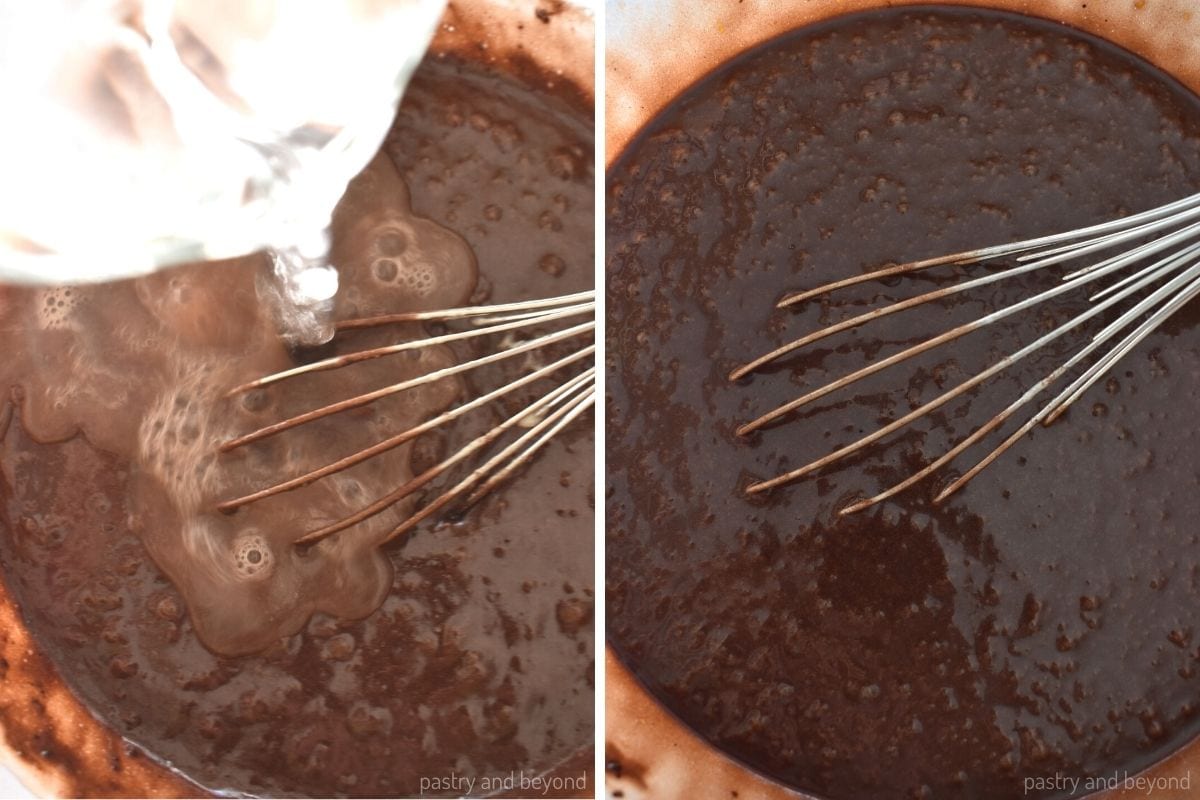
I pour the wet ingredients over the dry ingredients and stir with a whisk.
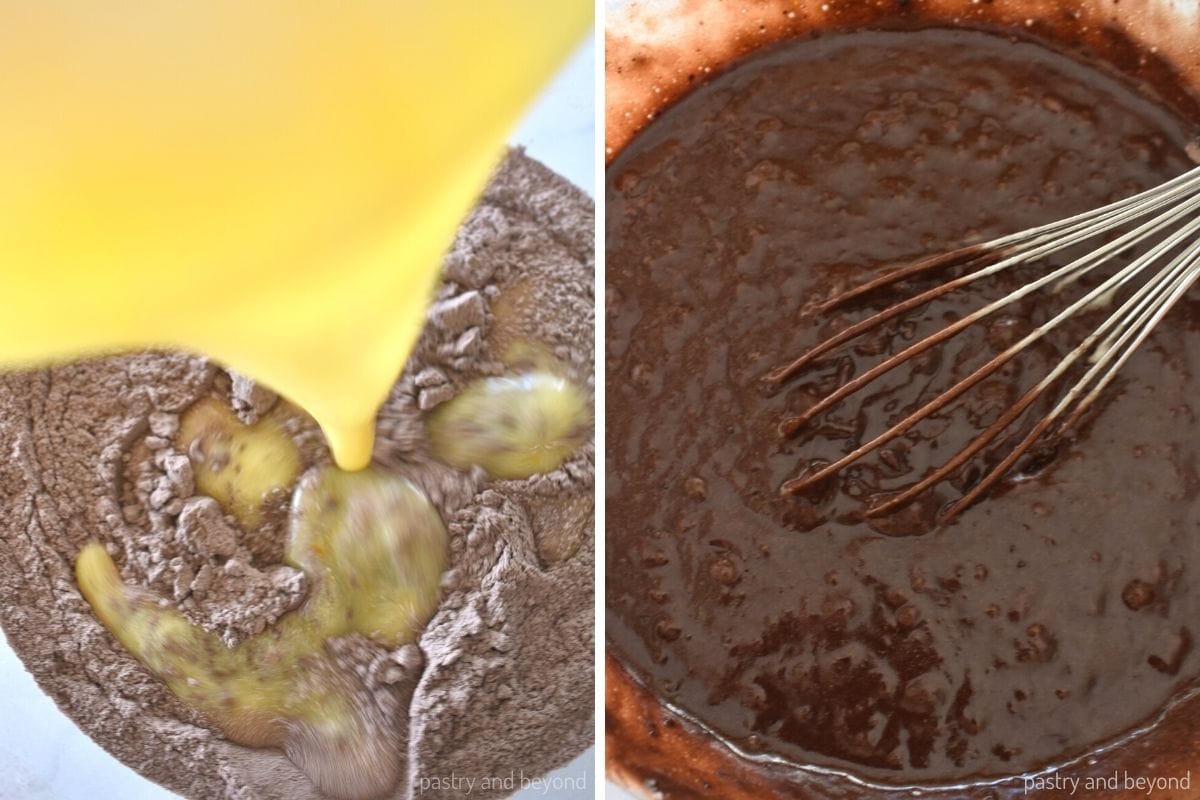
Then I add in the hot water and stir until completely combined.
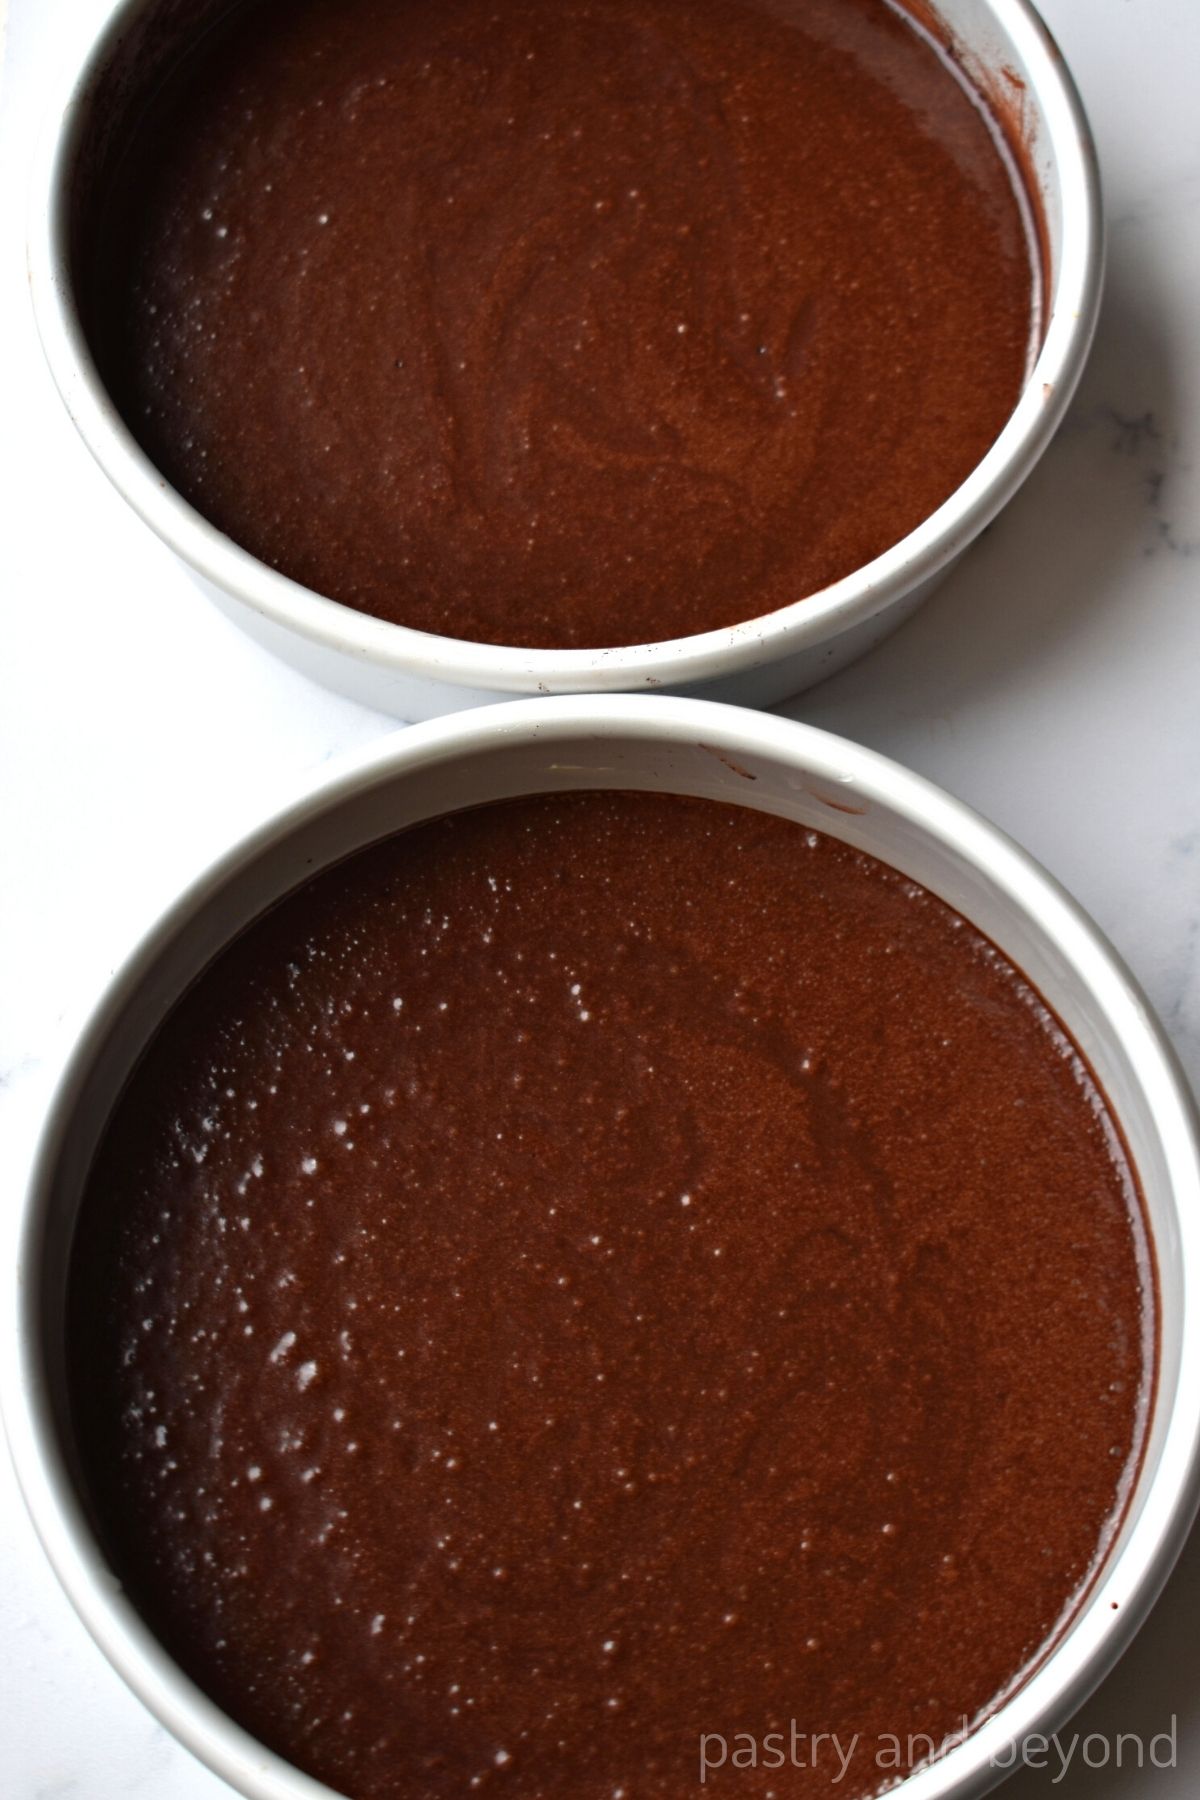
I divide the mixture into 2 pans and bake for 24 minutes or until a toothpick that is inserted into the center comes out clean.
While the cakes are baking I prepare the chocolate orange ganache (You can click the link for the step-by-step photos). Simply, I scald (the stage before just boiling) the heavy cream and orange zest and then I add the mixture on top of the finely chopped chocolate and stir. I let it cool at room temperature first and then I keep it in the fridge until it has a spreadable consistency.
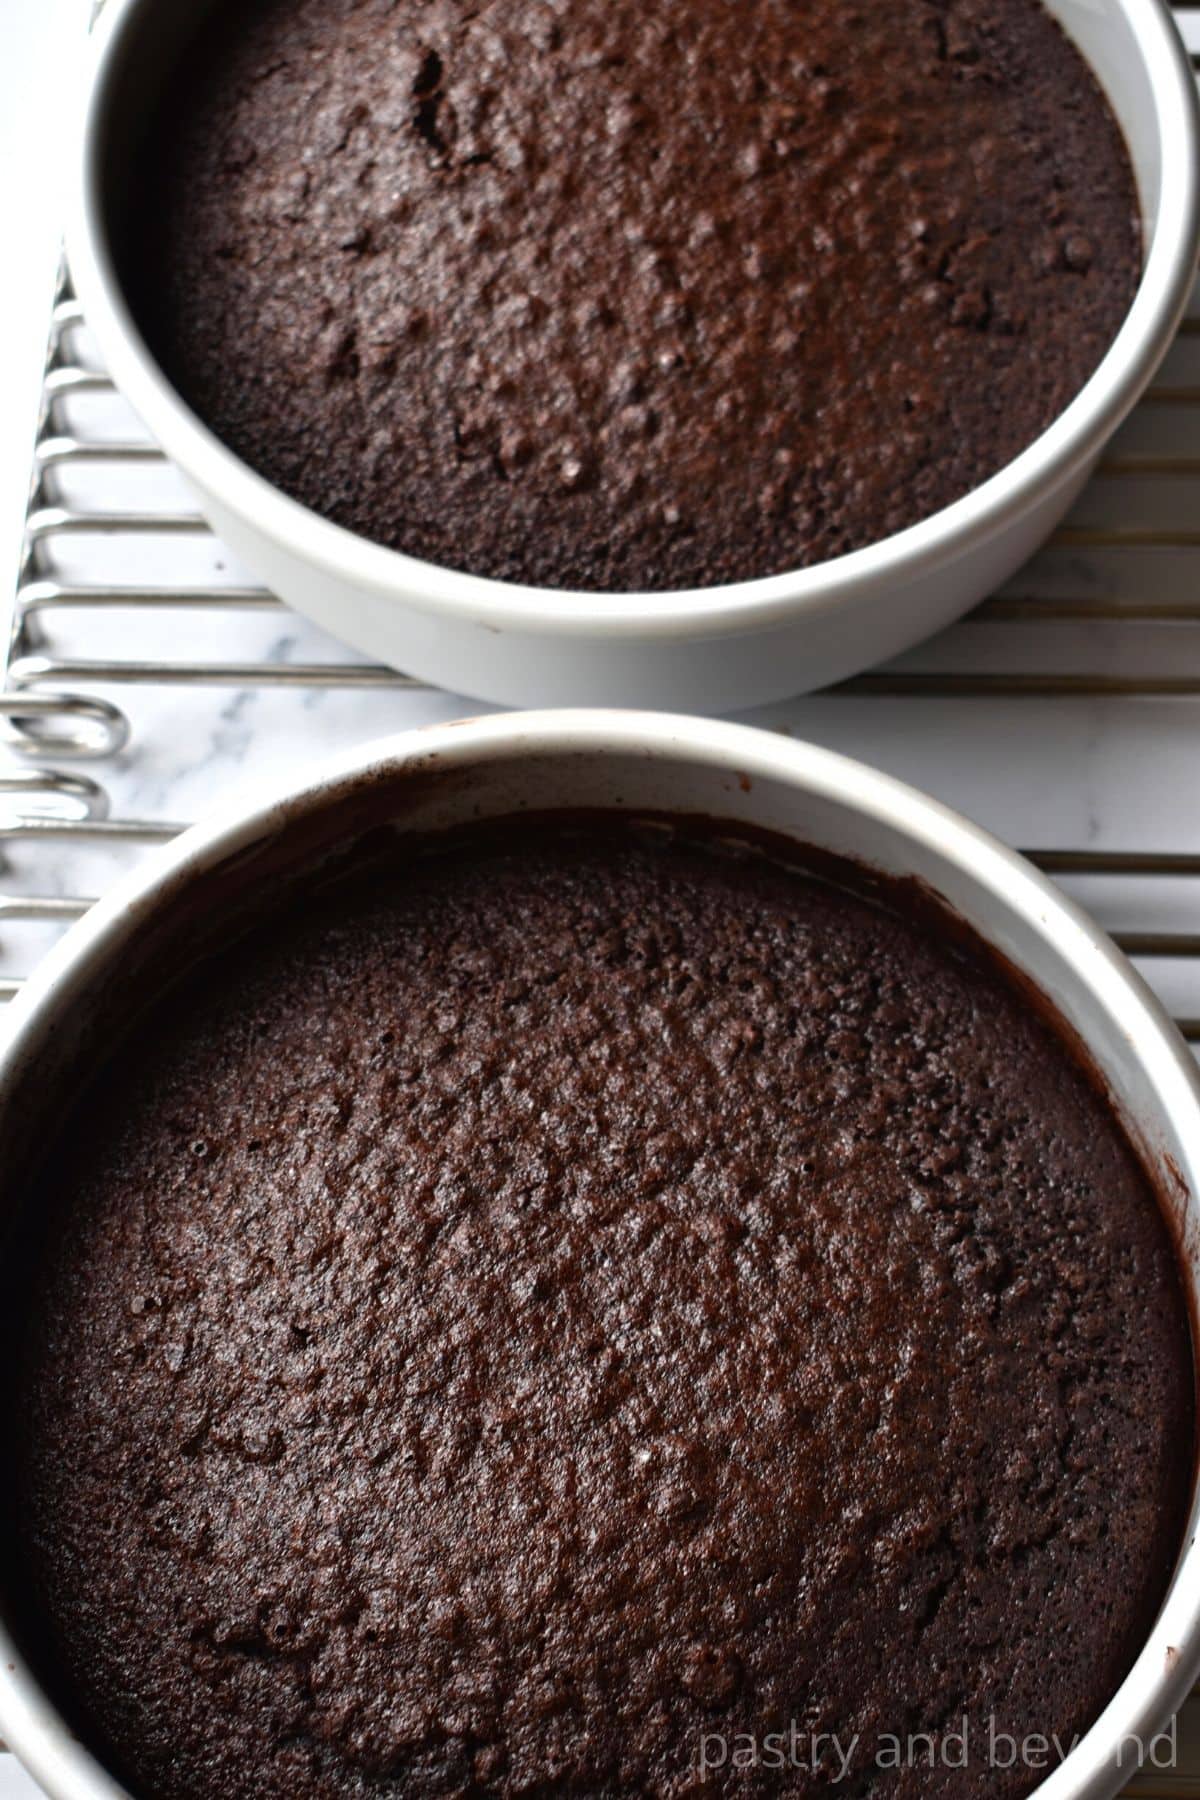
Once cakes are baked, I remove the cakes from the oven and place them on a wire rack to let them completely cool in the pan.
There may be slight domes in the middle of the cakes, which is fine. Using my serrated knife I level them in seconds in the next steps.
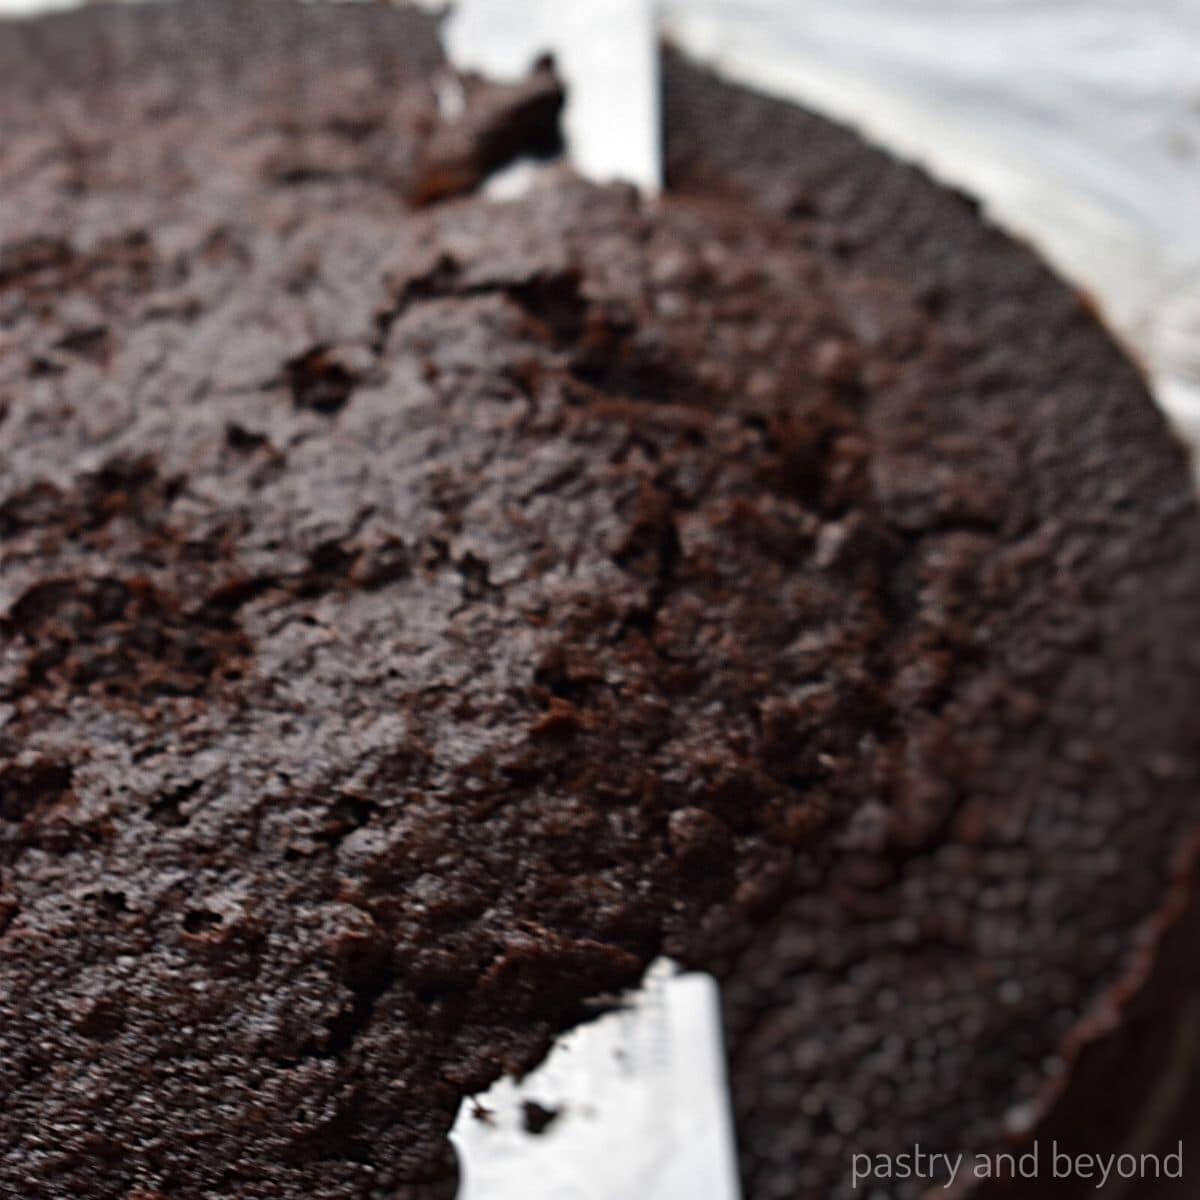
I gently release the cake from the sides with a small spatula after 20 minutes so I can remove them easily from the pan when I want to.
I cover the pans with parchment paper once cooled and continue to cool in the fridge at least for an hour so I can level them and apply the frosting easily as they set. I do this for any layered cakes.
If you want to make candied orange peels to decorate the cake, this is the right time. As I wait for the ganache and cake to set, I make the candied orange slices (you can click the link for step-by-step photos) and quickly dry them in the oven.
Assemble
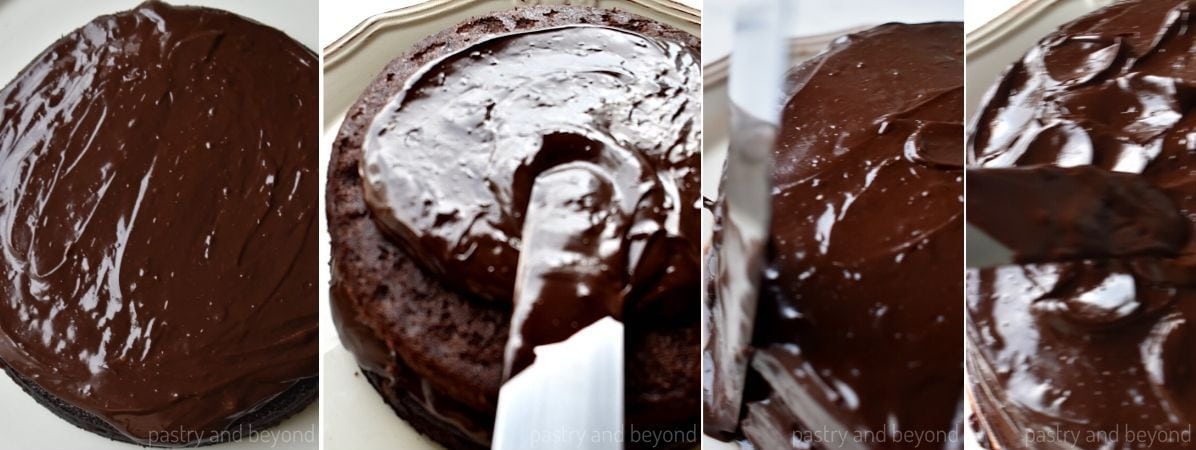
I level the top of the cakes with my serrated knife so when I put the filling on top and the other layer, there will be no gaps between the layers as the tops will be flat.
Next I place the first cake layer on a cake plate. I put a little less than half of the ganache over the first layer and spread it evenly with an icing spatula. I place the reverse side of the second cake layer on top and spread the ganache on top and cover the sides with a little ganache. Next, I make wave patterns with the edge of my spatula.
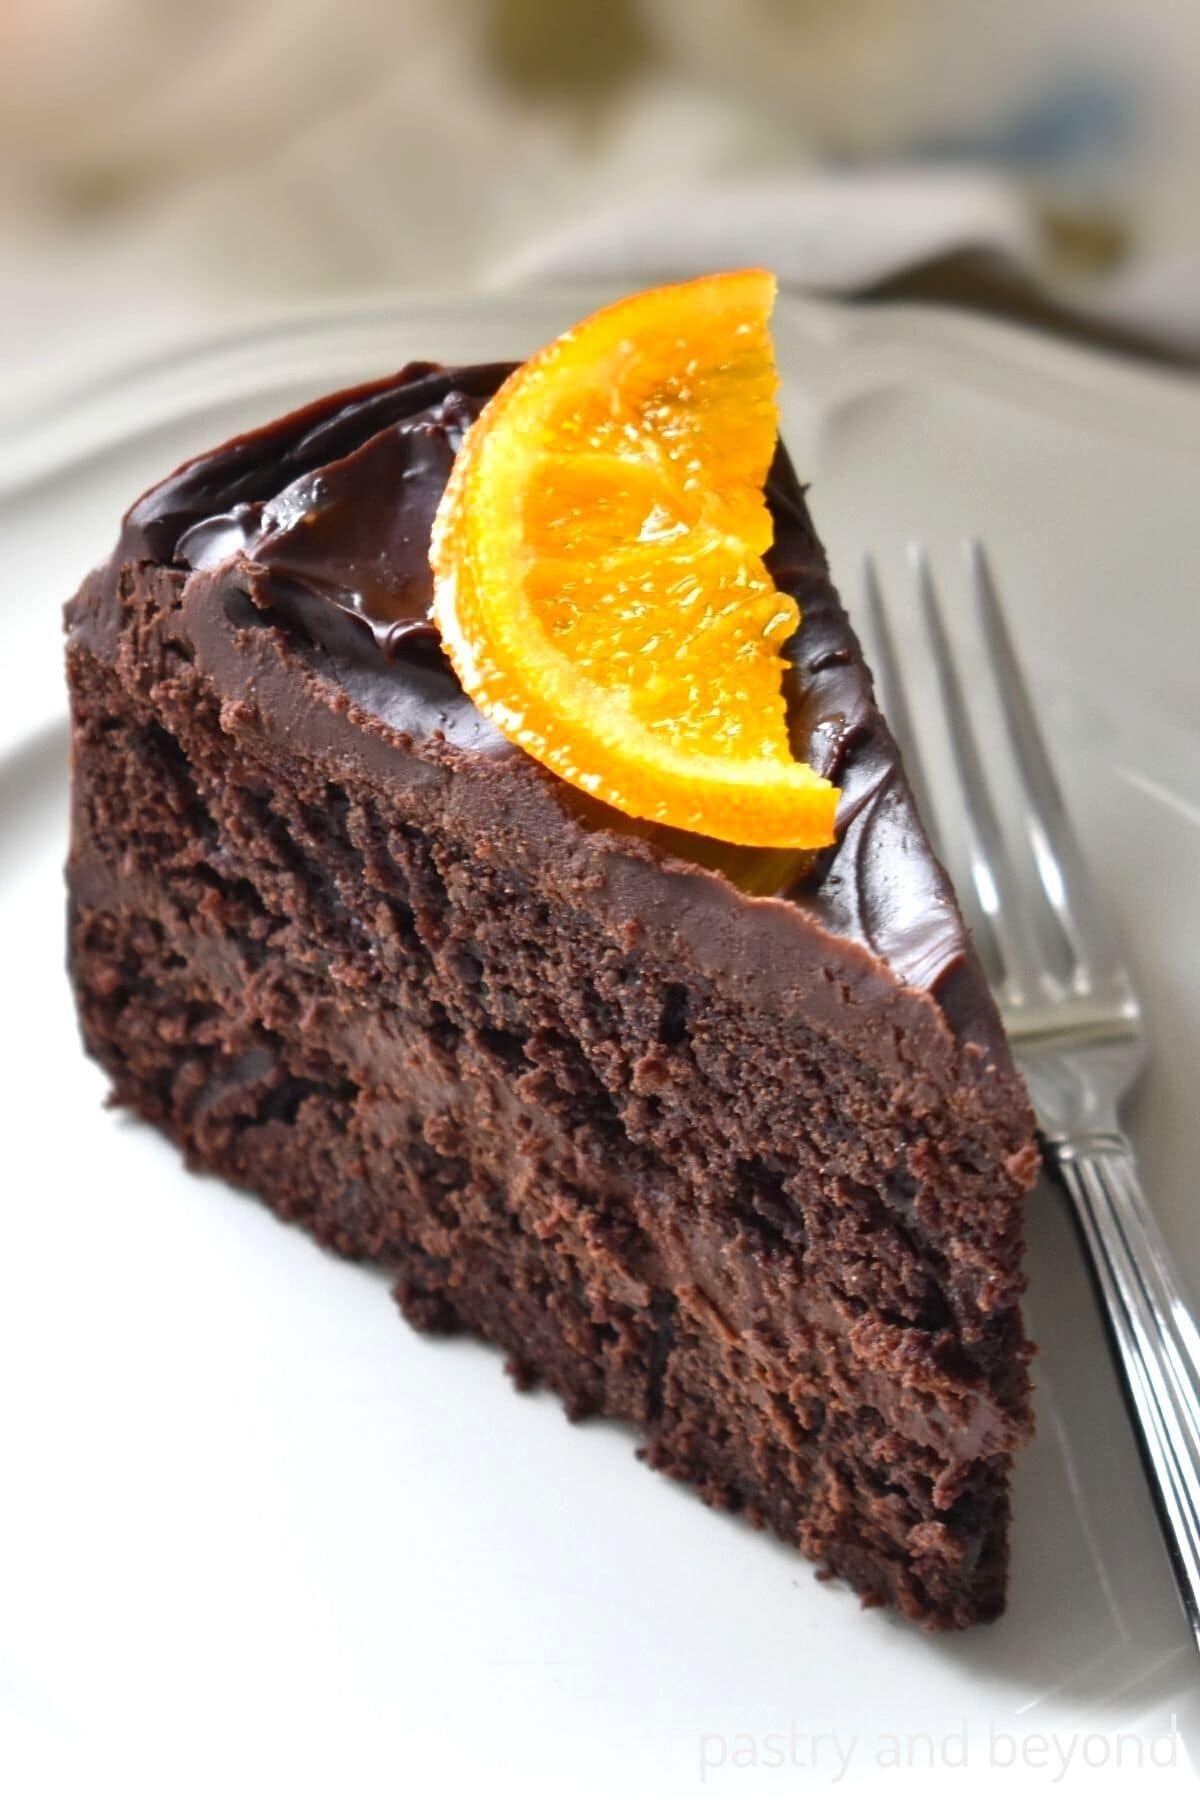
If using candied orange slices, you can use them whole or cut in half or use whole and a half or as you like on the cake.
I keep the cake at least an hour in the fridge to let the cake set so I cut nice slices.
Enjoy!
You should store the cake in the fridge as there is a ganache filling.
You can keep the tightly covered cake in the fridge for up to 5 days or in the freezer for up to a month.
Definitely. You can make the cake layers and once set, you can remove them from their pan and cover with plastic film and store in the fridge for up to 2 days. You can make the ganache 2 days in advance as well even prior to this time. You can also make candied orange slices up to 5 days in advance. When you are ready, you can assemble the cake. If you want to make this cake way ahead, you should freeze the cake layers and ganache. You should thaw overnight in the fridge before assembling. You can make the candied orange slices and keep in the fridge for up to 2 weeks.
If you enjoy the chocolate orange combination, you should also try my chocolate orange shortbread cookies which are so delicious and easy to make with few ingredients. They are egg-free!
Other chocolate recipes you may enjoy!
I love hearing from you! If you try this recipe or my other recipes please leave a comment and give a star rating!

Chocolate Orange Cake
Ingredients
Chocolate Orange Cake Batter
- 210 grams (1 and ½ cup) all purpose flour, dip and sweep
- 50 grams (½ cup) unsweetened cocoa powder, dutch processed
- 1 teaspoon baking powder
- 1 teaspoon baking soda
- ½ teaspoon salt
- 250 grams (1 and ¼ cup) granulated sugar
- 2 tablespoons (18 grams) orange zest
- 2 large eggs, room temperature
- 150 grams (⅔ cup) unsalted butter, melted
- 160 grams (⅔ cup) buttermilk*, room temperature
- 120 grams (½ cup) fresh orange juice
- 120 grams (½ cup) hot water
- 1 recipe ganache, chocolate orange ganache
- 1 recipe (optional) candied orange slices
Instructions
- Preheat the oven to 350°F(177°C). Grease the bottom and sides of two 8-inch round cake pans and line the bottom with same-size parchment paper rounds and set aside the pans.
- Place the flour, cocoa powder, baking powder, baking soda and salt in a large bowl and stir with a whisk. Set aside.
- Combine the orange zest and sugar in a medium bowl either rubbing with your fingers or stirring with a fork to bring the orange flavor out.
- Add the eggs and stir with a whisk until combined for 20 seconds or so.
- Add the melted butter, buttermilk and orange juice and stir with a whisk.
- Pour the wet ingredients over the flour mixture and stir with a whisk.
- Mix in the hot water.
- Divide the mixture into 2 greased and parchment paper lined pans and bake for 24 minutes or until a toothpick that is inserted into the center comes out clean.
- Prepare the ganache: While the cake is baking, you can make the ganache. First let it cool at room temperature and then keep it in the fridge until it becomes a spreadable consistency.
- Once cakes are baked, remove them from the oven and place on a wire rack to let them completely cool in the pan. After 20 minutes gently release the cake from the sides with a small spatula so you can remove them easily from the pan once needed. As they cool at room temperature, cover the pans with parchment paper and continue to cool in the fridge at least for an hour . This way you can level them (there may be domes in the middle part of the cake so you may need to level them to make them flat) and apply the frosting easily as they set.
- If you want to decorate the cake with candied orange slices, you can make the recipe while waiting for the ganache and cake to set.
Assemble
- Level the top of the cakes with a serrated knife. This way when you spread the filling between the layers, there will be no gaps between the layers as the tops will be flat.
- Place the first layer on a cake plate and add a little less than half of the ganache over the first layer and spread it evenly with an icing spatula. Place the reverse side of the second cake layer on top and spread the ganache on top and cover the sides with a little ganache. Using the edge of the spatula make wave patterns. If using decorate with candied oranges.
- Let the cake cool at least an hour before serving to let the cake set and cut proper sllices.
Notes
You can keep the tightly covered cake in the fridge for up to 5 days or in the freezer for up to a month. Make Ahead: Make the cake layers, let the cool completely at room temperature and once set, remove them from their pan and cover with plastic film and store in the fridge for up to 2 days. You can make the ganache 2 days in advance as well even prior to this time. You can also make candied orange slices up to 5 days in advance. When you are ready, you can assemble the cake. If you want to make this cake way ahead, you should freeze the cake layers and ganache. You should thaw overnight in the fridge before assembling. You can make the candied orange slices and keep in the fridge for up to 2 weeks. *The calorie information includes the cake and the filling.
Leave a Reply