
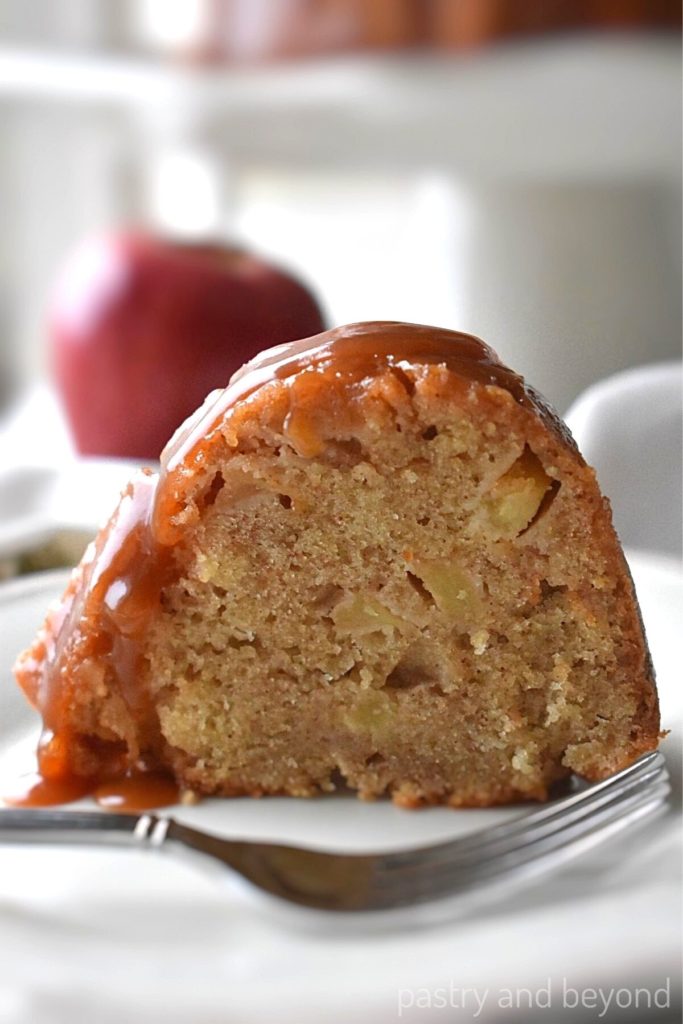
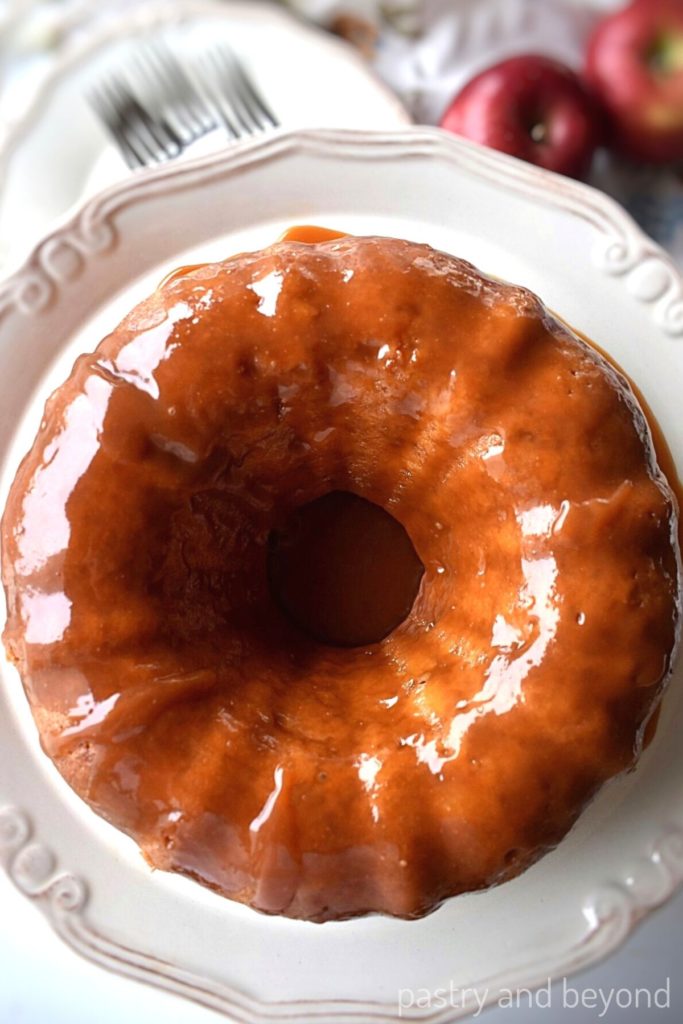
You’ll love this delicious and easy apple cinnamon bundt cake that is perfectly spiced. It is packed with apples and glazed with my 2 ingredient caramel sauce! No mixer needed!
Today I share my apple cinnamon bundt cake that is perfect for Fall! This is a very simple bundt cake recipe that you can serve as a special treat when you want to make an easy and yummy apple dessert.
This recipe is as simple as making my apple pie bars that are very popular on my site. If you are looking for a loaf cake, my apple cake loaf is so delicious yet easy to make!
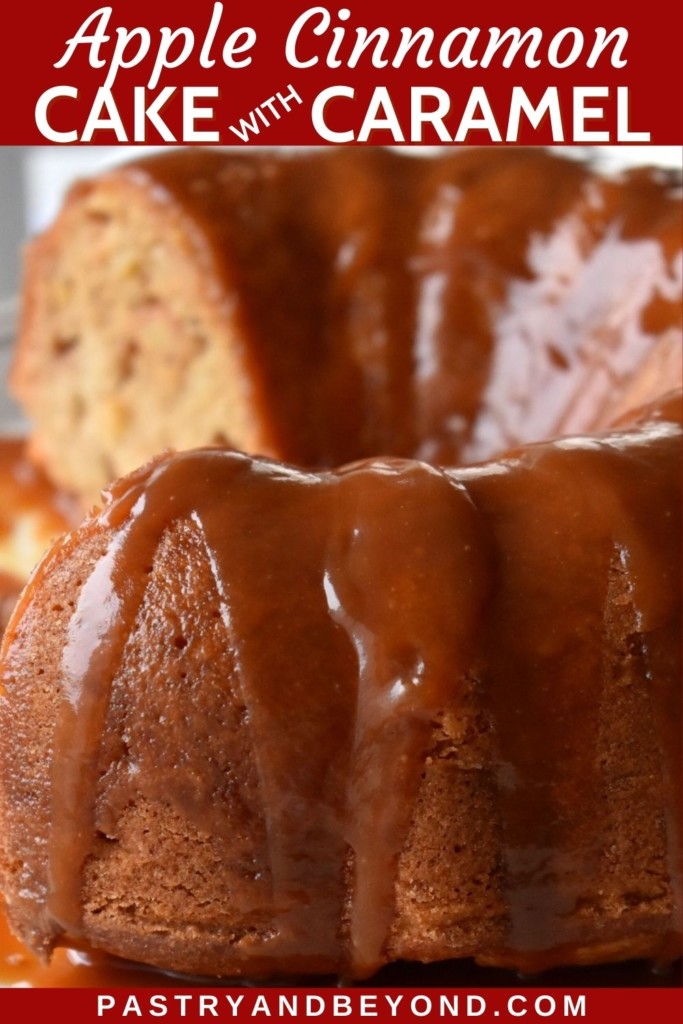
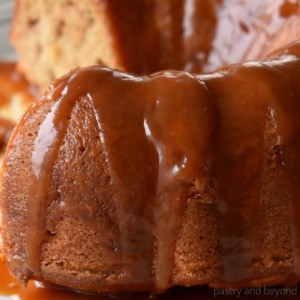
You’ll love today’s recipe if you like apple and caramel combination. I make a spiced apple cake and then pour my 10-minute homemade caramel sauce over it.
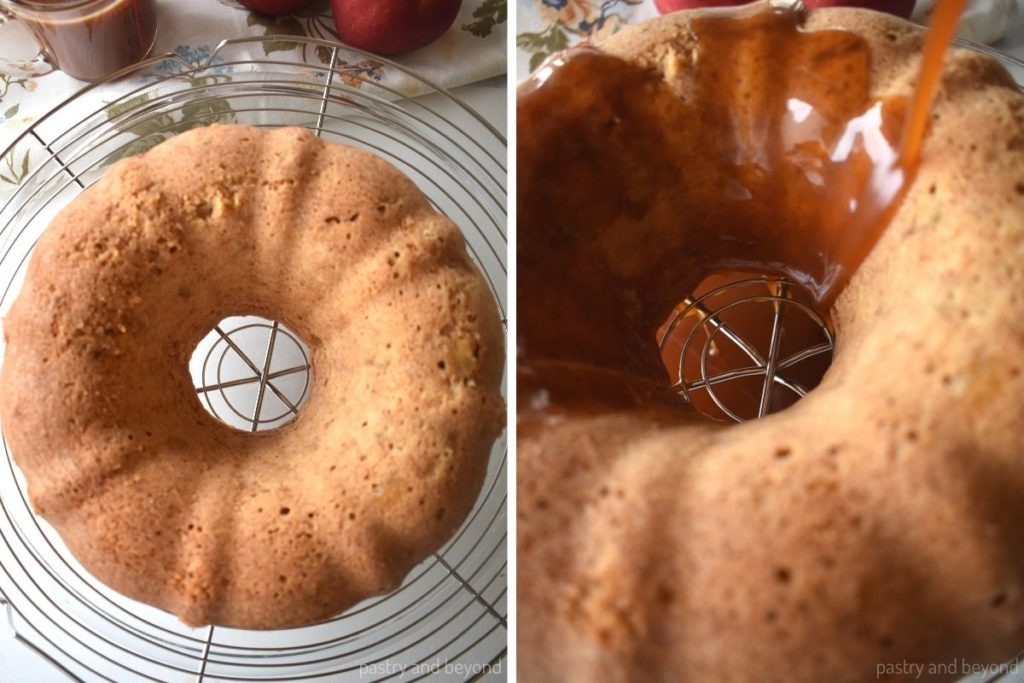
I pour half of it over the warm apple cake so the cake can soak the caramel sauce better. Then I pour the other half once the caramel sauce has thickened.
If you already have a caramel sauce at home that you love, you can use it instead. I detail how to use it below.
Ingredients you’ll need
You can find the exact quantities at the bottom of my post, in the recipe card.
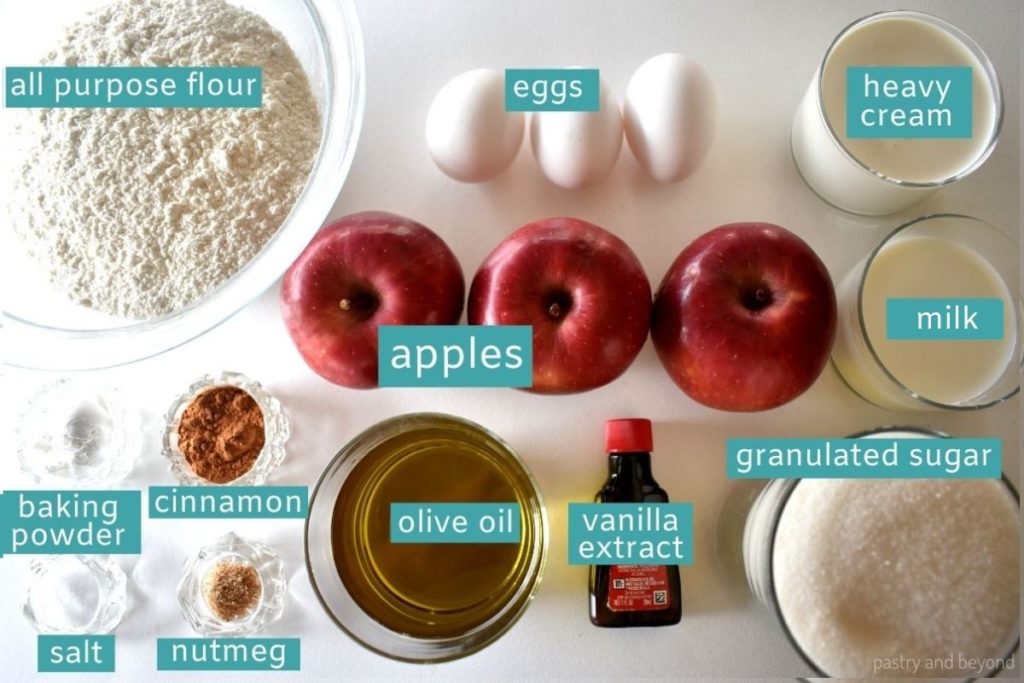
- All purpose flour-It gives structure to this cake.
- Baking powder-It works as a leavener.
- Salt-It balances the sweetness.
- Granulated sugar-I don’t use too much as I pour caramel sauce on top.
- Eggs-I use 3 large eggs.
- Milk-It gives moisture.
- Olive oil–It gives moisture as well.
- Vanilla extract-It adds a nice flavor.
- Apples-I use 3 medium-large apples. I suggest either using Granny Smith apples which are tangy or Starking apples which are sweet and tangy.
- Cinnamon-Nutmeg-These two spices go perfect with apples.
Step by step instructions
*Some of the links in this post are affiliate links. I only share the products I love. As an Amazon Associate, I earn from qualifying purchases.
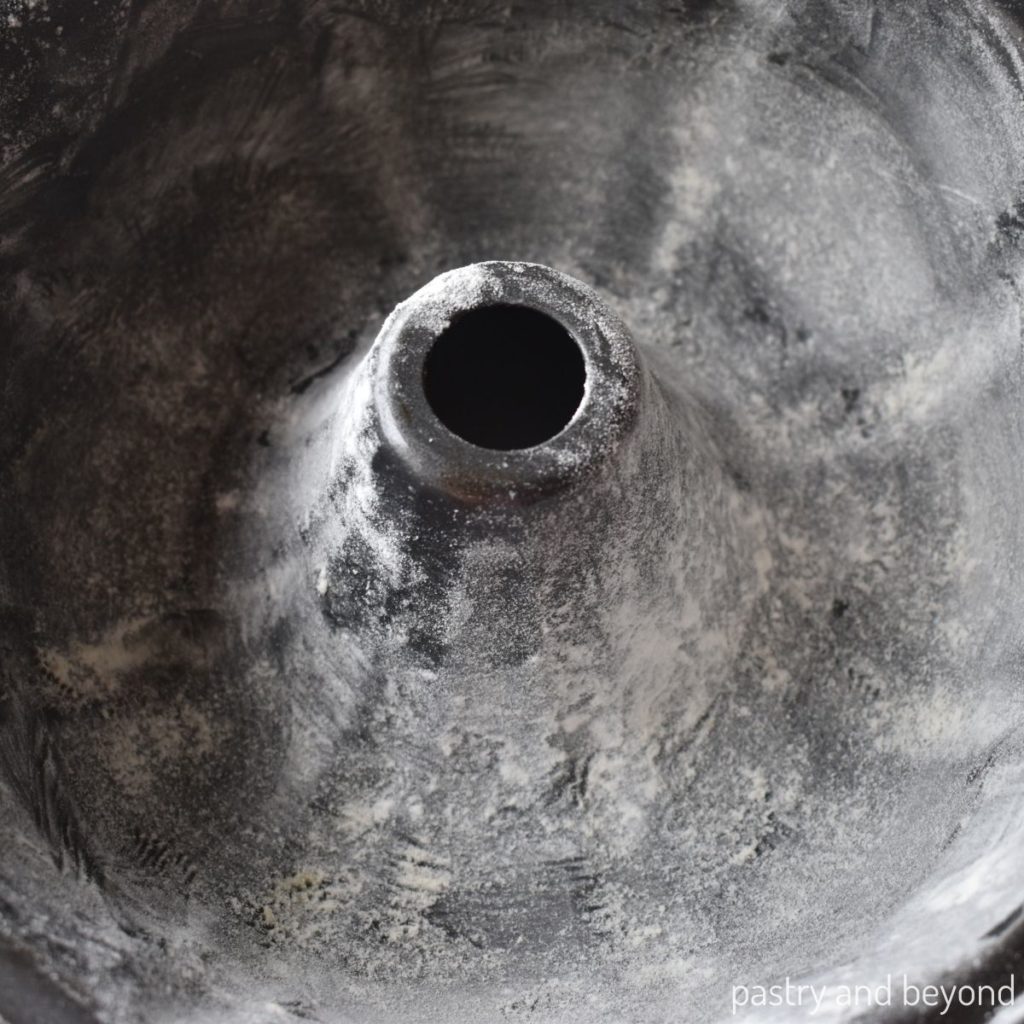
First, I grease and flour my bundt pan. I completely grease the pan including the middle part. Then I put some flour and start to shake the pan to cover each area with flour. Finally, I invert the pan to remove the excess flour.
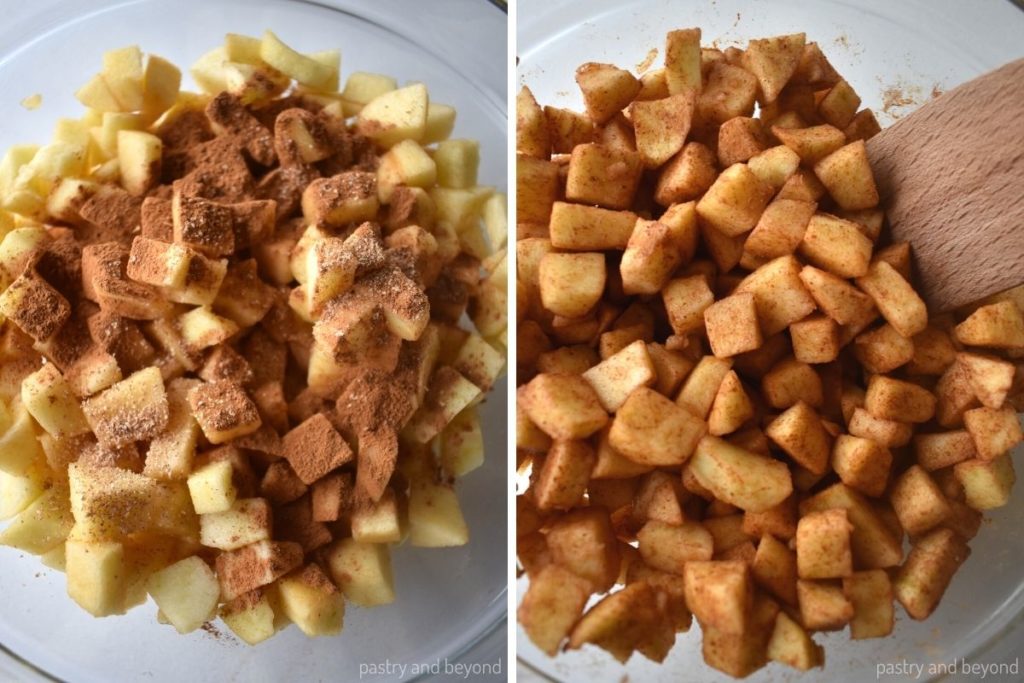
Then I place the apples in a medium bowl and toss with cinnamon and nutmeg. I set aside the bowl.
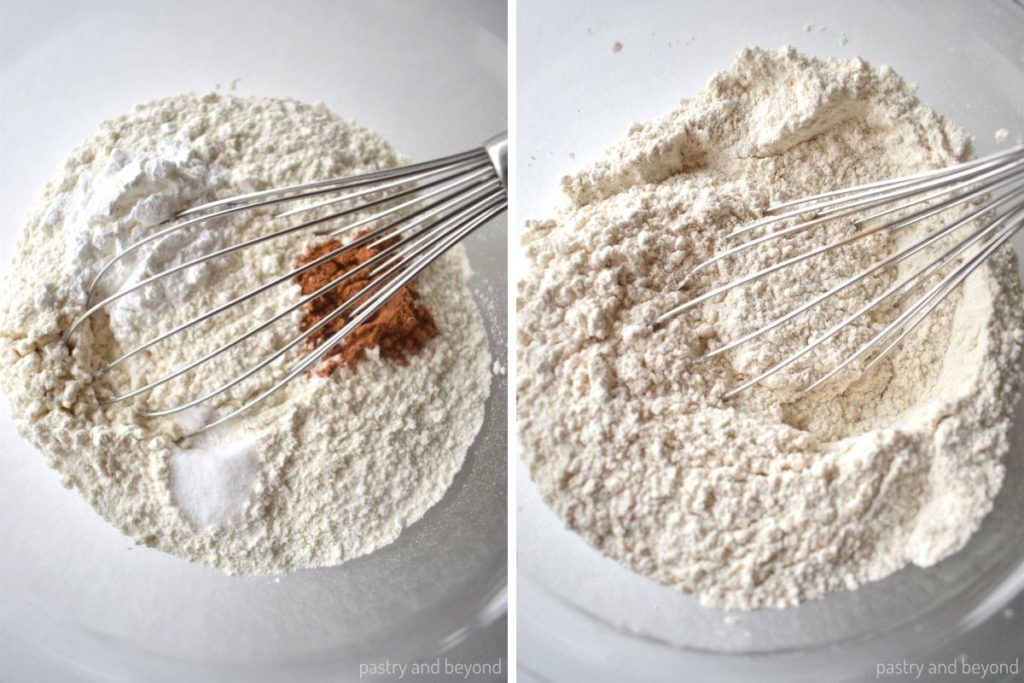
Next, I place the flour, baking powder, cinnamon and salt in a medium bowl and stir with a whisk.
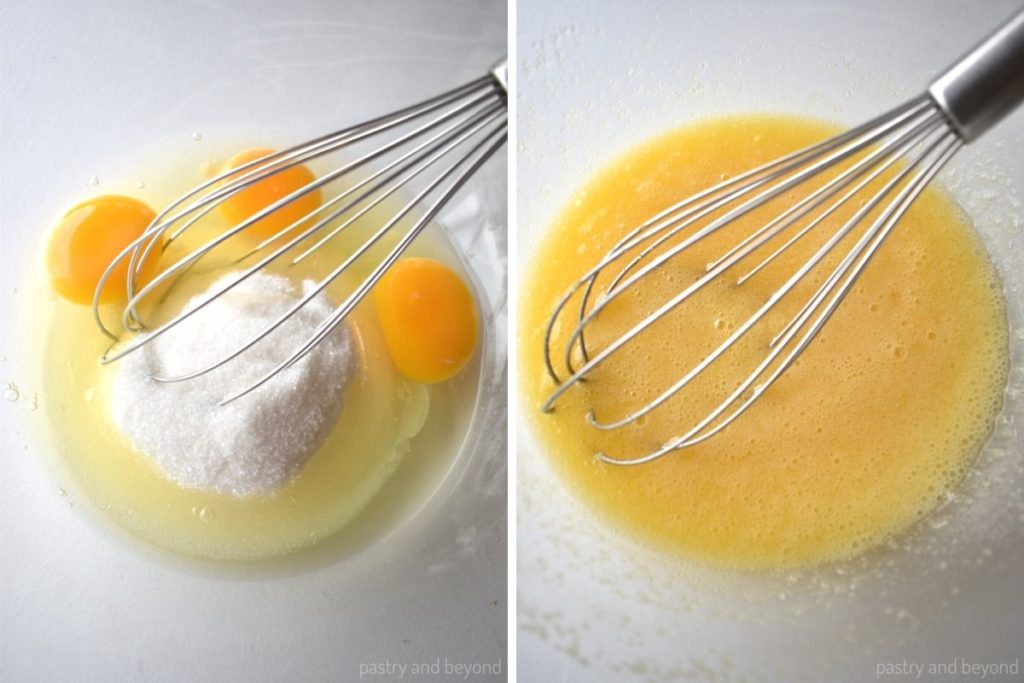
Then I place the eggs and sugar in a large bowl and whisk for almost 20 seconds until mixed completely.
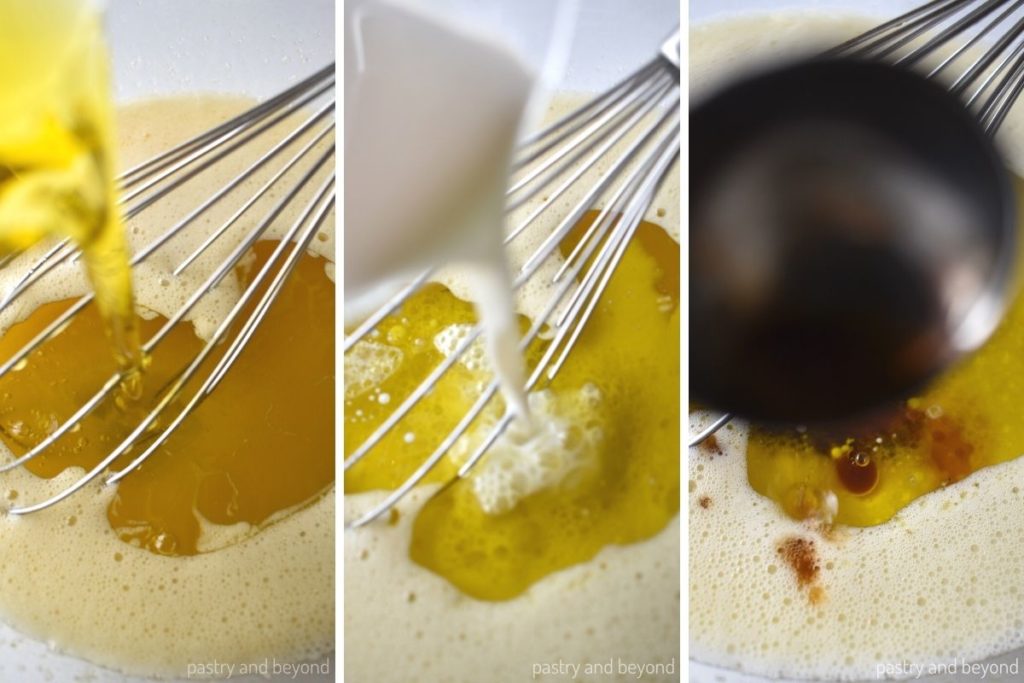
I mix in the olive oil, milk and vanilla extract.
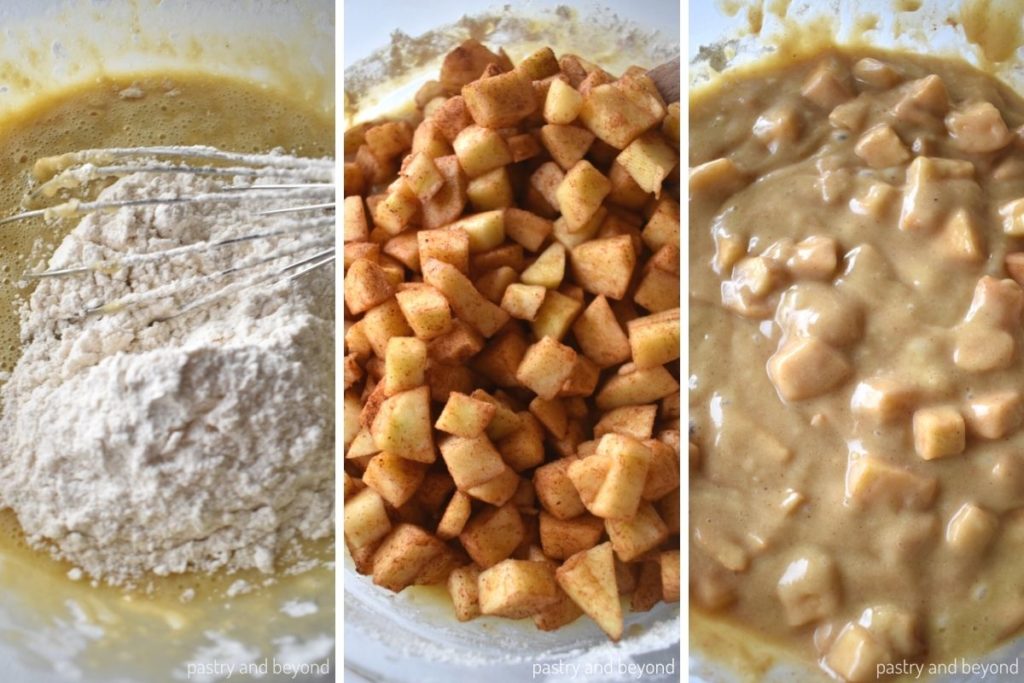
Next I add the flour mixture into the egg mixture in 3 batches. First I use a whisk to stir and then use a spatula/spoon. I don’t overmix. Once combined, I fold the apples.
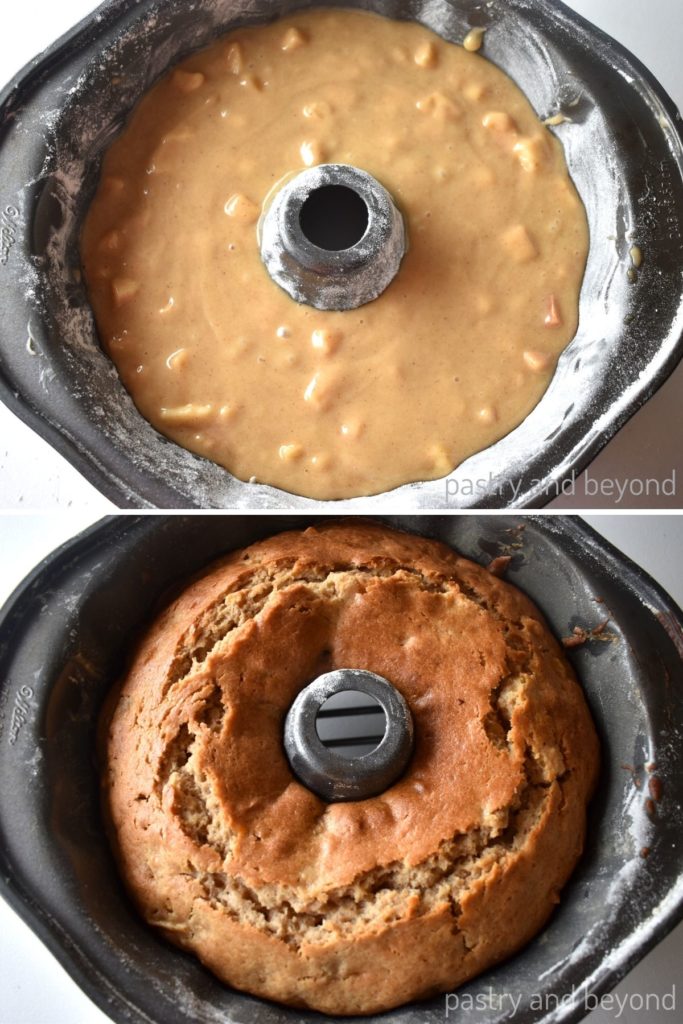
I pour the batter into the bundt pan and bake for 47-50 minutes or until a toothpick inserted comes out clean. Once baked, I place on a wire rack to cool down.
About Caramel Sauce
While the cake is baking, I make my homemade caramel sauce. I have shared two methods for caramel; you can either make wet caramel (melting sugar with water) or use dry method to make caramel.
There are some important points to be careful of while making the caramel. In both posts, I mentioned these steps but again I want to repeat them here one more time.
In either case you should melt the sugar until it reaches a dark amber color. Then immediately you should remove it from the heat because otherwise the sugar will burn and your caramel will have a bitter taste.
Once you remove from the heat, immediately but gradually you should add the heavy cream (it should be pouring as a thin line) while whisking at the same time.
If you don’t add the heavy cream gradually and don’t whisk at the same time, there will be lumps. Eventually, it will melt but you should spend some extra minutes to melt the lumps. So please make it the way I write the recipe.
After I make the caramel sauce, I pour it in a measuring glass and set aside to cool.

If you already have caramel sauce and want to use it, you should let it come to room temperature first. It should be in a pourable consistency. To hasten this step, you can place it on medium-low heat and stir until you reach the pourable consistency.
Glazing the cake
When I remove the cake from the oven, I let the cake stay in the pan for 10 minutes.
Then I place the apple cake on a rack. First I invert the cake onto a plate and then place it on a rack. You should transfer it to the rack very gently as the cake is still soft and warm.
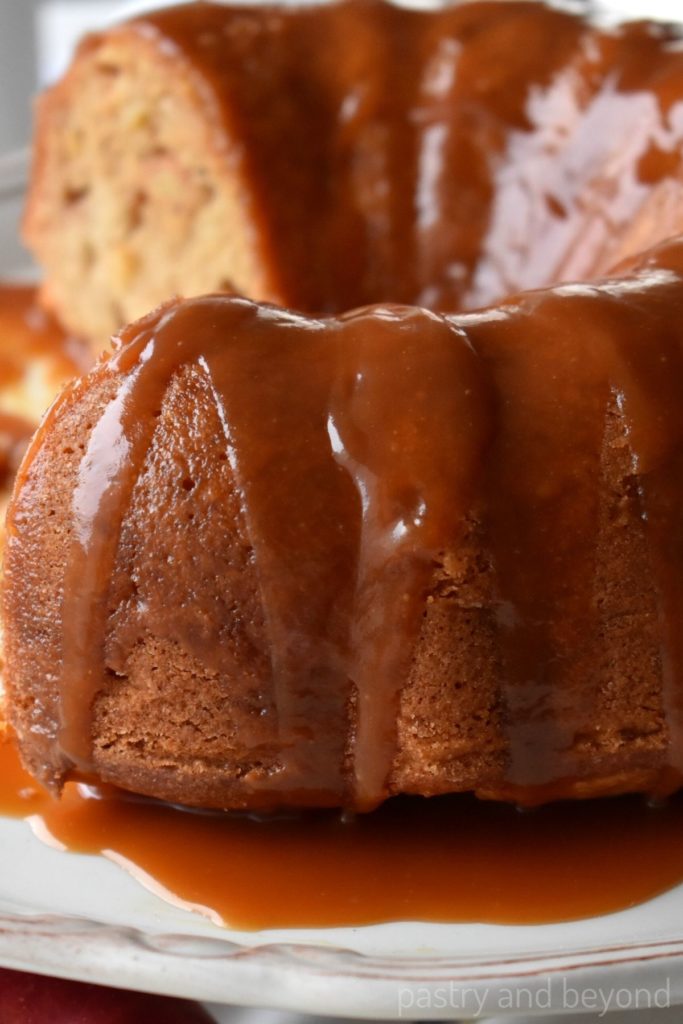
Next I place a little bit wider baking dish than my cake under the rack, so once I pour the caramel sauce, the excess goes to the bottom and I use the caramel later once thickened.
I let the cake cool for an hour on the rack after I pour the sauce. Then I transfer the excess caramel sauce to my measuring cup to let it thicken in the fridge for almost 30 minutes before using it.
If you like once you first pour the sauce over the warm cake, you can pour the excess sauce to the measuring cup at that time and keep in the fridge for longer to make it even thicker.
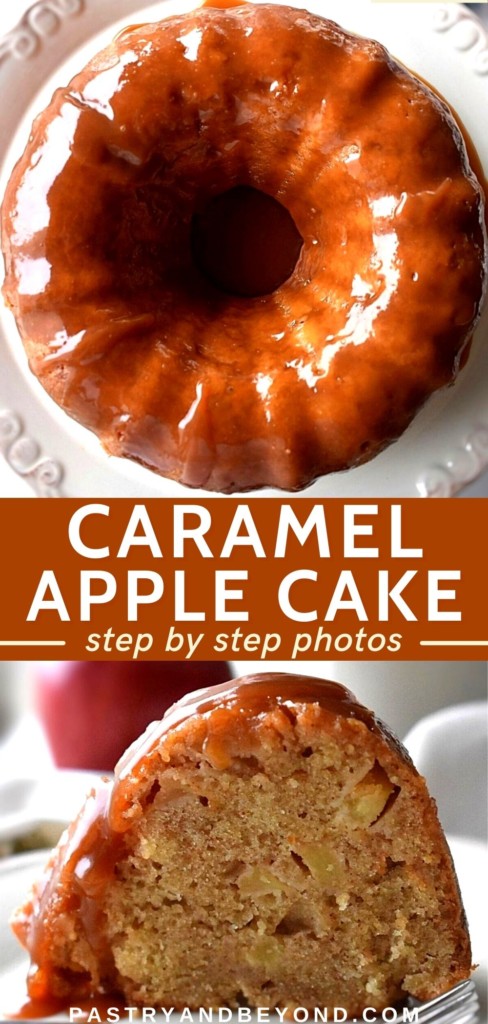
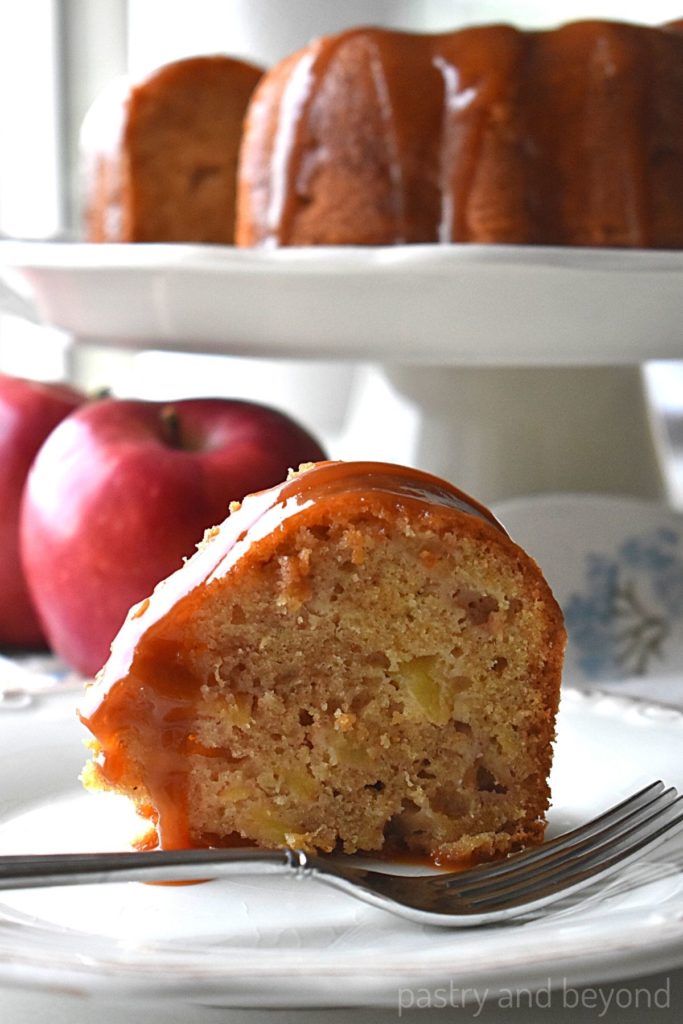
I pour the excess caramel sauce over the cake. It is ready to serve now. So, to sum up, before I cut the cake into slices, I let it cool for almost 1 and 40 minutes after it is baked.
When I serve these slices, I like pouring the extra sauce on the serving plate over the slices.
Extra caramel sauce equals extra deliciousness to me.
Enjoy!
Frequently asked questions
If you don’t serve immediately keep in an airtight container in the fridge for up to 4-5 days.
I suggest you freeze it without pouring the thickened caramel sauce. You can pour the caramel first to let the cake soak it. Once totally cooled, you can keep in the freezer in an airtight container for up to 2 months. You can let it thaw in the fridge overnight and pour the thickened caramel sauce when ready to serve.
Other apple recipes you may enjoy!
Apple Cinnamon Bundt Cake with Caramel Sauce
Ingredients
Apple Mixture
- 3 medium-large apples (400 grams-almost 3 and ½ cups)-cored, peeled and chopped (into 0.5-0.6 inch/1.25-1.5 cm pieces)
- 2 teaspoons ground cinnamon
- ½ teaspoon ground nutmeg
Apple Cake Batter
- 350 grams (2 and ½ cups) all-purpose flour, dip and sweep
- 1 tablespoon baking powder
- ½ teaspoon salt
- 1 teaspoon ground cinnamon
- 3 large eggs
- 210 grams (1 cup) granulated sugar
- 220 grams (1 cup) olive oil
- 120 grams (½ cup) whole milk
- 2 teaspoons pure vanilla extract
Caramel Sauce
- 1 recipe homemade caramel sauce*, dry method or wet method
Instructions
- Preheat the oven to 350°F(165°C). Grease and flour 10-12 cup bundt pan: Grease the pan completely including the middle part and put some flour, start to shake the pan to cover each area with flour. Invert the pan to remove the excess flour.
Apple Mixture
- Toss apples with 2 teaspoons of cinnamon and nutmeg in a bowl, set aside.
Apple Cake Batter
- Place the flour, baking powder, cinnamon and salt in a medium bowl and mix well. Set aside.
- Whisk the eggs and sugar in a large bowl for almost 20 seconds until mixed. Mix in the olive oil, milk, vanilla extract.
- Add the flour mixture into egg mixture in 2-3 batches and mix until combined. Don't over. Fold the apples with a spoon.
- Spoon the mixture into the bundt pan and bake for 47-50 minutes or until a toothpick inserted comes out clean.
Caramel Sauce
- While the cake is baking, make the caramel sauce. Please read the instructions carefully. Remember that if you don’t add the heavy cream gradually or whisk at the same time while adding the cream there will be lumps. Eventually, it will melt but you should spend some extra minutes to melt the lumps. So please make it the way I write the recipe.
Assemble
- When you remove the cake from the oven, let the cake stay in the pan for 10 minutes. Then place the apple cake on a wire rack. You can invert the cake onto a plate first and then place it on a wire rack. Place a little bit wider baking dish than the cake under the rack, so once you pour the caramel sauce, the excess goes to the bottom and you can use the caramel later once thickened.
- Let the cake cool for an hour on the rack after you pour the sauce. Transfer the excess caramel sauce to a measuring cup and keep in the fridge to let it thicken for almost 30 minutes before using it. If you like once you first pour the sauce over the warm cake, you can pour the excess sauce to the measuring cup at that time and keep in the fridge for longer to make it even thicker.
- Pour the thickened caramel sauce over the cake. You can slice the cake and serve.
Lisa
How much of the caramel sauce do you pour over the cake while the sauce is still hot? The instructions do not say.
Meymi
Hi Lisa, When you gradually pour it over the cake, the excess sauce will automatically go under the rack. You don’t need to measure how much sauce will go over the cake. If you use just a little larger or smaller pan, the amount will change. You should just pour it over the cake and use the rest later. I hope you enjoy it!